
Mount Sunapee Resort 3D Map Ideas
On a Mount Sunapee relief map, vertical form and graphic clarity have to work together. Relief that is too quiet may not explain the mountain from across a room; relief that is visually aggressive can crowd trail lines and labels. The finished dimensions, display angle, and geographic extent should be considered as one system.
Plan a Mount Sunapee Map
Balance elevation with surface information
The physical relief is derived from geographic data, but the way it reads also depends on model size and the chosen vertical relationship. Establish whether the map should communicate the broader landform, highlight route relationships, or support close inspection. That purpose guides decisions about scale and visual emphasis.
Trail graphics, lift lines, labels, and base features sit on or near the terrain surface. Their minimum useful size should be tested against the finished model dimensions. A larger map can carry more information; a smaller map usually benefits from a stricter hierarchy. For a lobby view, test the largest route distinctions before smaller annotation is added.
Resolve how the relief will be presented
The map's edge, backing, and viewing angle affect both fabrication and what the viewer can see.
Wall mounted
Plan overall weight, projection, mounting height, and the label direction for a primarily frontal view.
Sloped display
A tilted surface can support closer viewing while requiring a defined stand, footprint, and accessible approach.
Horizontal model
A tabletop presentation allows circulation around the map but changes north orientation and text placement.
Portable assembly
Travel use requires bounded section sizes, repeatable packing, and a setup method appropriate to the destination.
Give trails, lifts, and places distinct roles
Provide current approved artwork or data for every route and name that must appear. Define whether trail difficulty, lift type, boundaries, roads, water, and structures require separate treatments. A legend can remove explanatory clutter from the mountain while preserving the distinctions the audience needs.
Text should follow a planned orientation rather than every local slope. Identify the primary reader position and the labels that must be legible at a distance. Secondary names can be smaller or moved to a key when they would otherwise interrupt the terrain pattern.
Compare wall-scale and compact terrain presentations
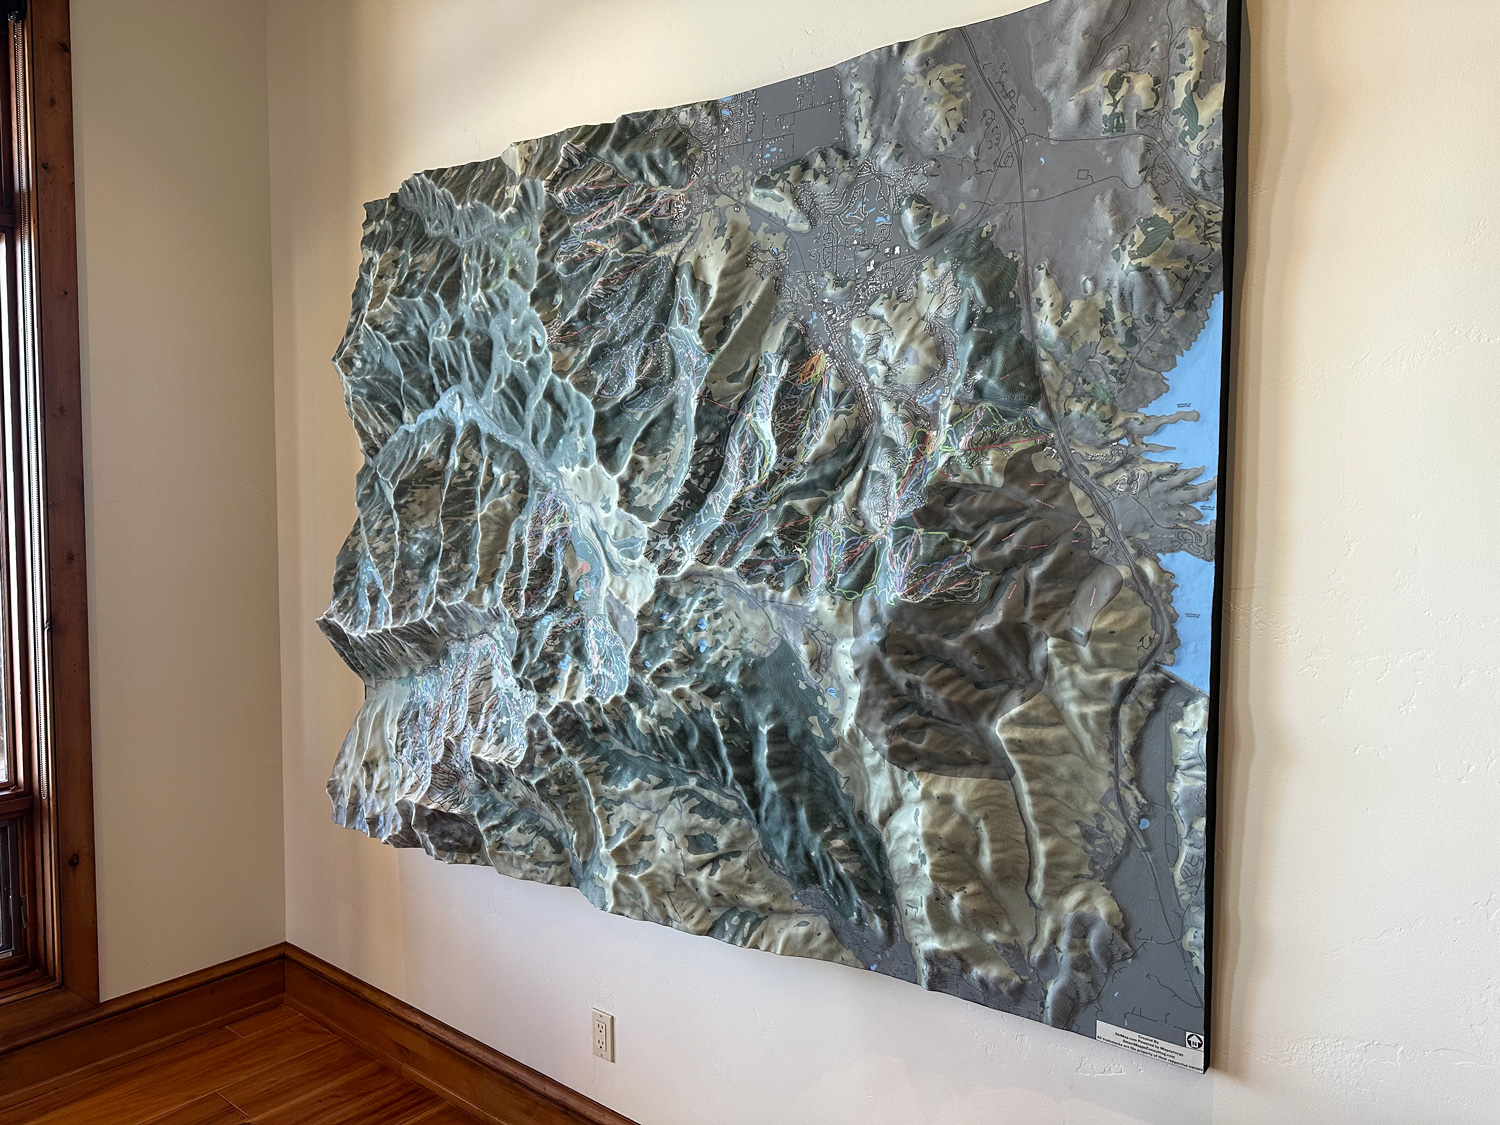
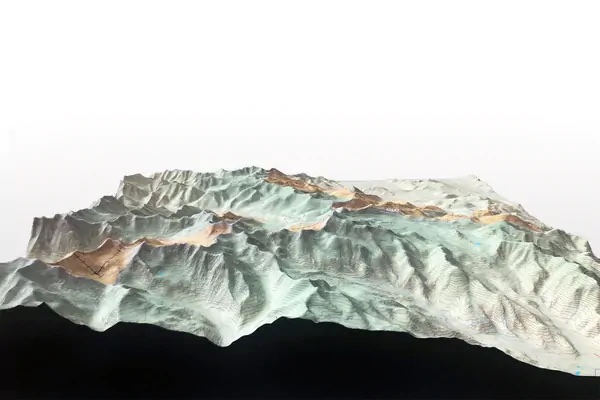
The two completed Park City examples show different physical relationships among relief, route markings, and map edges. They provide composition references only; current Mount Sunapee data and the new project's installation requirements would govern the proposed map.
Prepare current data before estimating
A revision-controlled source set reduces uncertainty in both graphics and geographic scope.
- Confirmed map boundary
- Elevation or mapping source
- Current trail and lift files
- Approved names and legend
- Finished-size limits
- Primary viewing angle
- Mounting or base requirement
- Delivery and installation schedule
Request a Mount Sunapee 3D map quote
Provide the desired boundary, target dimensions, preferred display angle, current resort data, required trail and lift information, site details, shipping destination, and deadline. Include a photograph of the proposed display area when mounting constraints are already known.