
Outdoor retail walls
Fit the geographic extent and level of detail to an available feature wall, nearby circulation, and the distance from which terrain and labels will be read.
Raised relief gives terrain a physical profile, while trails, boundaries, and landmarks can be organized for the room and viewing distance. A useful brief starts with where the map will live, what area it must cover, and what people should be able to identify.
Plan a 3D Trail Map
A trail map can be part of a feature wall, a freestanding display, or a visitor-facing orientation area. The right format depends on the space, how closely people can approach, and whether the map is meant for a quick regional overview or closer trail-by-trail reading.
Fit the geographic extent and level of detail to an available feature wall, nearby circulation, and the distance from which terrain and labels will be read.
Use resort terrain and trail information in a physical display that relates directly to the mountain area served by the shop.
Present the resort and surrounding terrain in a format appropriate to a lobby, activity area, hospitality setting, or other planned guest space.
Organize regional terrain, landmarks, trails, and destinations for a setting where visitors can examine the map from more than one side or angle.
Coordinate width, height, orientation, edge shape, mounting conditions, and nearby fixtures before the map footprint is finalized.
Plan the map and its base together, including footprint, viewing sides, circulation clearance, final height, and the delivery route into the space.
These WhiteClouds projects show a retail-shop wall map, a visitor-center and gift-shop display, a resort installation, a private residential wall map, and an interactive outdoor-retail feature. The Park City example is included for its large wall-map treatment, not as a retail installation.
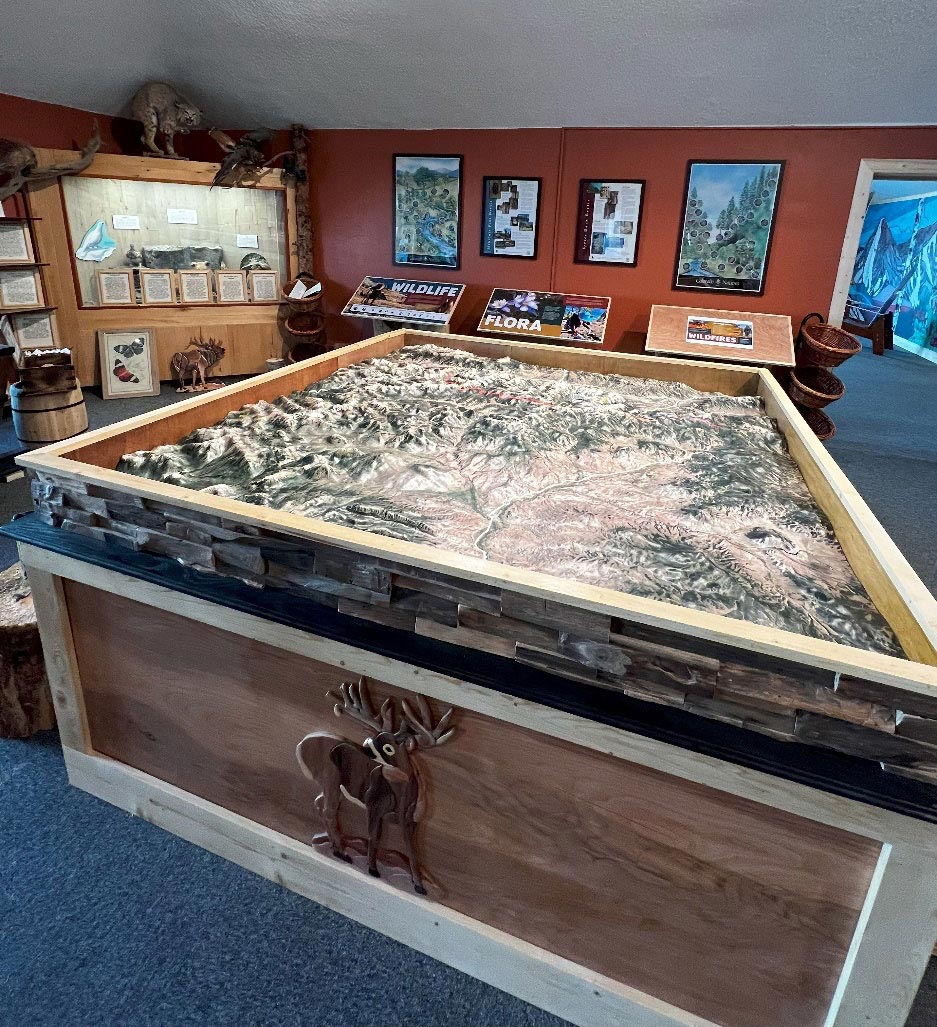
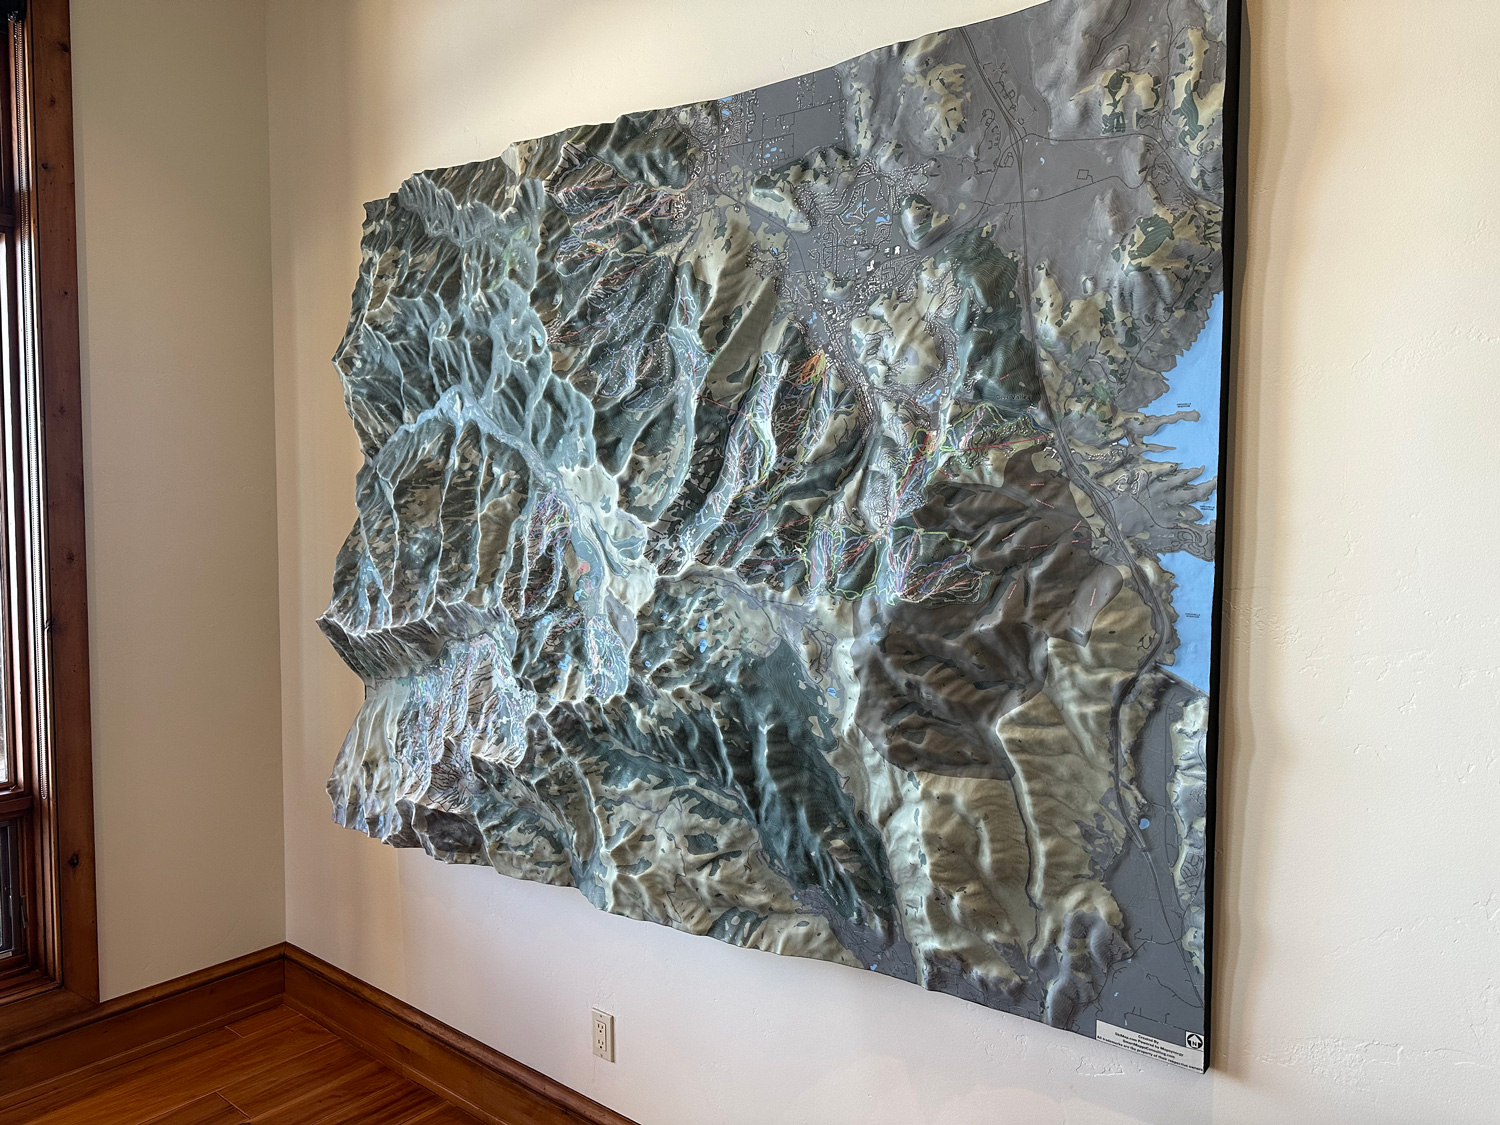
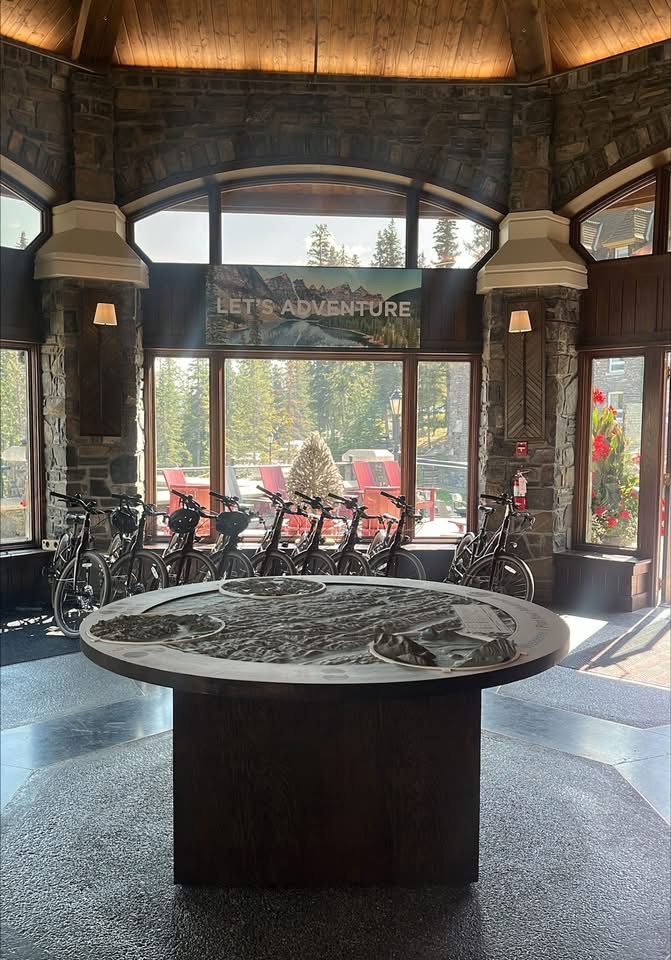
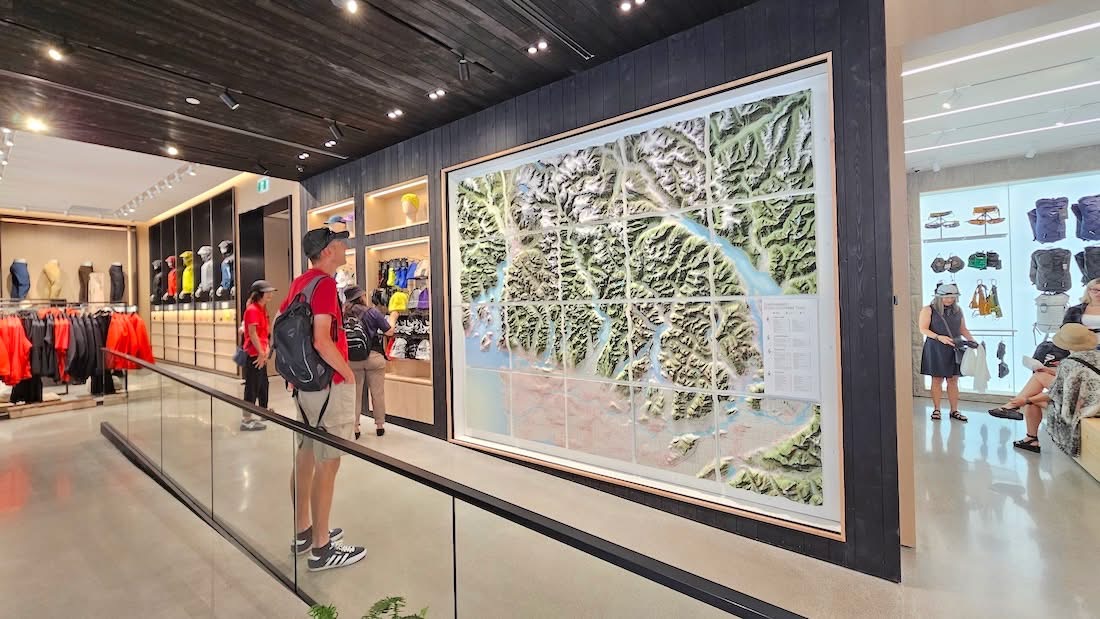
Begin with the geographic boundary and map orientation. A single resort, a connected trail system, a mountain region, and a resort plus its surrounding community all require different extents. Identify the places that must remain legible, then decide which secondary information can be simplified or omitted.
Trails, lifts, resort boundaries, roads, water, landmarks, and points of interest can be treated as separate information layers. Establish a clear order among them so labels and graphics do not compete with the raised terrain. Brand marks and color direction should be supplied with the map information when they are part of the display.
Scale and elevation range affect how the terrain reads from across a room and at close range. If relief needs to be adjusted for readability, make that decision for the specific geographic area and display size rather than copying the treatment of another map.
For a wall-mounted map, provide the available wall dimensions, finished opening, surrounding trim or casework, primary viewing distance, and known mounting conditions. Note nearby doors, shelving, displays, outlets, and other elements that limit the footprint or affect access.
A freestanding or table-style map adds another set of choices: overall display height, base size, viewing sides, aisle clearance, and whether people will gather around it. Photographs and measured drawings help connect the map dimensions to the actual room.
Delivery and installation access should be considered early. Share doorway, corridor, elevator, loading, lifting, and onsite assembly constraints along with the destination and schedule.
A trail map can incorporate lighting or interactive elements when those features are part of the project scope. The brief should identify exactly which locations or routes will be highlighted, how controls will be labeled, and what a visitor sees when each control is used.
At the Arc'teryx flagship in Vancouver, WhiteClouds built a raised-relief map more than 11 feet wide and 9 feet tall. It presents Southwestern British Columbia and includes push-button LED markers for selected hiking trails. That project is one example of a scoped interactive format, not a standard feature of every trail map.
Electrical access, control placement, service access, ambient light, and the relationship between illuminated markers and printed information should be addressed with the wall and map design.
A focused request connects the terrain and information layers to a specific physical display location.
Review the service page for the broader 3D topographical model scope, browse the gallery for additional formats, or read the Arc'teryx Project Story for the complete interactive retail-wall example.
Send the geographic area, intended display location, target dimensions, map information, mounting or base direction, destination, and schedule. Include wall photographs or plans and any lighting or interaction requirements that are already known.