
Designing Statues as Photo-Op Attractions
A statue becomes a useful photo-op when the person position, camera position, sightline, and sculptural gesture are designed together. The subject can vary, but the interaction zone must remain understandable, accessible, and visually clear in both the live setting and the resulting photograph.
Plan a Statue Photo-Op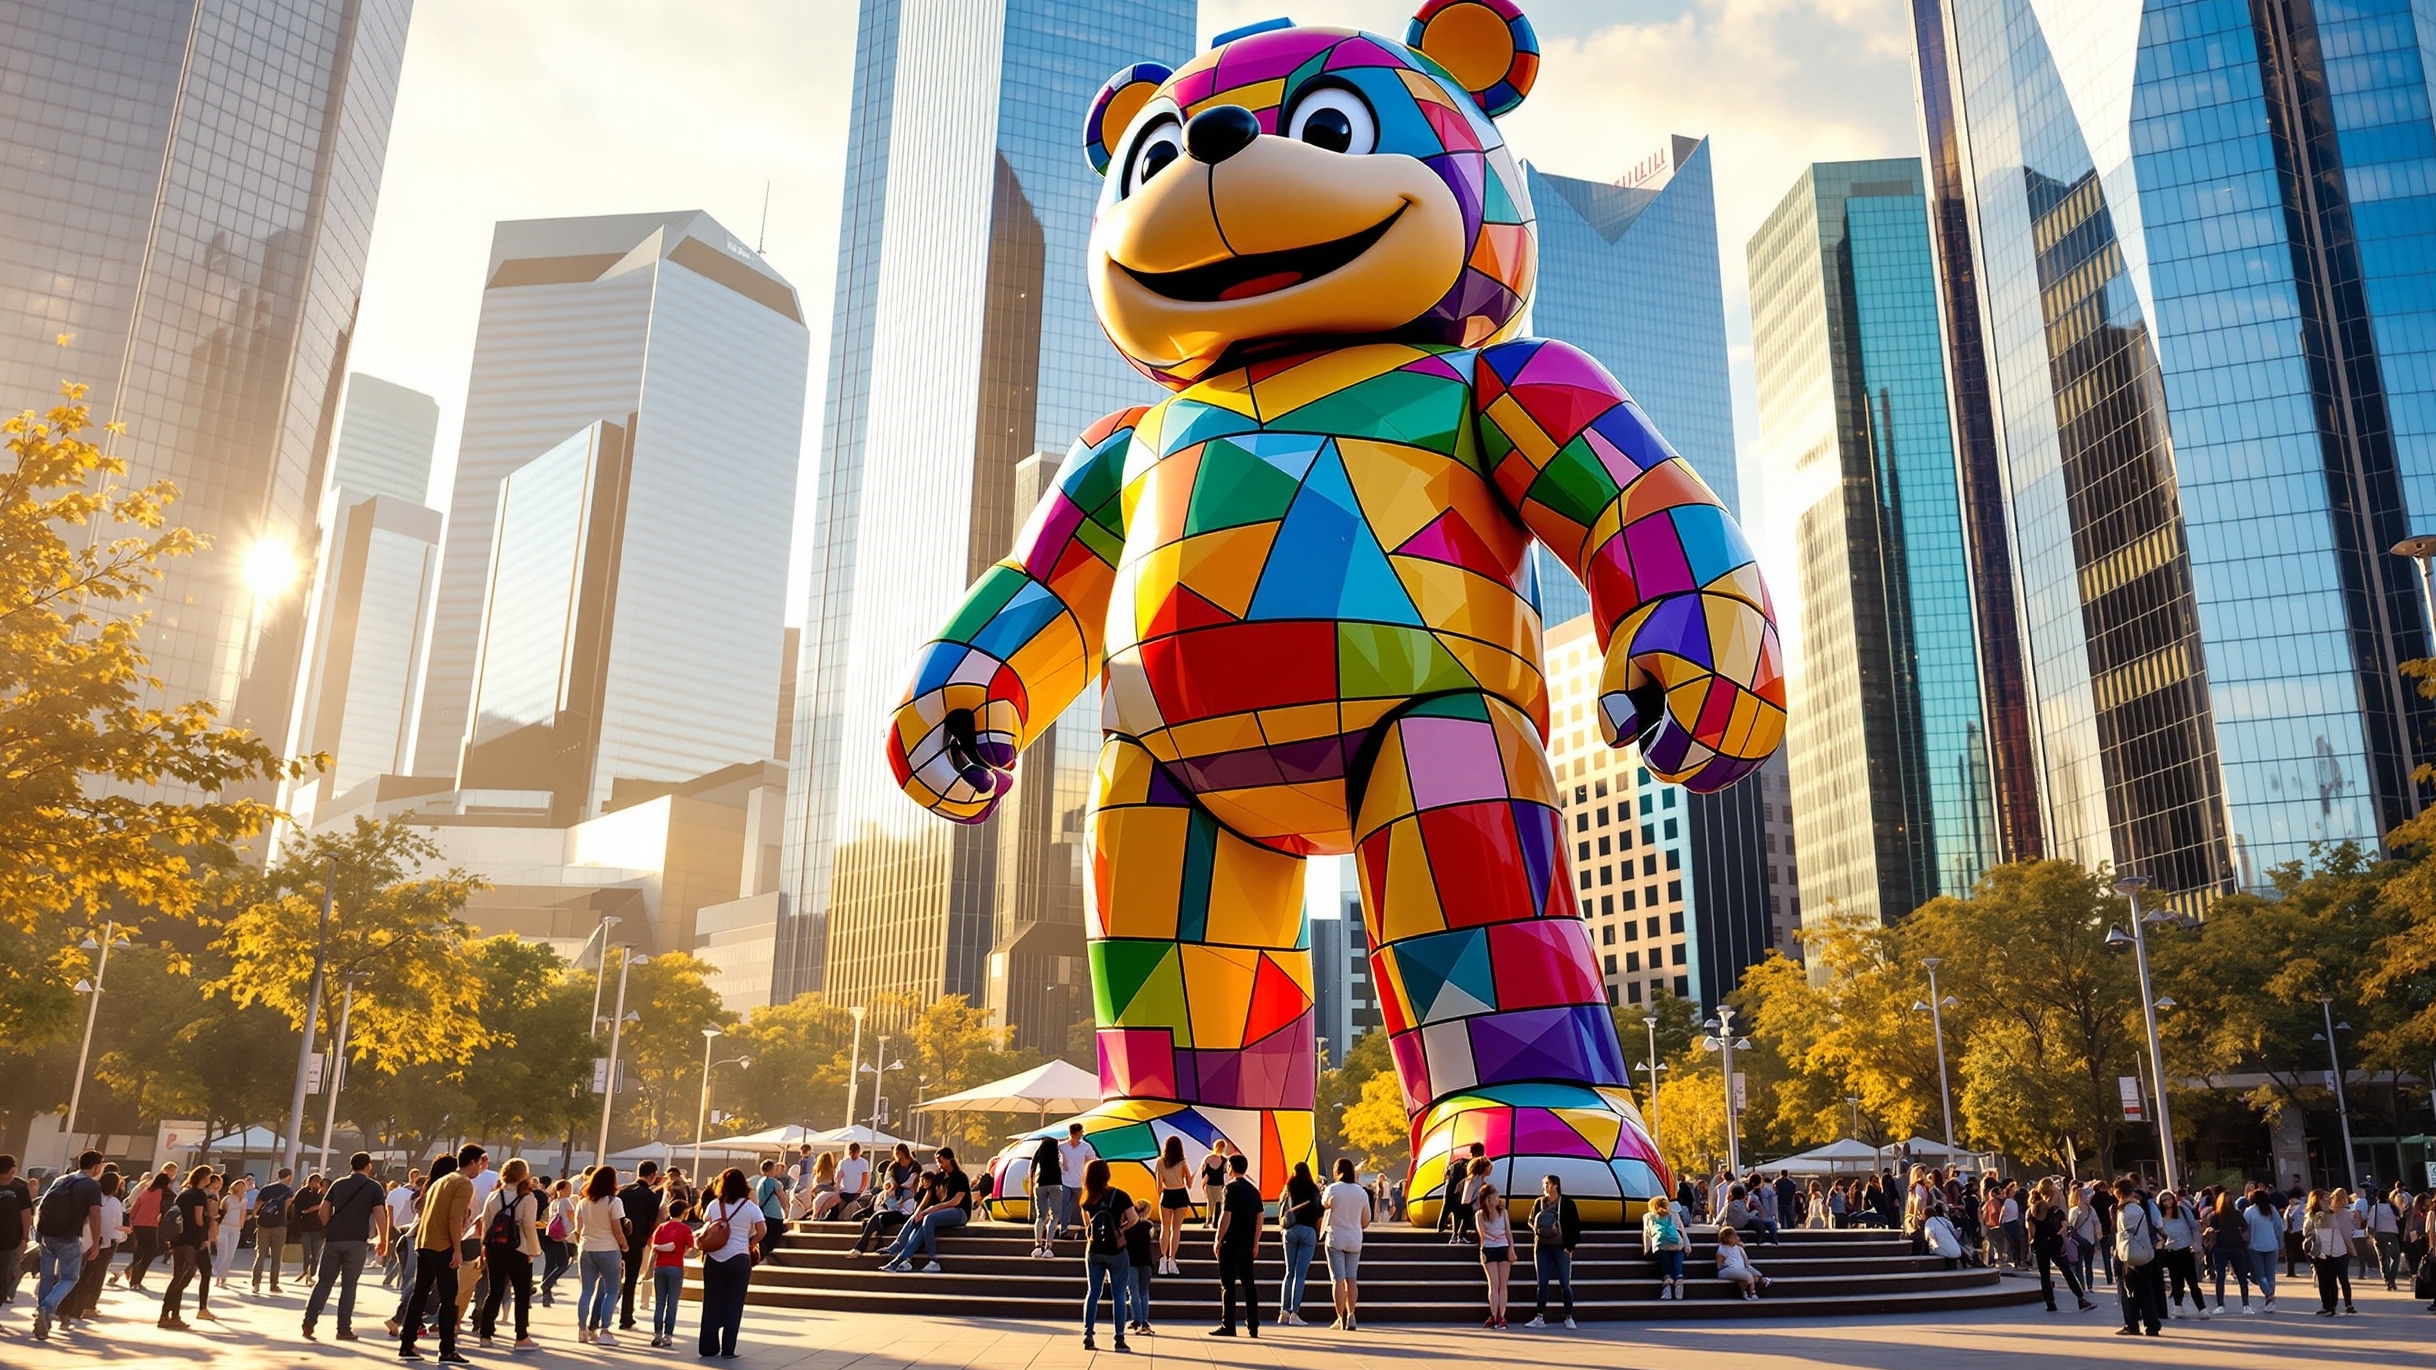
Design the picture before fixing the sculpture
A quick plan-view sketch can reveal conflicts that a front elevation misses.
Person mark
Set the standing or seated position for one visitor, a pair, or a group and leave room for natural body movement.
Camera line
Choose the normal lens distance and height so the sculpture, visitors, and any required graphics share the frame.
Sculptural gesture
Aim a hand, face, opening, frame, or pair of figures toward the person position to make the intended interaction obvious.
Background
Control signs, doors, rails, screens, and visual clutter behind the subject rather than treating them as separate site issues.
See how two forms can frame the visitor
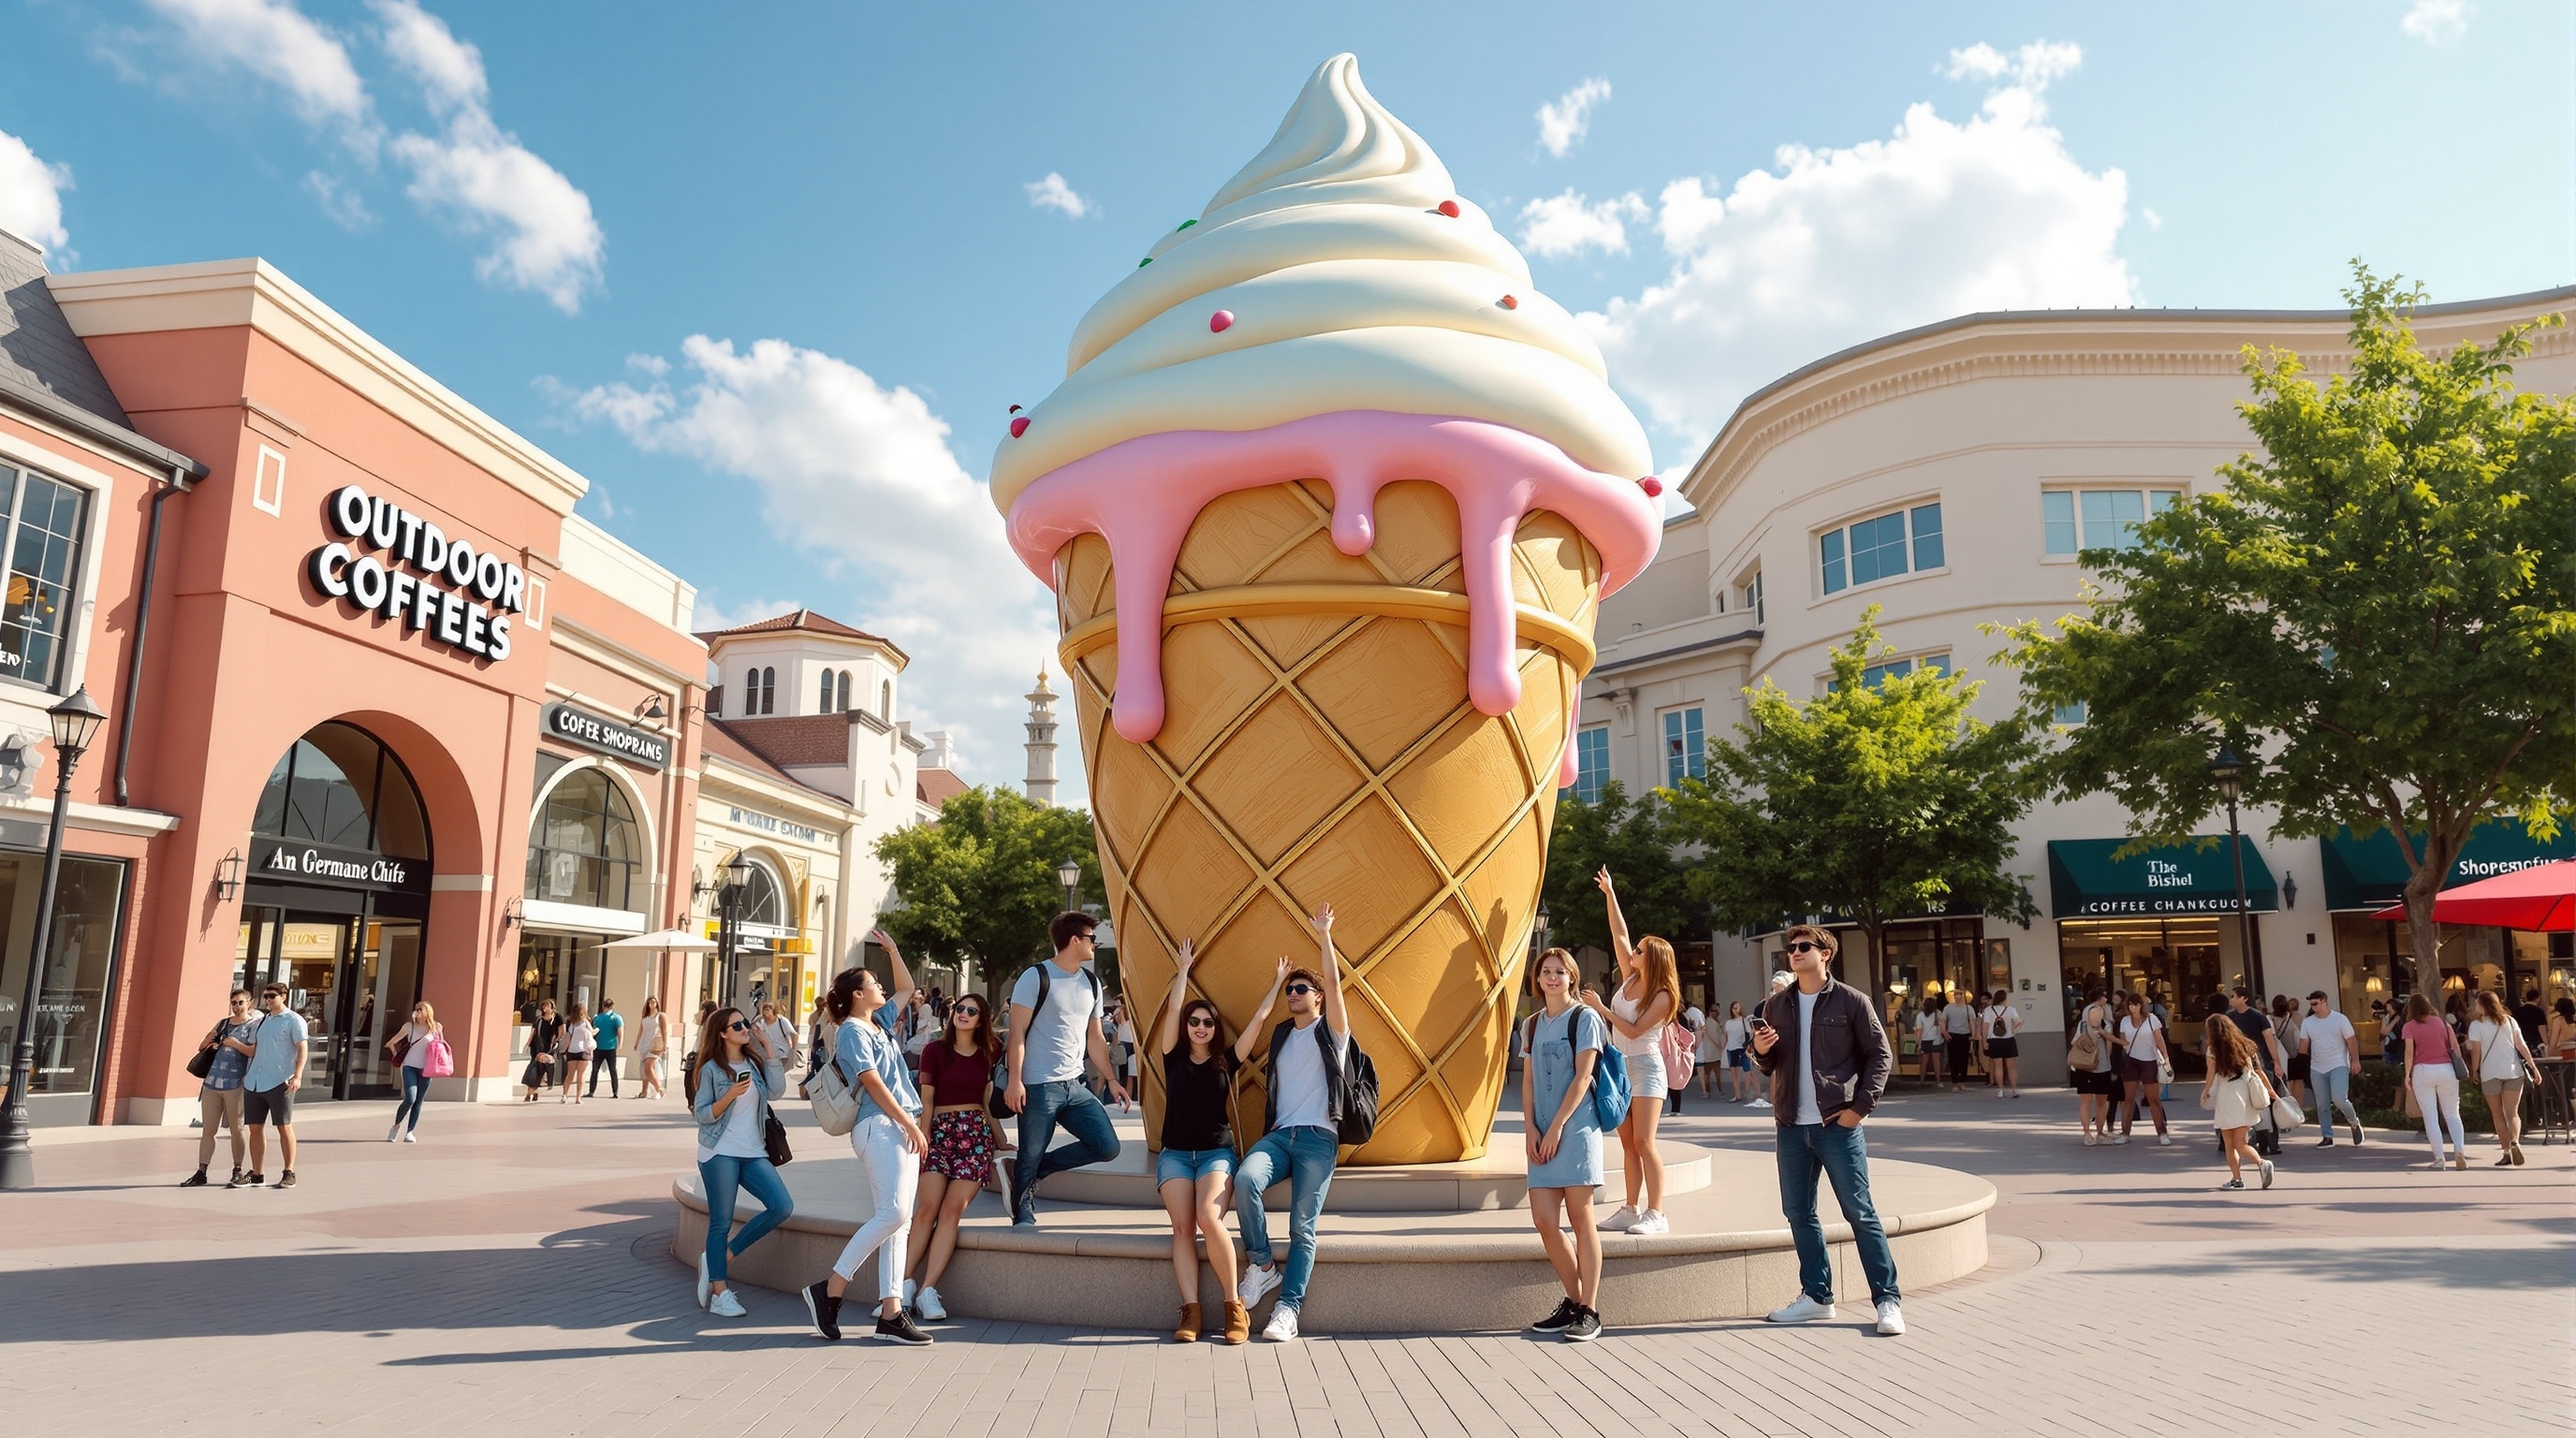
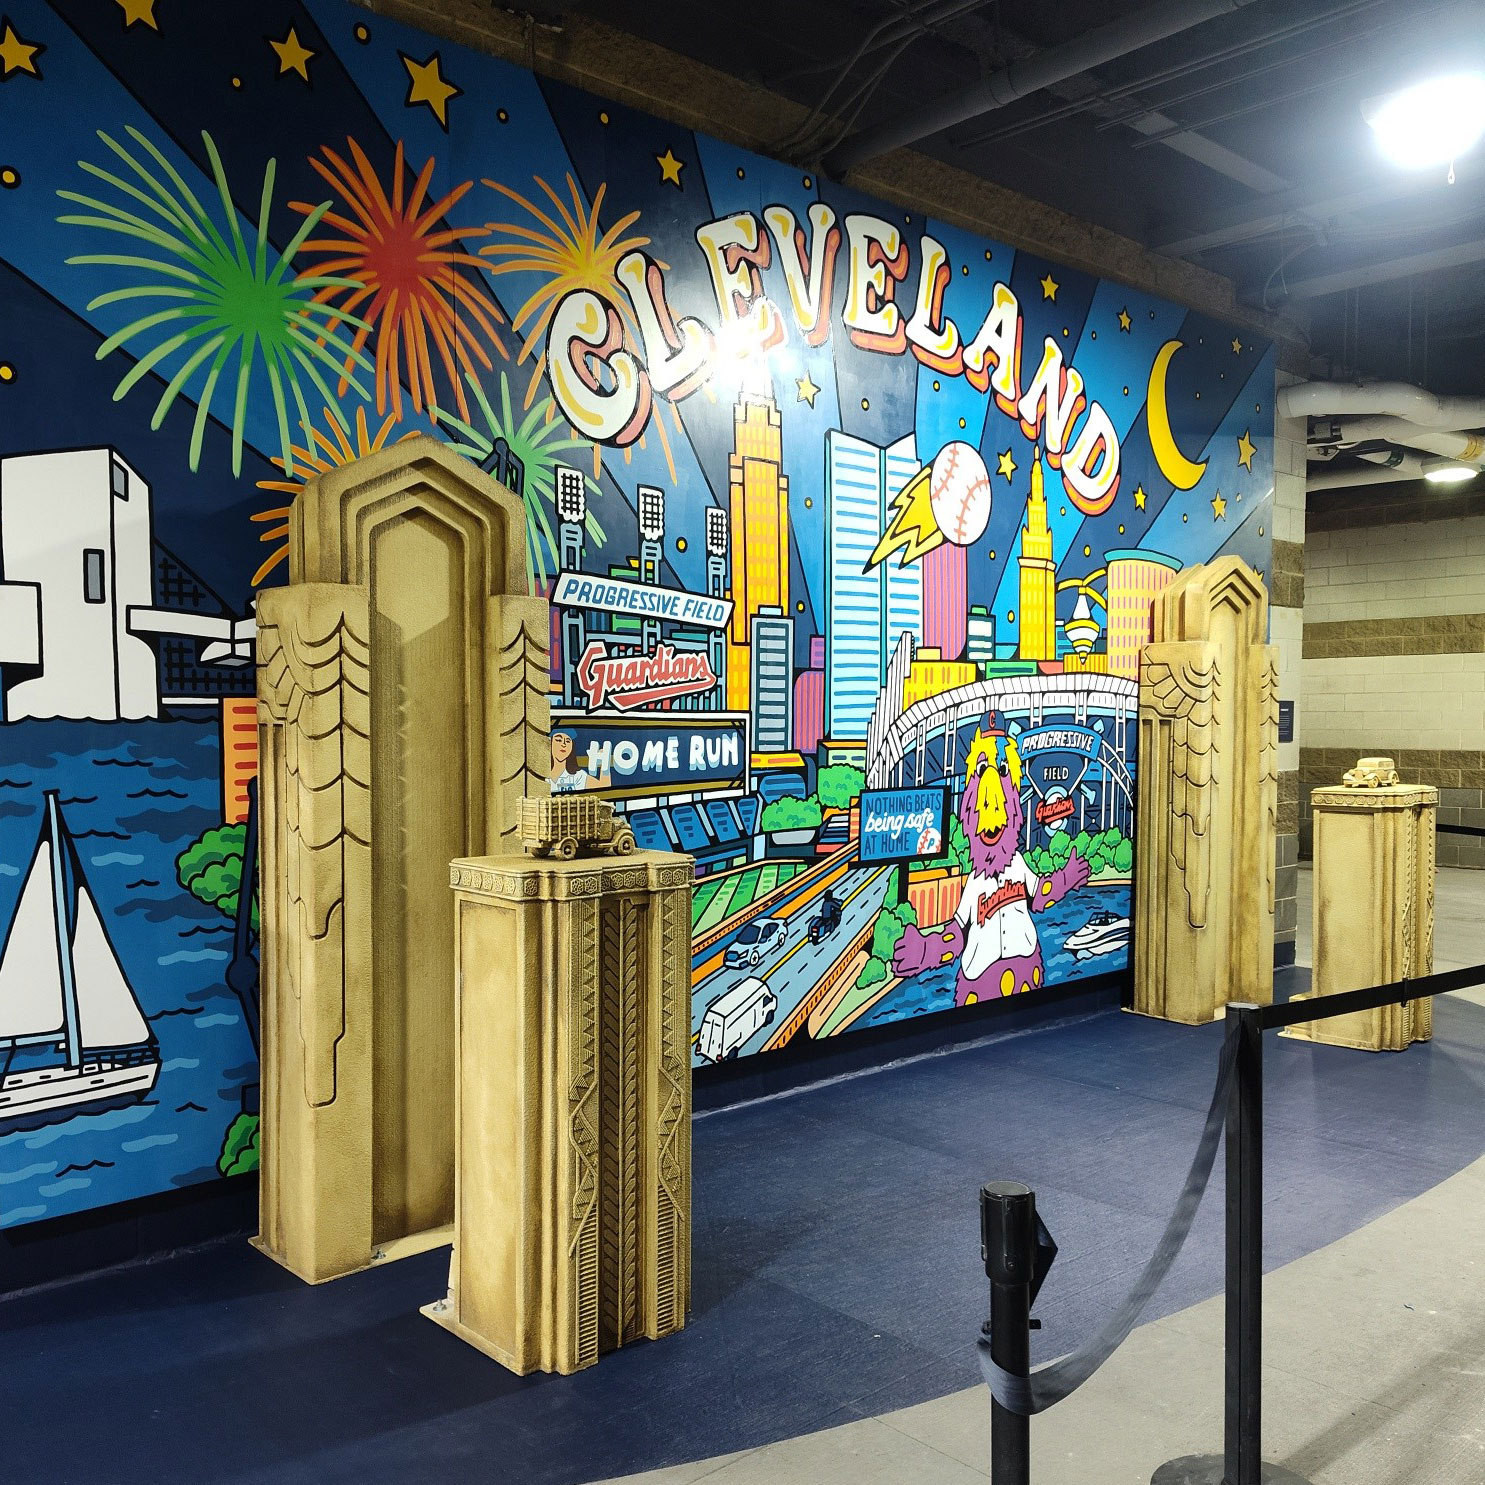
WhiteClouds fabricated the Guardians of Traffic statue pillars shown here for a photo opportunity at Progressive Field in Cleveland, Ohio. The two pillars create a defined center position and a symmetrical camera view. The bear and ice cream scenes illustrate other possible layouts and are not completed WhiteClouds projects.
Invite a clear pose without depending on climbing
A successful prompt can be as simple as standing between two forms, matching a character's gesture, leaning into an open frame, or lining up with an oversized object. If sitting, stepping, or touching is intended, identify it explicitly so the physical contact and surrounding clearance can be evaluated for that project.
Do not rely on visitors guessing how to use the display. Sculpture orientation, floor graphics, a subtle marker, or the surrounding layout can guide people into position. The intended action should still leave a path around the installation and avoid projecting features at face or shoulder height along that route.
Measure the complete photo-op footprint
The camera often needs more space than the sculpture itself.
- Sculpture width, depth, height, and base area
- Person or group position and comfortable movement zone
- Camera distance, height, and orientation
- Queue direction and circulation bypass
- Backdrop, signs, screens, and lighting positions
- Accessible approach and expected public reach
- Indoor or outdoor placement and intended duration
- Loading route, destination, and opening date
Keep the physical idea legible in the final photograph
The statue should be recognizable without taking every pixel away from the people. Test the relative height of faces, important graphics, and the sculpture's main feature within the target frame. A very tall form may need an angled camera line or a lower interaction point; a wide display may be better suited to groups.
When the subject includes a protected character, logo, mascot, product shape, or artwork, provide approved files and authorization. Also identify any campaign text that must appear in the photograph so its placement can be coordinated rather than added over the sculpture later.
Request a quote for a statue photo attraction
Share the subject reference, intended visitor pose, people per photograph, camera distance, site and backdrop plan, approved graphics, queue and accessibility needs, placement conditions, access route, destination, and required date.