
Planning a Custom 3D Map of Otis Ridge
A physical Otis Ridge map must make a compact mountain easy to understand: the main ridge, lift routes, learning terrain, base facilities, and trail connections all need enough separation to remain useful at display scale.
Plan an Otis Ridge Map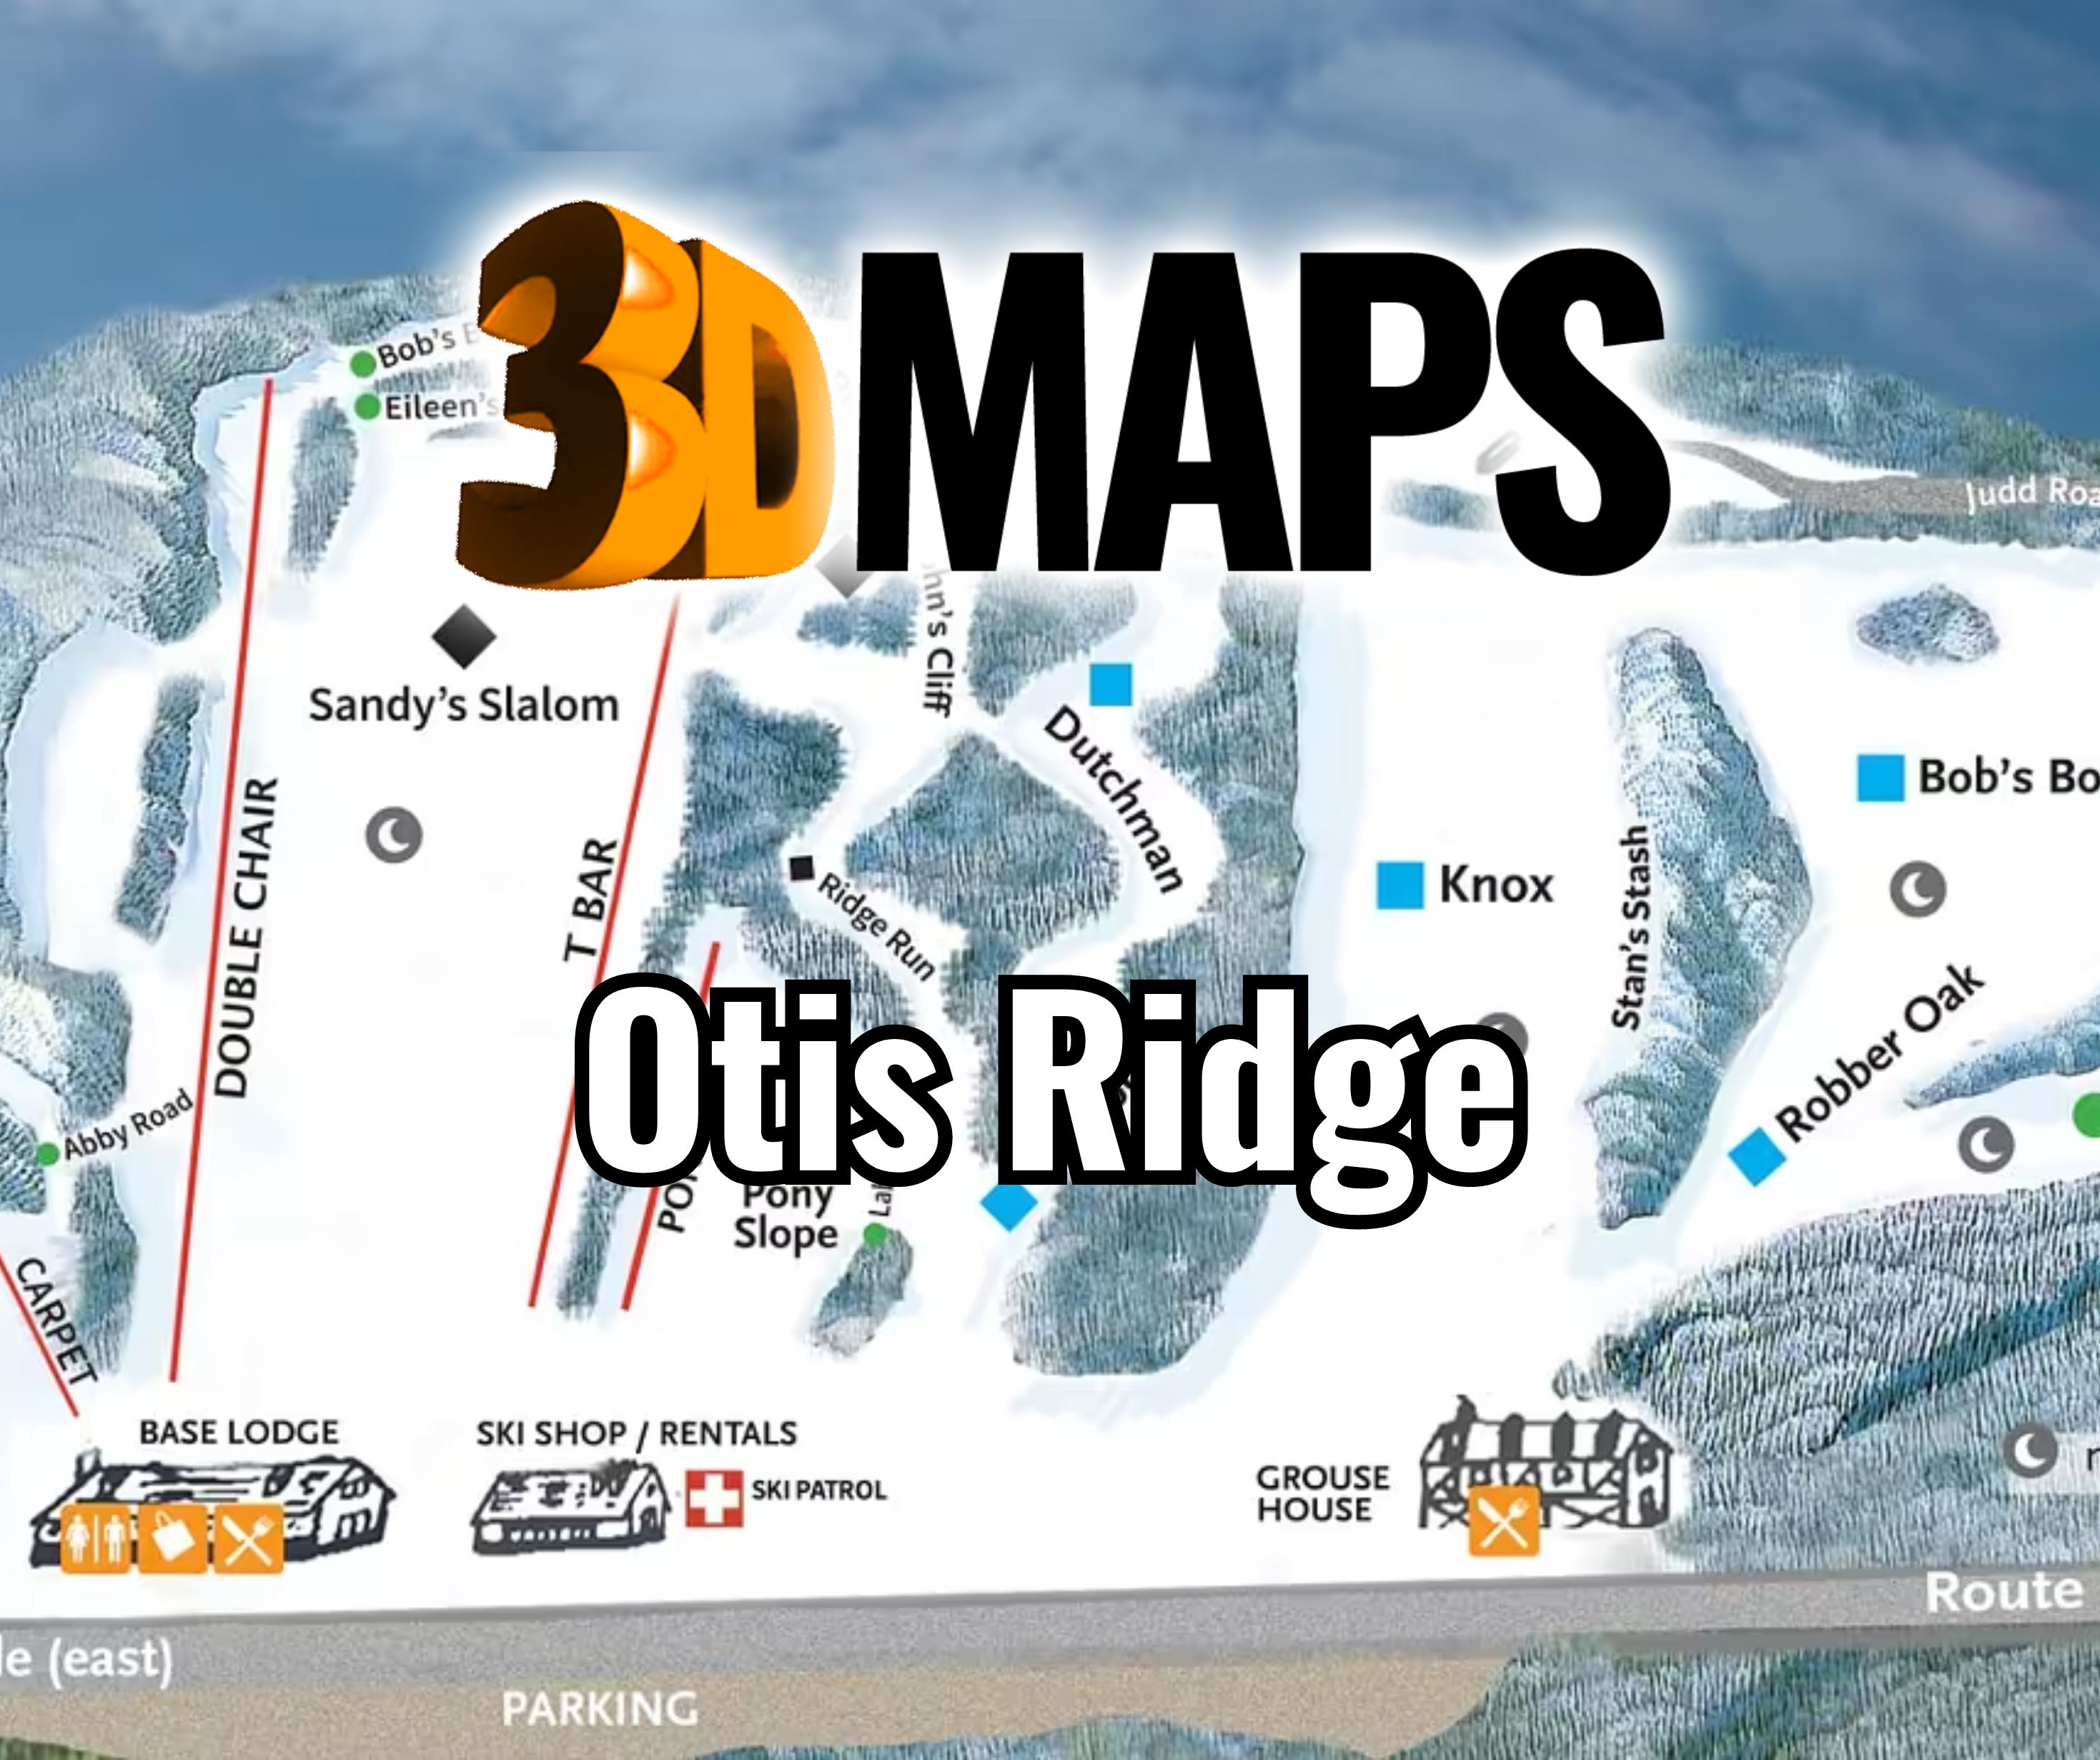
Set the Otis Ridge map boundary before choosing scale
For a lodge display, the useful boundary is likely the lift-served ridge and the terrain that returns to the base. A broader landscape crop may be attractive, but it can make the operating area too small to read. Define whether the map is primarily for route orientation, interpretation, or a commemorative display before expanding beyond the ski footprint.
The official trail map and conditions pages show several kinds of uphill transport. Those lines should not be treated as interchangeable. Chairlift, T-bar, carpet, and tow routes can use a coordinated symbol system so viewers understand both movement and the role of each learning area.
Study a compact destination display from Switzerland
The supporting photograph shows a completed WhiteClouds wall map for a hotel resort landscape in Switzerland. It is useful as a display-format reference for a compact destination, but it does not depict Otis Ridge and provides no terrain or route data for this page.

Keep the central ridge readable
The relief form should establish orientation before route graphics are applied.
Ridge profile
Use the main landform to make summit and base relationships apparent from the primary viewing position.
Downhill routes
Give major trails enough contrast and spacing to remain distinct after labels are added.
Uphill systems
Differentiate chairlift, T-bar, carpet, and tow paths with a concise legend.
Learning areas
Preserve beginner-zone clarity near the base instead of compressing every detail into one cluster.
Resolve the working Otis Ridge map brief
Current buyer-supplied source files should govern the final geography and labels.
- Approved terrain boundary and map orientation
- Current trail, lift, tow, and learning-area artwork
- Required lodge and base-facility markers
- Wall size, depth allowance, and viewing distance
- Relief scale and any approved exaggeration
- Indoor or protected placement conditions
- Delivery access and installation responsibility
Test the smallest labels at the real viewing distance
Compact terrain does not automatically mean a small display. When many trail and transport lines converge at the base, physical width may matter more than vertical relief. A proof at full label size can reveal whether minor routes should be simplified or moved to a legend.
Choose a primary viewing direction before text is placed. A guest-facing uphill view may be more intuitive in a lodge, while a geographic north-up orientation may better suit an institutional or commemorative piece.
Request pricing for an Otis Ridge 3D map
Provide the approved boundary, terrain and route sources, required lift and facility labels, dimensions, orientation, display setting, access details, destination, and schedule.