
Planning a Custom 3D Map of Mount Peter
A physical Mount Peter map has a compact but information-dense job: make the mountain's trail pattern, lift routes, learning terrain, and base-area relationships readable in raised relief without turning the display into a crowded copy of a flat trail map.
Plan a Mount Peter Map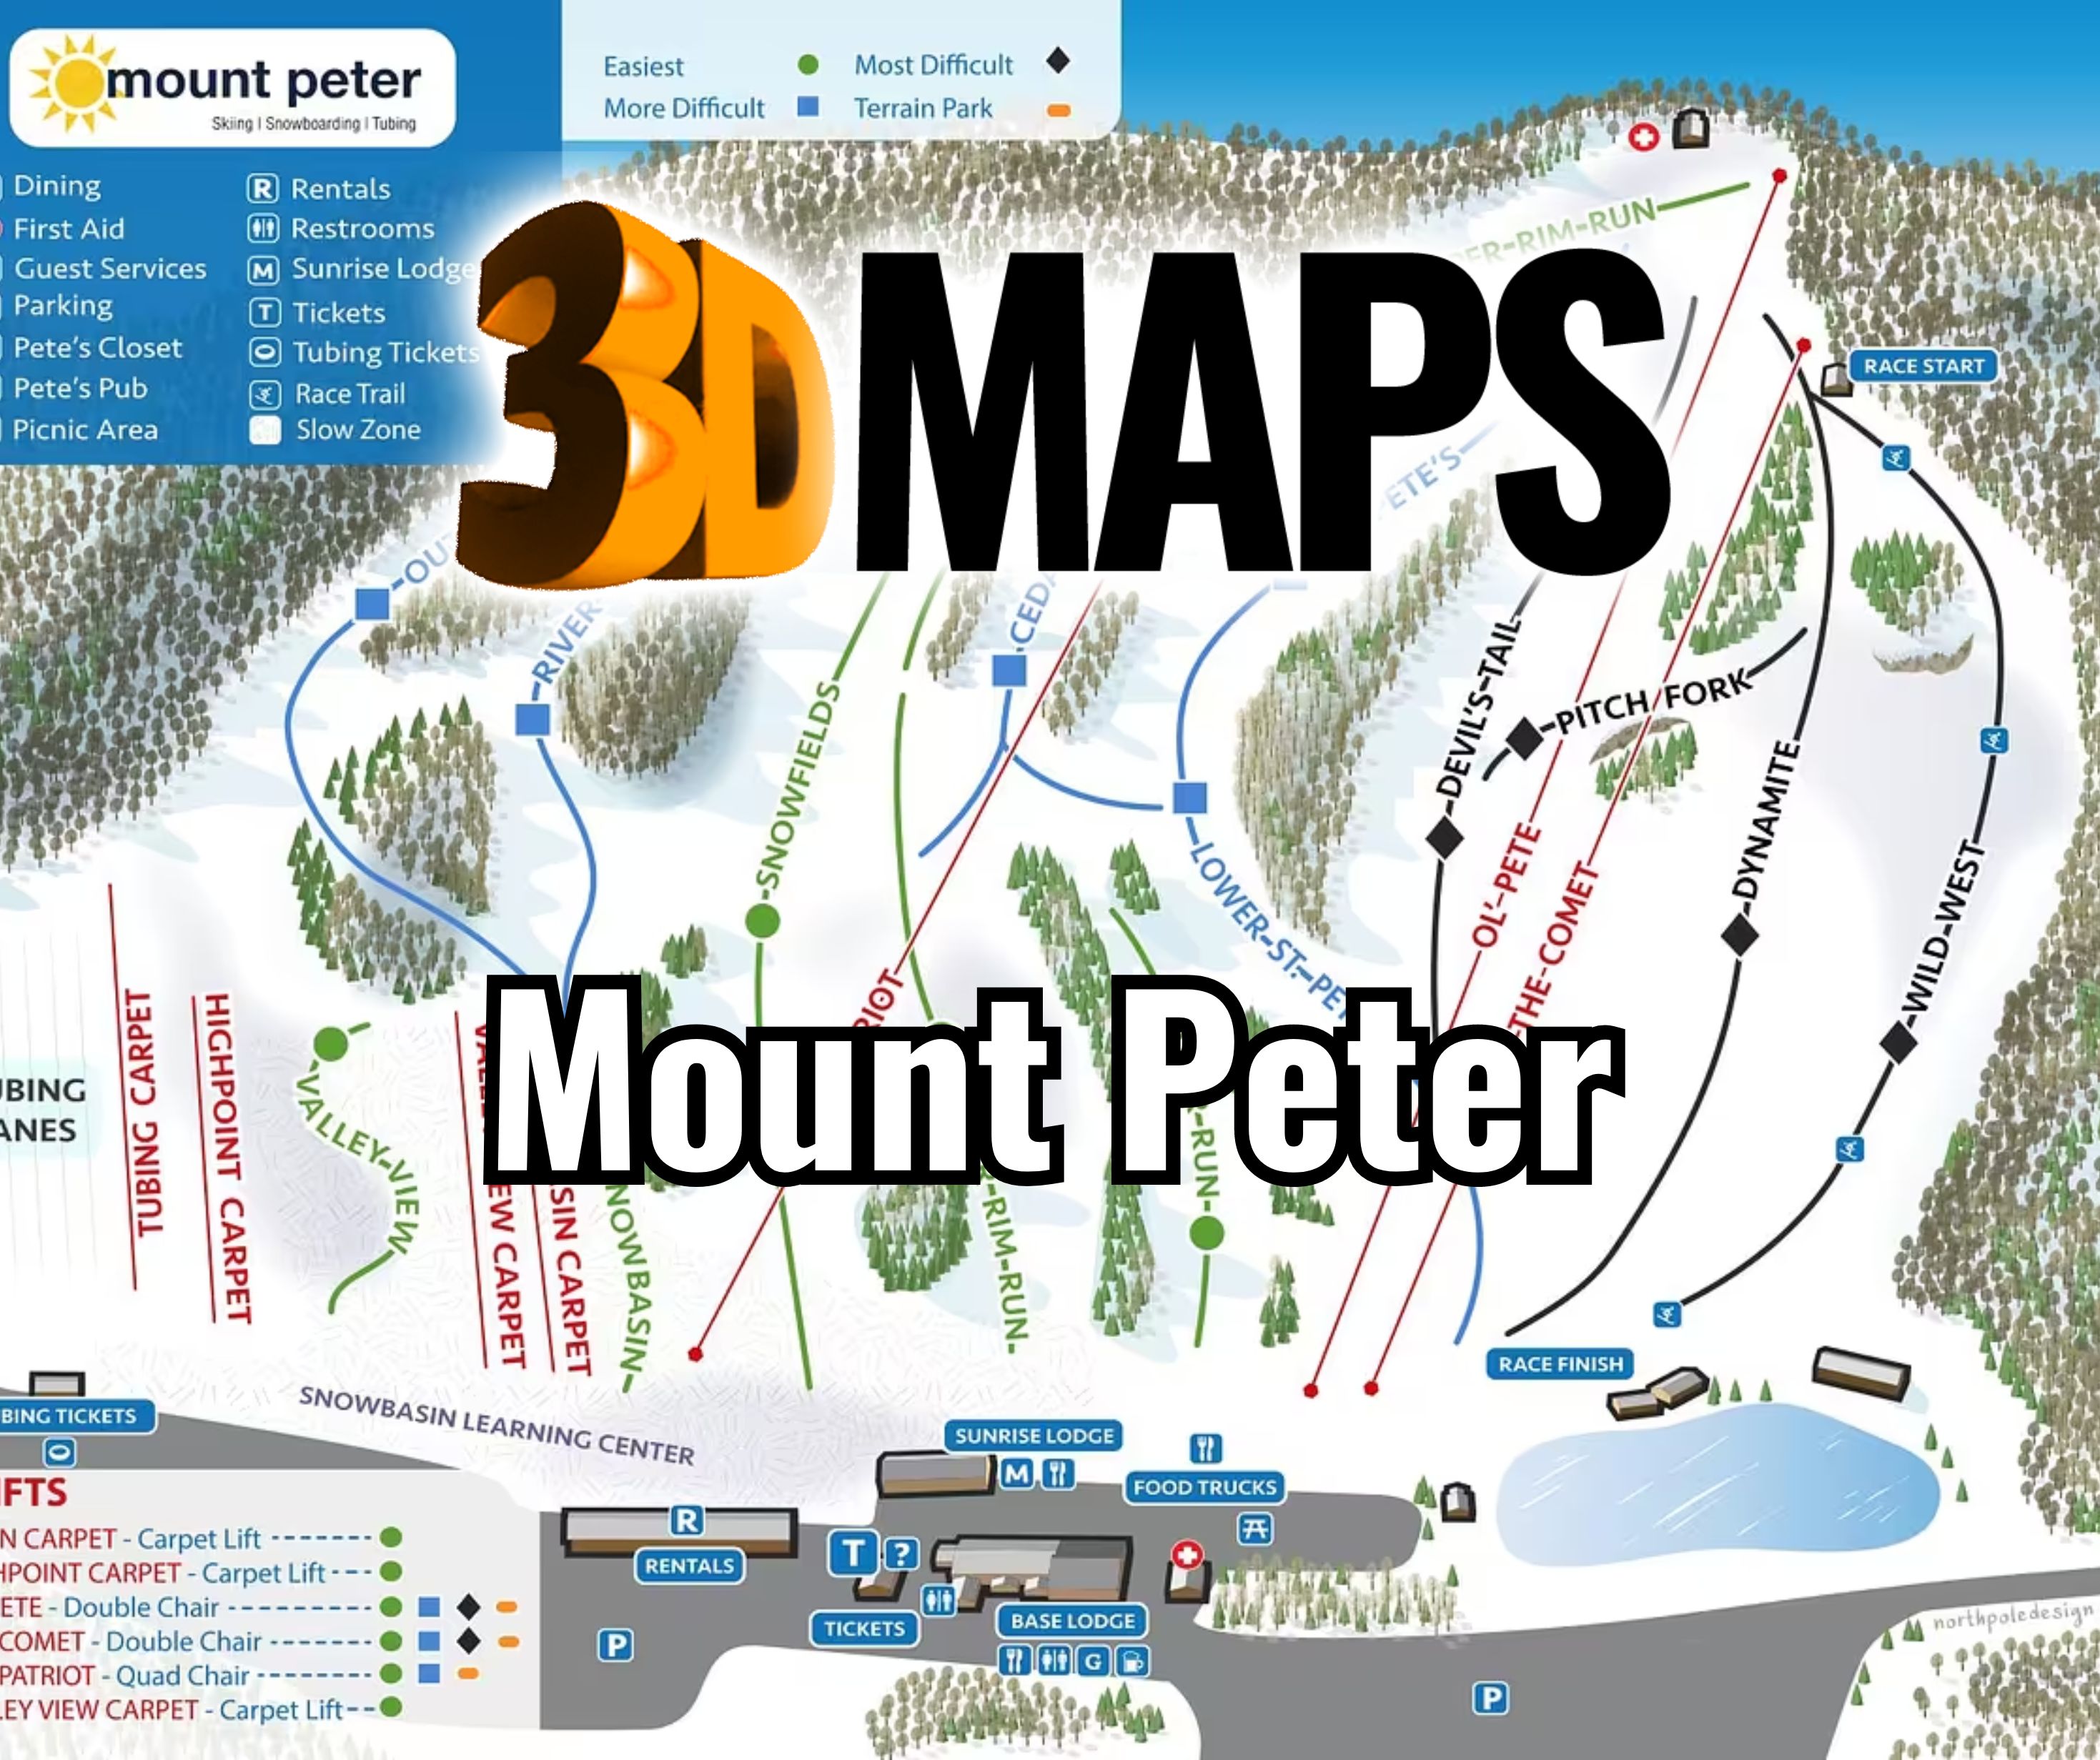
Start with the part of Mount Peter the display must explain
The first decision is not scale or material. It is the geographic boundary. A lodge-oriented display may focus tightly on the ski slopes and the routes back to the base. A broader site presentation may need the learning areas, tubing zone, lodges, and arrival side of the property. Defining that edge early prevents peripheral features from shrinking the terrain that viewers actually need to read.
The official mountain information lists 13 trails along with chairlift and carpet-lift systems. On a compact physical map, those lines and symbols can compete quickly. Rank them by use: primary trails and lift paths first, base facilities second, and secondary notes only when they remain legible at the planned size.
Give the compact trail network a clear visual hierarchy
Raised relief should clarify the mountain before labels and color are added.
Terrain silhouette
Let the slope shape establish the main orientation so a viewer can find summit and base without relying on a dense legend.
Lift routes
Differentiate chairlift and carpet-lift paths through line weight, color, or symbols that remain distinct from trails.
Learning zones
Reserve enough open space for beginner-area labels rather than compressing them into the busier base edge.
Optional tubing area
Treat the tubing zone as a deliberate boundary choice instead of allowing it to reduce the ski-map scale by default.
Use Deer Valley as a display reference, not as Mount Peter imagery
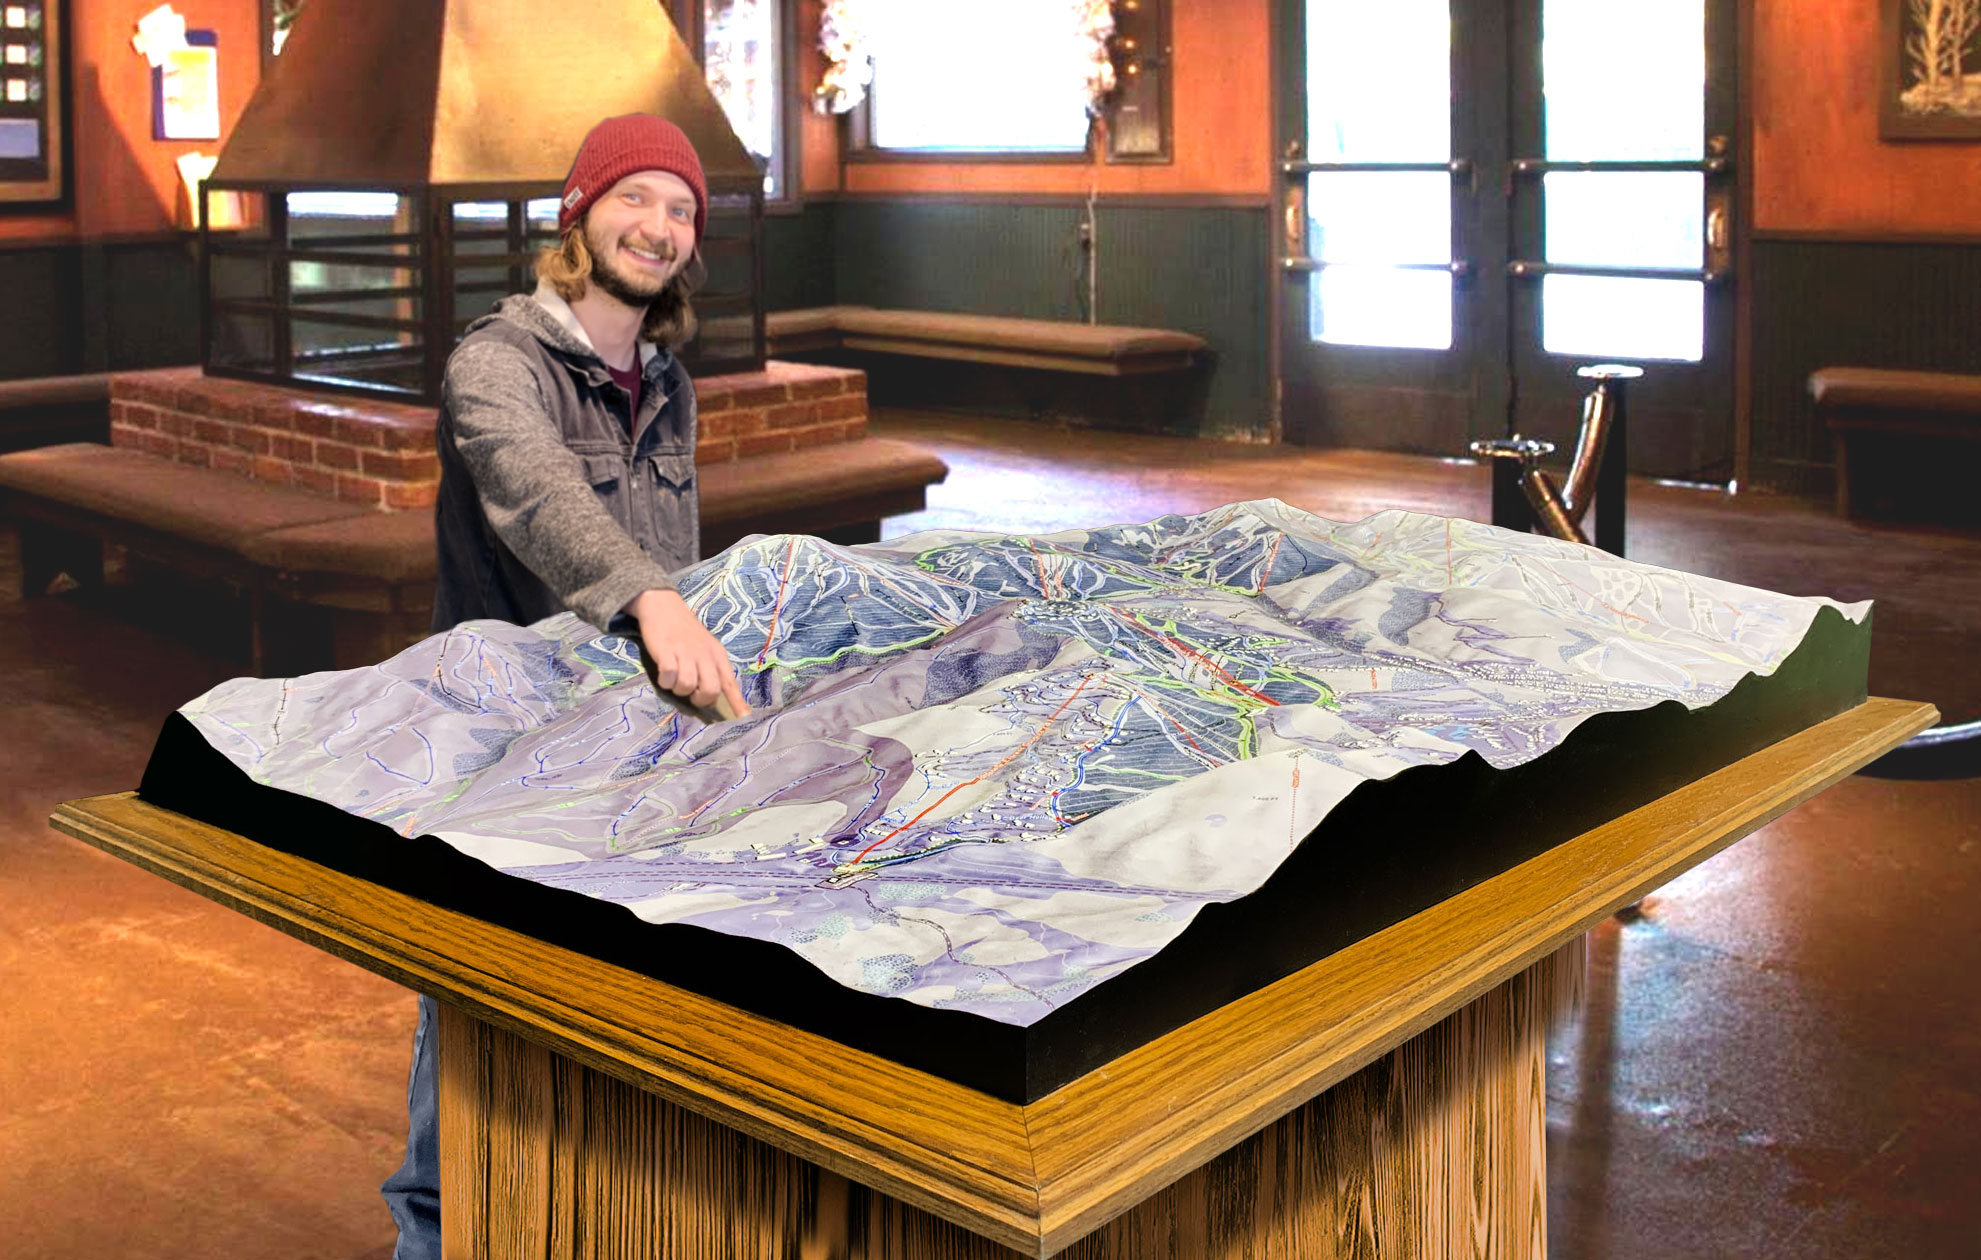
The supporting photograph shows a completed WhiteClouds map of Deer Valley Ski Resort in Utah. It demonstrates one way terrain, route information, and planned development can occupy a framed raised-relief display. It does not depict Mount Peter and should not determine Mount Peter's geography or labels.
Resolve these Mount Peter map decisions before artwork begins
A concise brief should settle the information hierarchy as well as the physical footprint.
- Exact terrain boundary and preferred north or guest-facing orientation
- Current trail, lift, learning-area, lodge, and tubing references
- Labels that must remain readable from the intended approach
- Wall, tabletop, pedestal, or counter presentation
- Finished display dimensions and available depth
- Indoor or outdoor placement and access constraints
- Any updateable layer that should not be embedded permanently
Design from the base-area viewing position
A map mounted where guests approach from the base may work better in an intuitive uphill orientation than in a strictly north-up presentation. A commemorative wall piece may favor geographic north. Choose one primary view and record it in the brief so trail labels, lift names, and the legend do not rotate late in the project.
Also record how close viewers can stand. Fine labels that work at arm's length may disappear across a lodge. If the map will be photographed or viewed from several sides, identify those secondary angles before the frame, pedestal, or wall clearance is finalized.
Request pricing for a custom Mount Peter 3D map
Send the intended map boundary, current trail and lift references, required labels, target display size, preferred orientation, viewing distance, installation setting, destination, and required date.