
Planning Oversized Alice in Wonderland Scenic Props
An Alice in Wonderland-inspired setting works best as a composed family of oversized scenic objects, not a random collection of references. Choose the few forms that establish the storybook scale, then plan their spacing, sightlines, and visitor path as one physical environment.
Discuss a Scenic Prop Set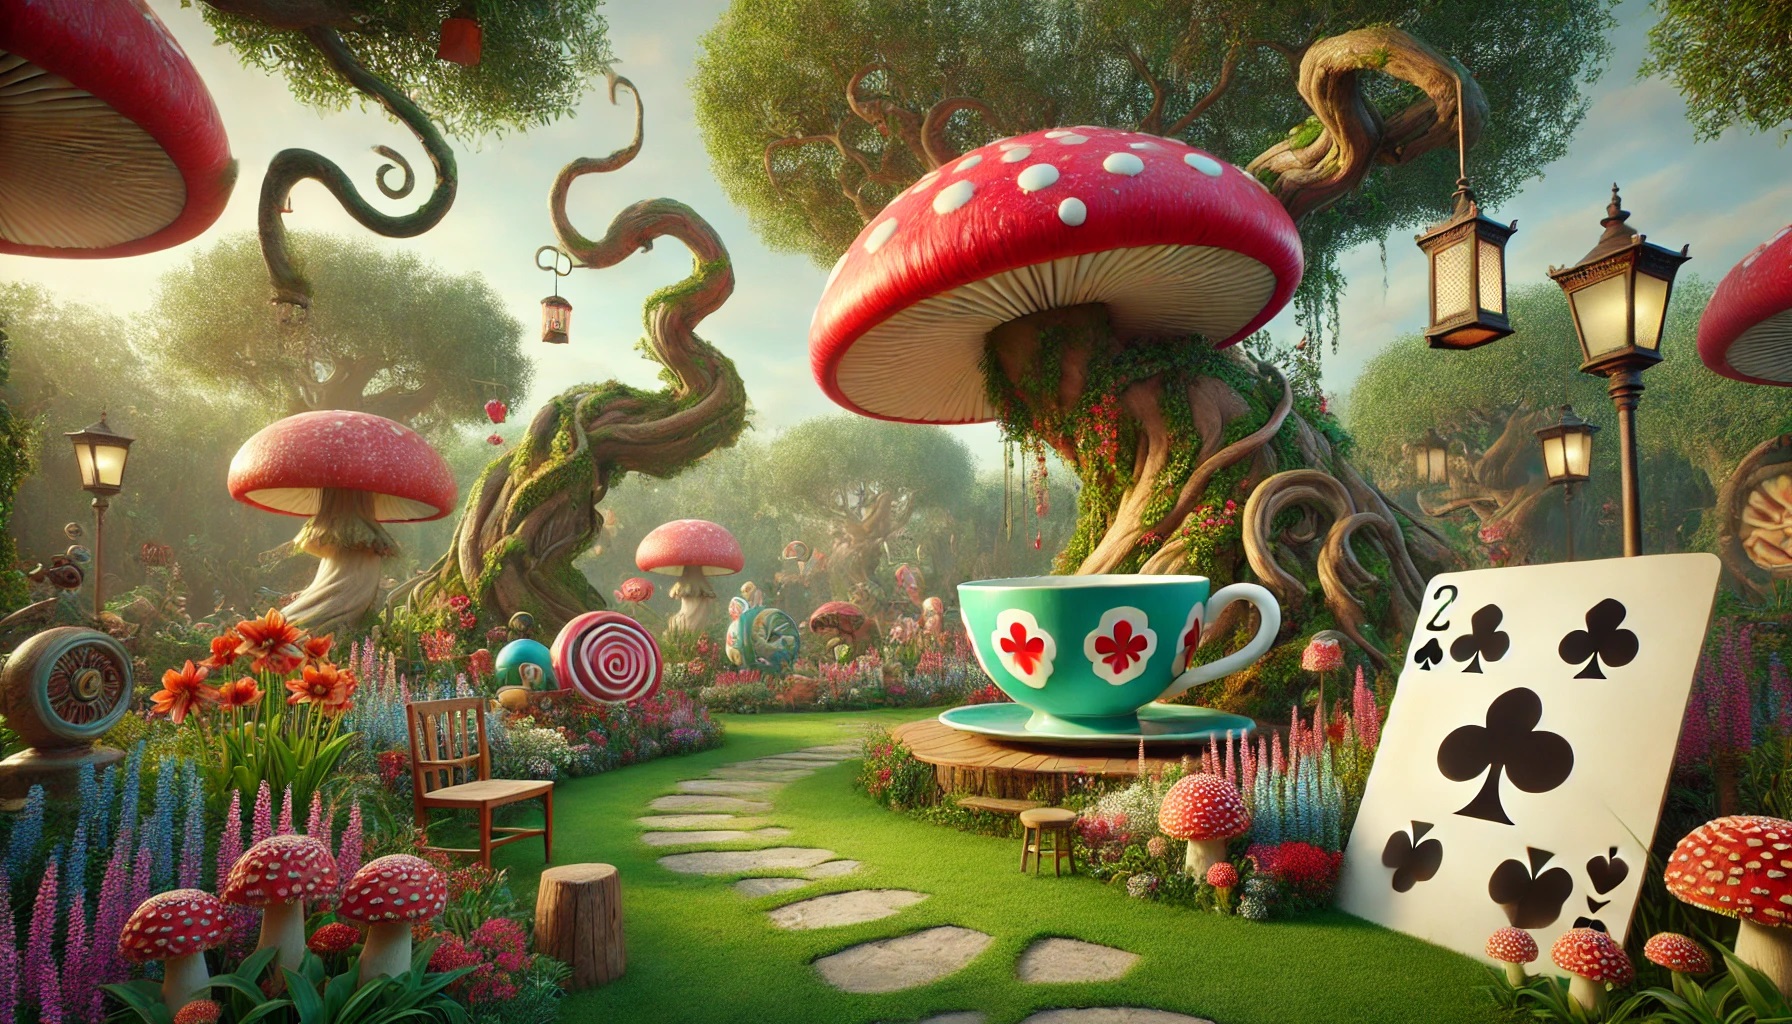
Start with a small family of oversized forms
A giant mushroom, teacup, playing card, clock, key, or doorway can each signal a storybook world, but using every symbol at once weakens the composition. Select one anchor object and two or three supporting forms. The anchor should carry the greatest height or visual weight, while the secondary pieces guide visitors toward an entrance, photo position, or central activity.
Establish the normal approach before choosing final orientations. A card that reads well from the front may disappear from a side aisle, while a cup or mushroom can hold its shape from several directions. A simple overhead plan with audience routes, camera positions, and required clearances is more useful than a list of props without placement.
Give each storybook shape a clear role
The strongest sets use differences in scale and silhouette to organize the scene.
Mushroom centerpiece
A broad cap and narrow stem create an immediate scale cue. Decide whether visitors only stand beside it or whether the footprint also frames a path.
Teacup or table feature
The rim, handle, opening, and tabletop relationship need enough depth to read from the audience side without blocking nearby figures.
Cards and signs
Flat graphic elements can define edges or directions, but their face angle and lettering must be planned for the intended viewing distance.
Doorways and arches
A walk-through element needs real opening dimensions, overhead clearance, floor conditions, and a defined relationship to the rest of the set.
Build the route before filling the backdrop
For a photo setting, mark where people stand and where the camera sits. Keep the primary shapes visible around a person rather than directly behind the head or shoulders. For a walk-through scene, leave enough room for movement, queues, and venue operations, and avoid narrow projections where visitors are expected to pass closely.
The display may need to divide into sections for doors, elevators, loading docks, or repeated setup. Identify the largest acceptable component and the order in which the scene will be assembled. If the concept includes lighting, elevated pieces, or anything visitors may touch, state that during initial planning so those requirements are part of the scope.
Compare a full environment with a single focal piece
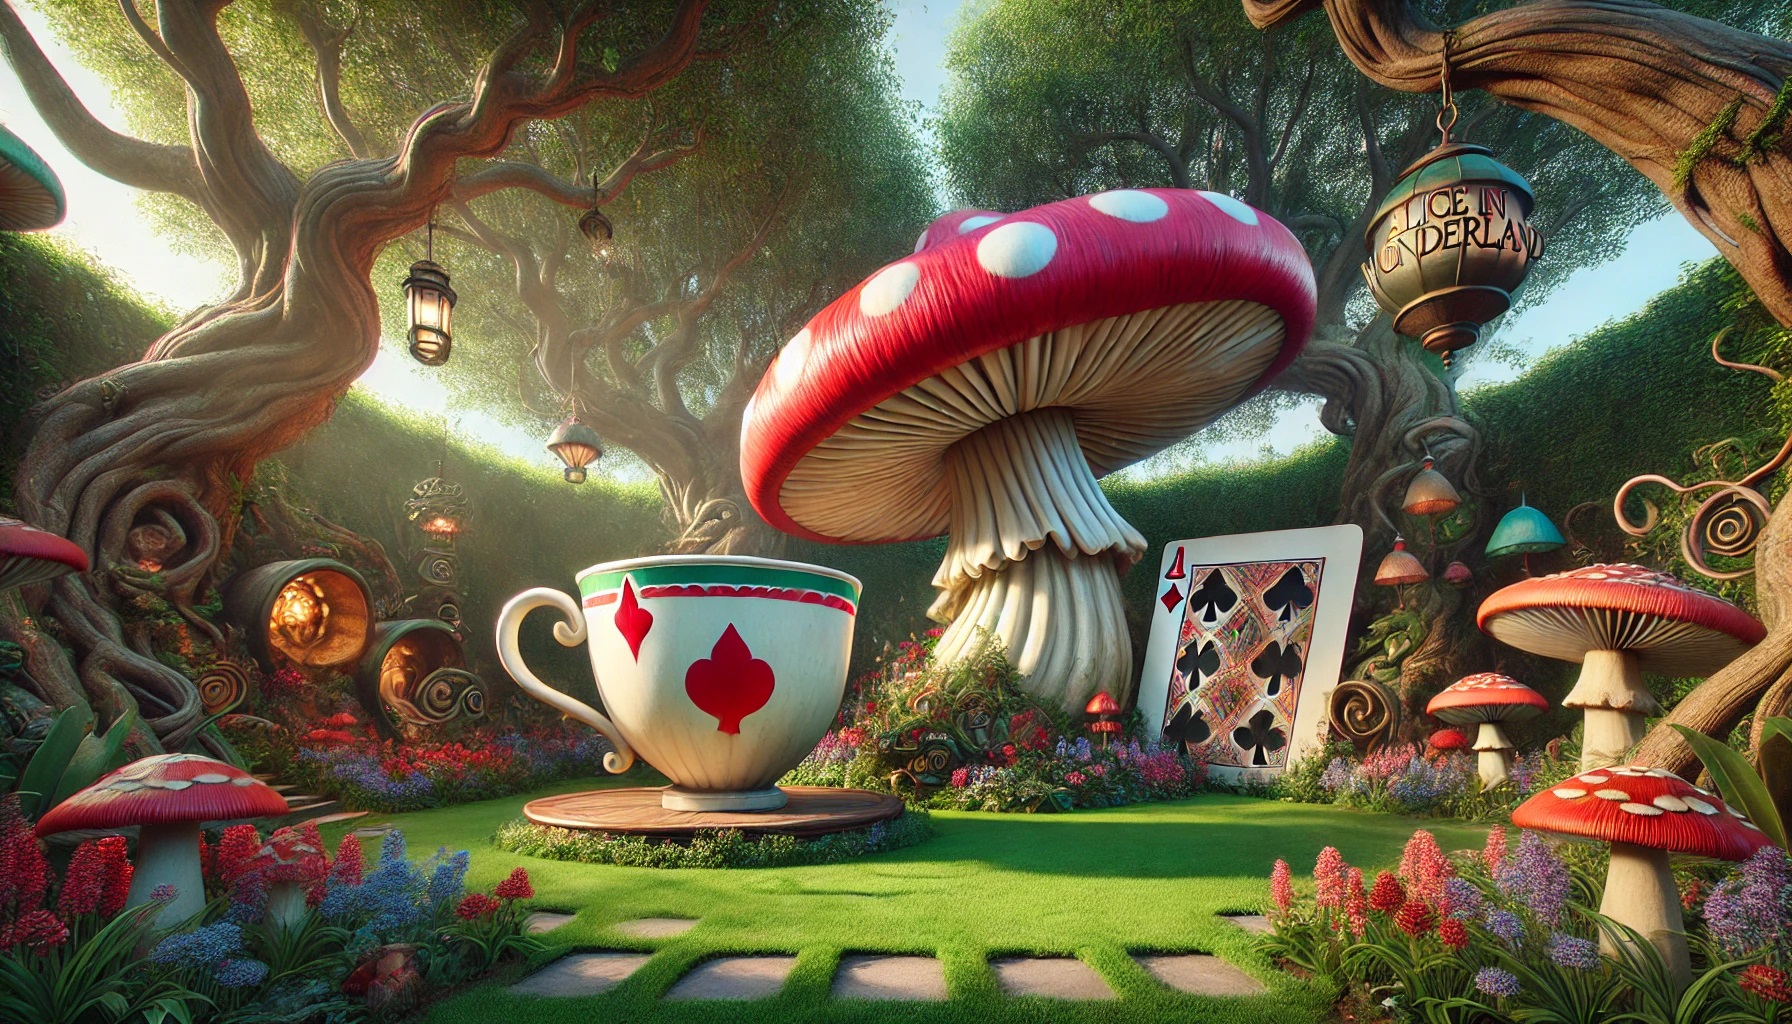
The concept views show two useful directions: several recognizable objects arranged across a landscape, and one large mushroom carrying most of the visual weight. They are planning illustrations rather than photographs of completed projects, so a new display can be proportioned and organized around its own venue.

What to send for an initial scenic-prop estimate
A compact visual and site package helps establish the number, scale, and arrangement of the physical pieces.
- List of desired objects in priority order
- Reference artwork cleared for production use
- Floor plan with audience and camera positions
- Target height and footprint for each major form
- Indoor, covered, or exposed placement
- Door, elevator, dock, and corridor limits
- Touch, lighting, or walk-through requirements
- Destination, setup date, and display duration
Request pricing for oversized storybook props
Share the preferred objects, approved references, target dimensions, site plan, visitor flow, display conditions, access limits, destination, and required date. Note any lighting, touch, walk-through, packing, or repeated-use needs.