
Planning a Custom 3D Map of Crotched Mountain
A Crotched Mountain physical map can organize a compact 1,000-foot vertical into a clear guest-facing view of trails, lifts, glades, terrain parks, and base facilities. The most important early choice is which operational layers deserve permanent space.
Plan a Crotched Mountain Map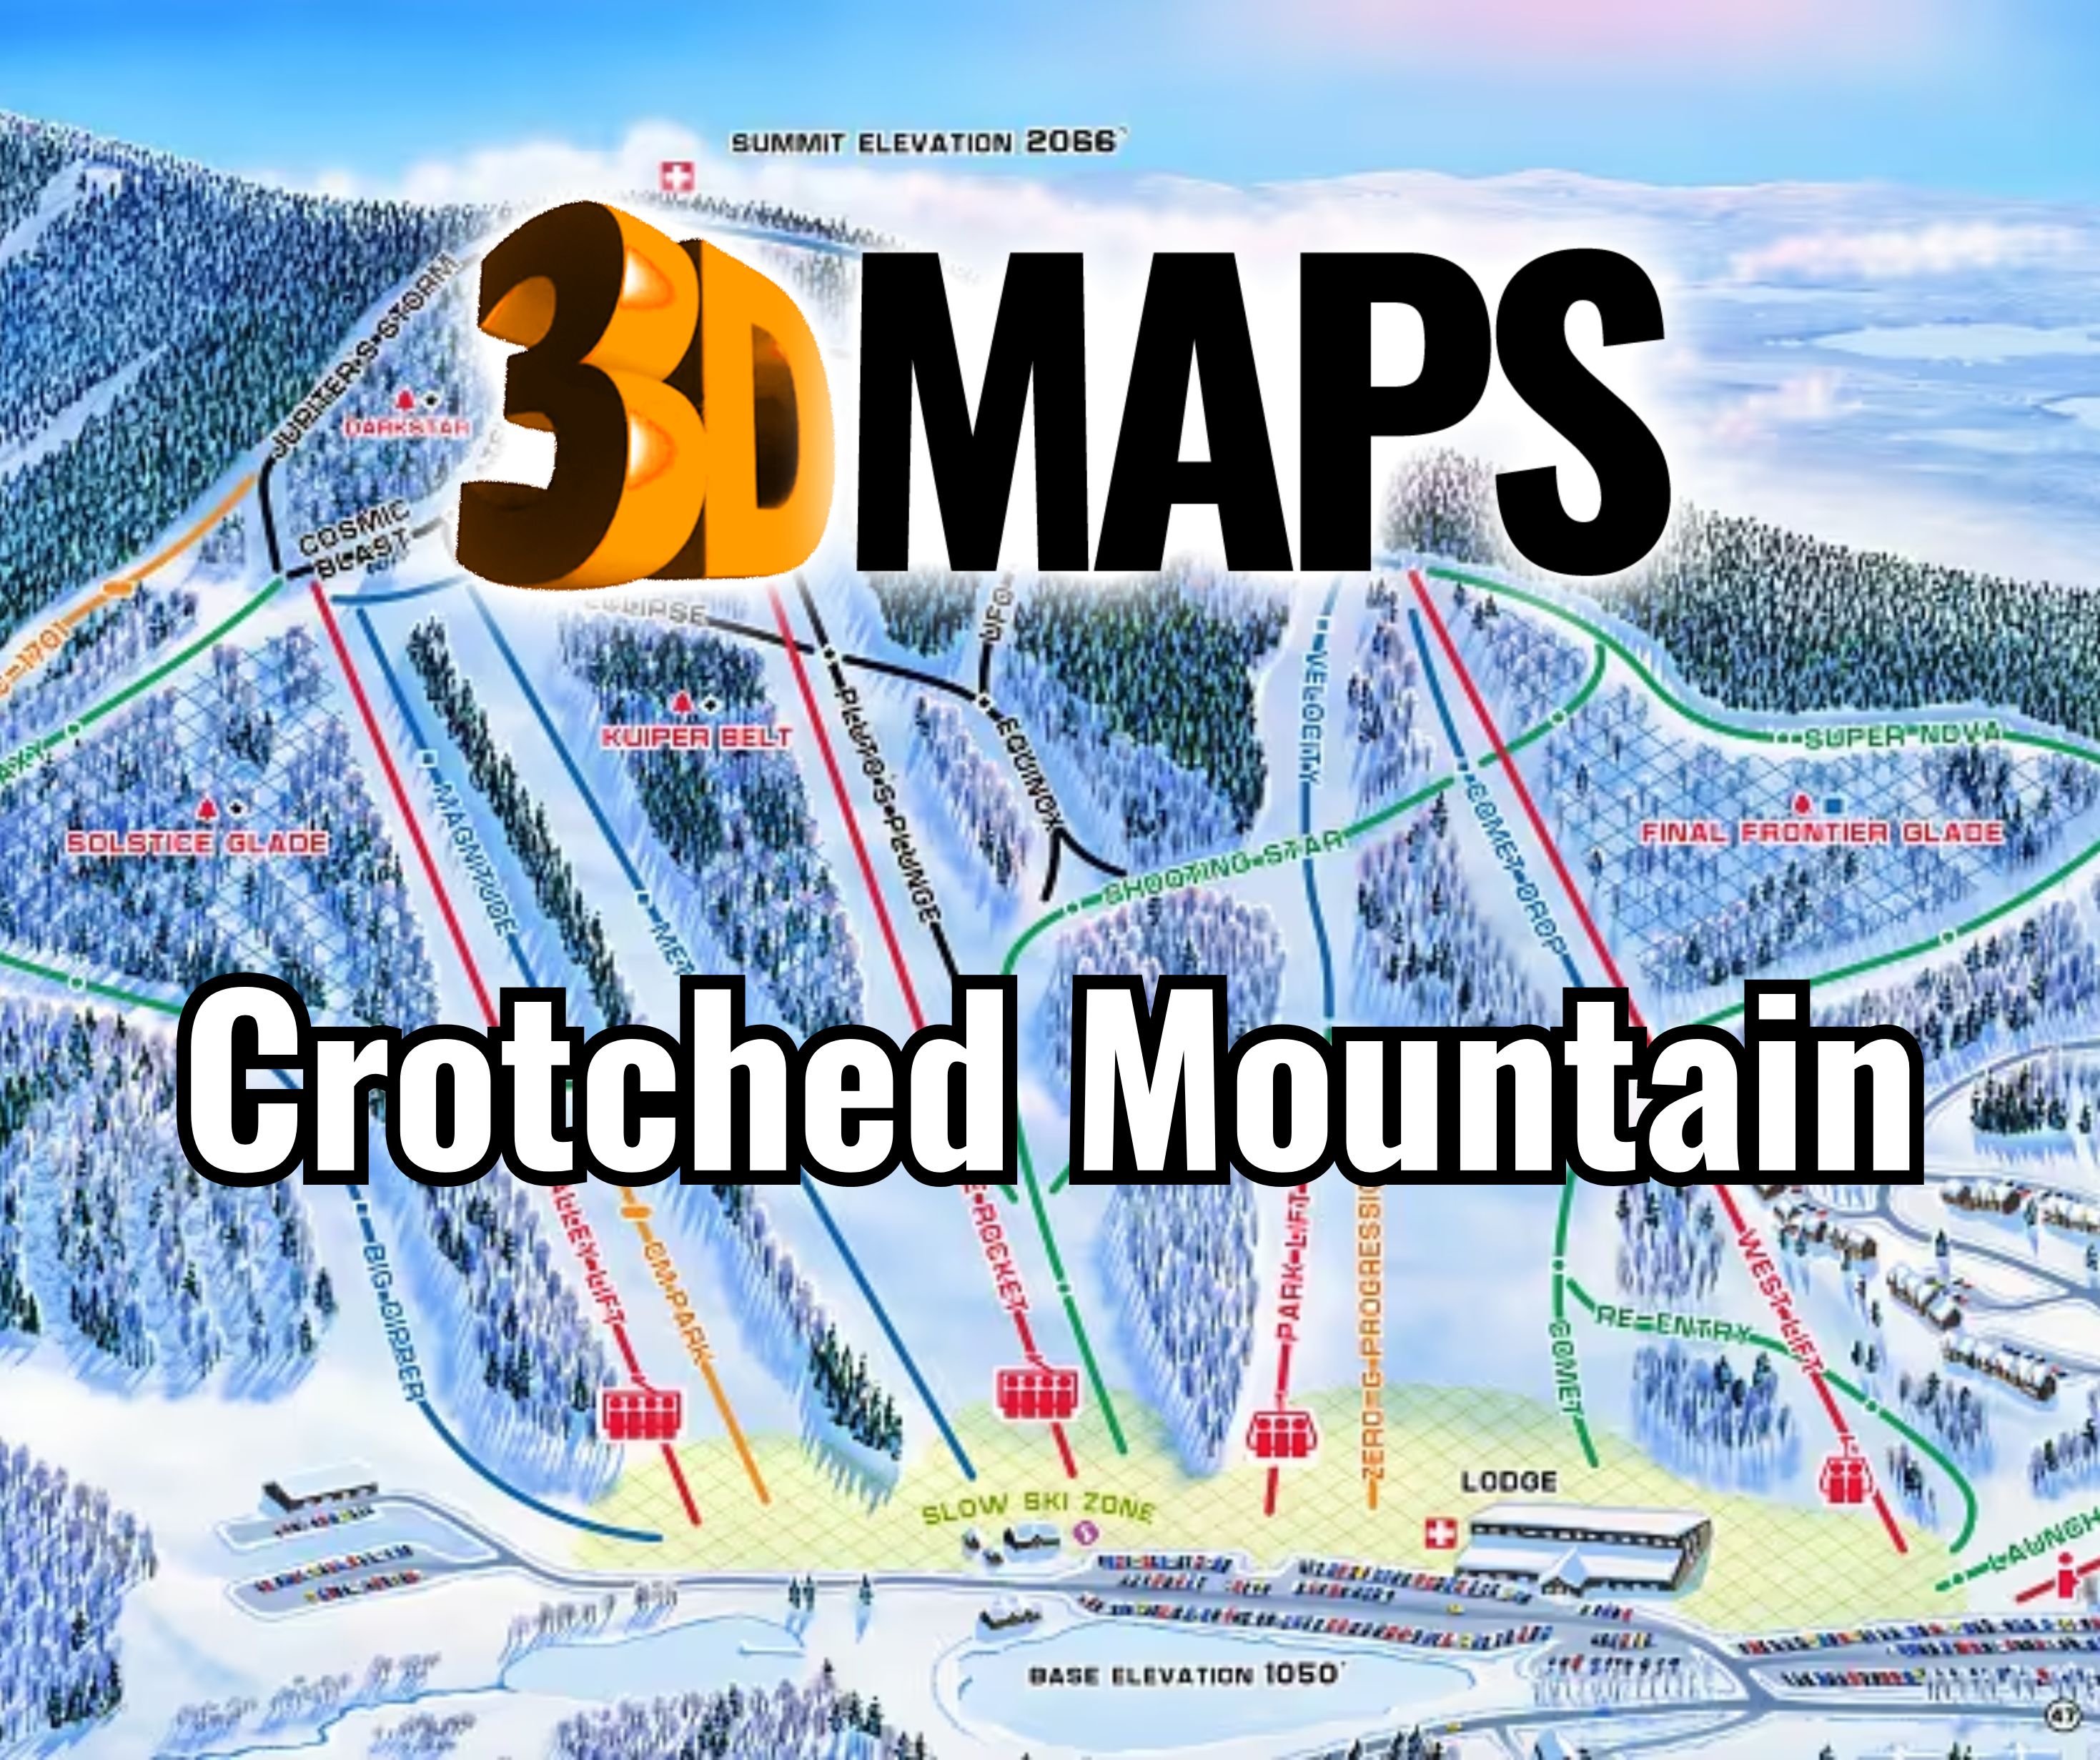
Decide which Crotched Mountain layers belong on the display
A complete terrain surface does not require every operating detail to be permanent. Trails and lift alignments may form the durable orientation layer, while terrain-park features and some glade information may change more frequently. The brief should distinguish geography from operational graphics before artwork begins.
The approximately 1,000-foot vertical gives the model a strong summit-to-base form. Choose the physical height and relief treatment around that landform, then reserve room for only the labels and symbols needed at the expected viewing distance.
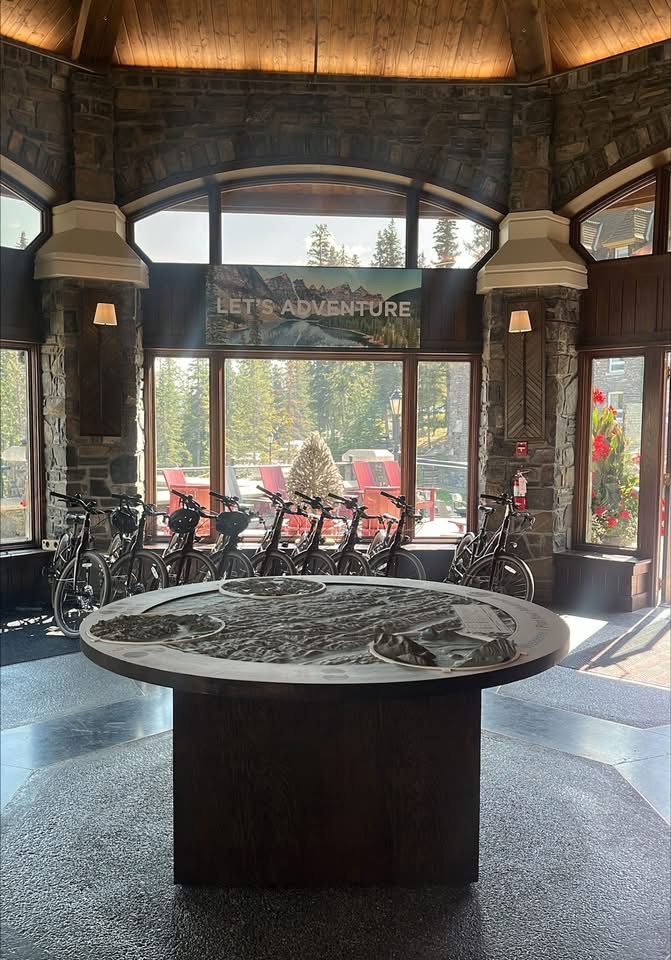
Review an information-rich Banff destination map
The supporting photograph shows a completed WhiteClouds map for the Fairmont Banff Springs Adventure Centre in Alberta. It demonstrates how terrain and visitor information can share a physical display. It does not depict Crotched Mountain or provide Crotched terrain data.
Separate lasting geography from changing operations
A layer plan helps keep the finished display useful when resort details evolve.
Terrain
Use the mountain form as the stable foundation for every other information layer.
Trails and lifts
Prioritize the routes and lift lines necessary for basic guest orientation.
Glades
Represent wooded terrain only when the approved source and symbol scale remain clear.
Terrain parks
Consider a changeable graphic treatment when feature layouts are expected to move.
Prepare current terrain and operating sources
Final labels and routes should come from approved current files.
- Exact lift-served boundary and map orientation
- Current elevation, trail, lift, and glade data
- Terrain-park permanence or update strategy
- Required lodge and base-facility markers
- Display dimensions, relief depth, and viewing distance
- Wall, tabletop, or exhibit placement
- Installation access, destination, and schedule
Check routes and relief at full physical size
Deep relief can improve the mountain silhouette while casting shadows across fine route graphics. Test the proposed terrain depth, trail colors, and installation lighting together. A screen rendering alone cannot show how those elements will interact in the actual setting.
Review the smallest labels from the real viewing distance. If the map is mounted above eye level, include that height in the test so labels and lower-slope features are not hidden by the frame or viewing angle.
For an updateable park layer, the same test should include the attachment method and replacement clearance. A graphic that reads well in a proof may be awkward to remove once the display is framed or mounted.
Request pricing for a Crotched Mountain 3D map
Provide the approved boundary, current terrain and operating sources, permanent and updateable layers, dimensions, orientation, viewing context, installation details, destination, and schedule.