
How to Plan a Custom Terrain Map or Model
The phrase terrain map can describe a flat printed or digital map, a raised-relief model, or a presentation that combines both. For a custom physical display, the important decision is what the terrain needs to communicate and how people will encounter it. Start with the place, audience, scale, and display setting before choosing the format.
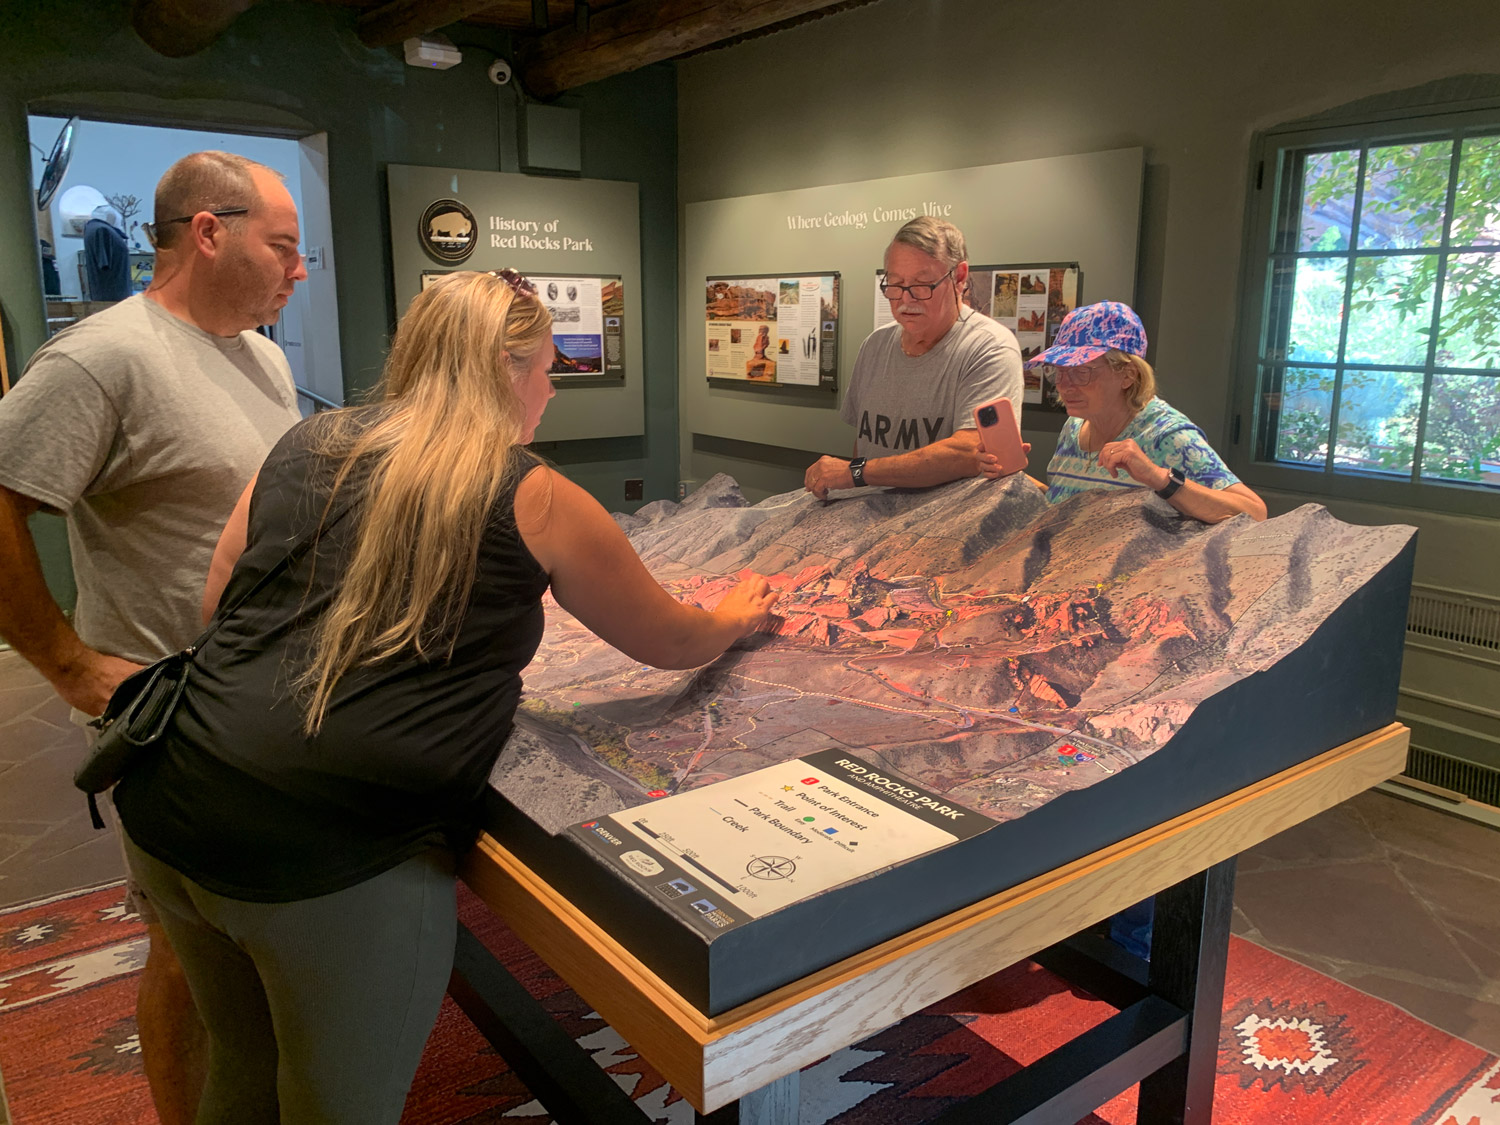
Choose between a flat map and physical relief
A flat map can carry a large amount of text, imagery, routes, and boundaries in a compact format. A physical relief model makes elevation, slope, ridges, valleys, shorelines, and spatial relationships tangible. Some projects combine raised terrain with printed graphics, labels, lighting, or removable markers so the audience can read both the landform and the information layered over it.
Set the extent before the dimensions
Define the exact area to be shown: a property, campus, trail system, park, resort, city edge, mountain range, or broader region. Then choose the physical width and height that give the important features enough room to read. A larger geographic extent may require a quieter design, while a smaller area can support denser labels and more detailed terrain.
Select the elevation data and reference layers
A terrain model may begin with a digital elevation model, lidar-derived data, contours, survey information, or other geographic files. USGS 3DEP is one current public source of elevation products, including digital elevation models and lidar point clouds. The brief should identify the source, coordinate or boundary information, and the other layers needed for the finished map, such as roads, trails, buildings, water, or imagery.
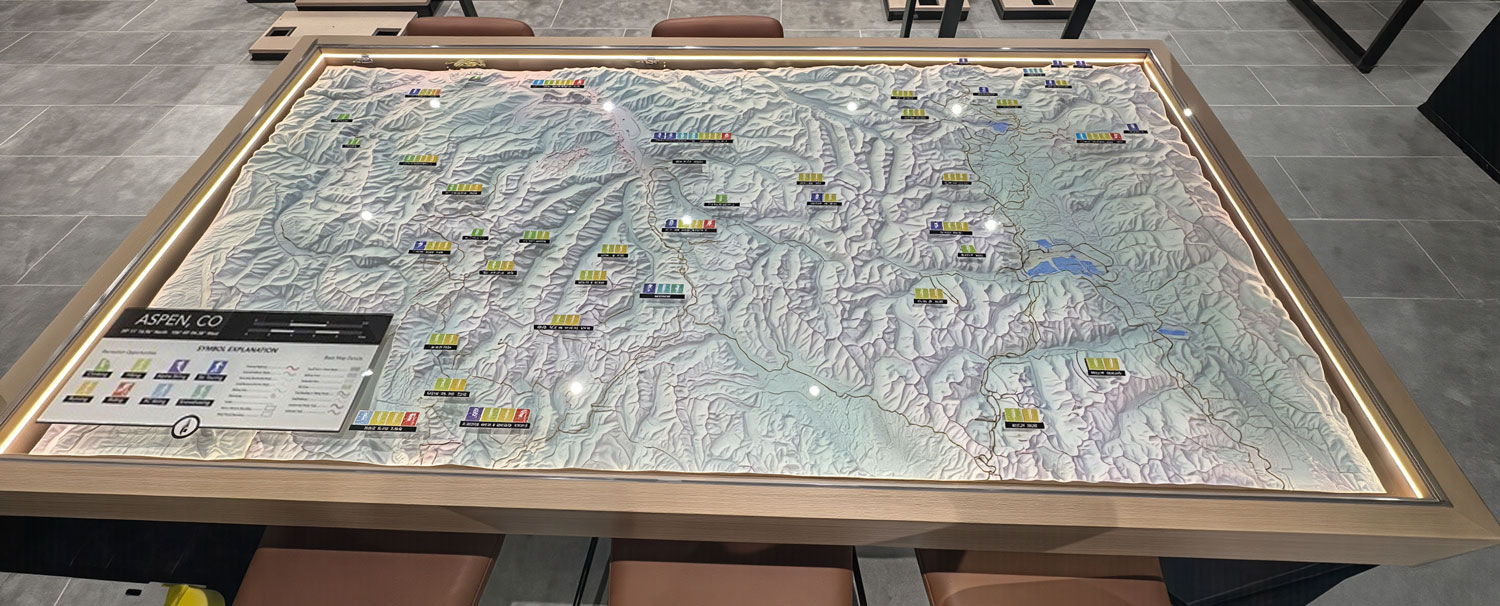
Decide how much relief to show
Relief is a design choice as well as a data result. Moderate exaggeration may help a broad area read in a room, while a close study may need a quieter surface so labels and overlays stay accurate-looking. Describe the intended viewing distance and the terrain features that must remain recognizable instead of selecting an arbitrary exaggeration value.
Coordinate labels, color, and overlays
Make a hierarchy for names and map layers. Major landmarks, routes, water, property lines, buildings, and interpretive areas should not all compete at the same visual weight. Share the color references, legend, orientation, language, label list, and any features that need a physical marker or illumination.
Plan the physical display
Record whether the map will be tabletop, wall-mounted, freestanding, enclosed, or part of an exhibit. Measure the available footprint, approach space, viewing height, lighting, access route, and storage or reuse needs. The display format influences the model depth, base, protective details, and the sides that need to be finished.
Terrain-map planning checklist
- Named area, boundary, orientation, and preferred geographic extent
- Elevation, contour, lidar, survey, imagery, or other source files
- Physical width, height, relief depth, and primary viewing distance
- Labels, roads, trails, waterways, buildings, borders, or interpretive overlays
- Color system, legend, lighting, markers, and any interactive elements
- Tabletop, wall, pedestal, exhibit, or other display format
- Access route, transport, storage, schedule, and reuse expectations
Keep the planning guide separate from the service page
The custom topographical models service explains WhiteClouds capabilities and the quote path. This article is for the earlier decisions that shape a workable terrain-map brief. The 3D topographical model gallery shows different relationships between relief, scale, labels, and display context.
Request a custom terrain map estimate
Send the area, reference data, intended audience, approximate dimensions, display setting, detail priorities, access information, and schedule. WhiteClouds can help turn that starting information into a specific terrain-map scope.
Related terrain map resources
Compare custom topographical models and terrain displays while you plan extent, relief, data layers, viewing distance, and placement.
Custom 3D Map Quote
Share the size, placement, finish, timing, and reference files available for your project.