
How Trade Show Displays Are Made
A practical sequence for developing, fabricating, testing, packing, and installing a custom exhibit display
A trade show display moves from requirements and drawings into coordinated structure, graphics, dimensional elements, lighting, and hardware. Test assembly and logistics are part of making the display, not separate chores after fabrication.
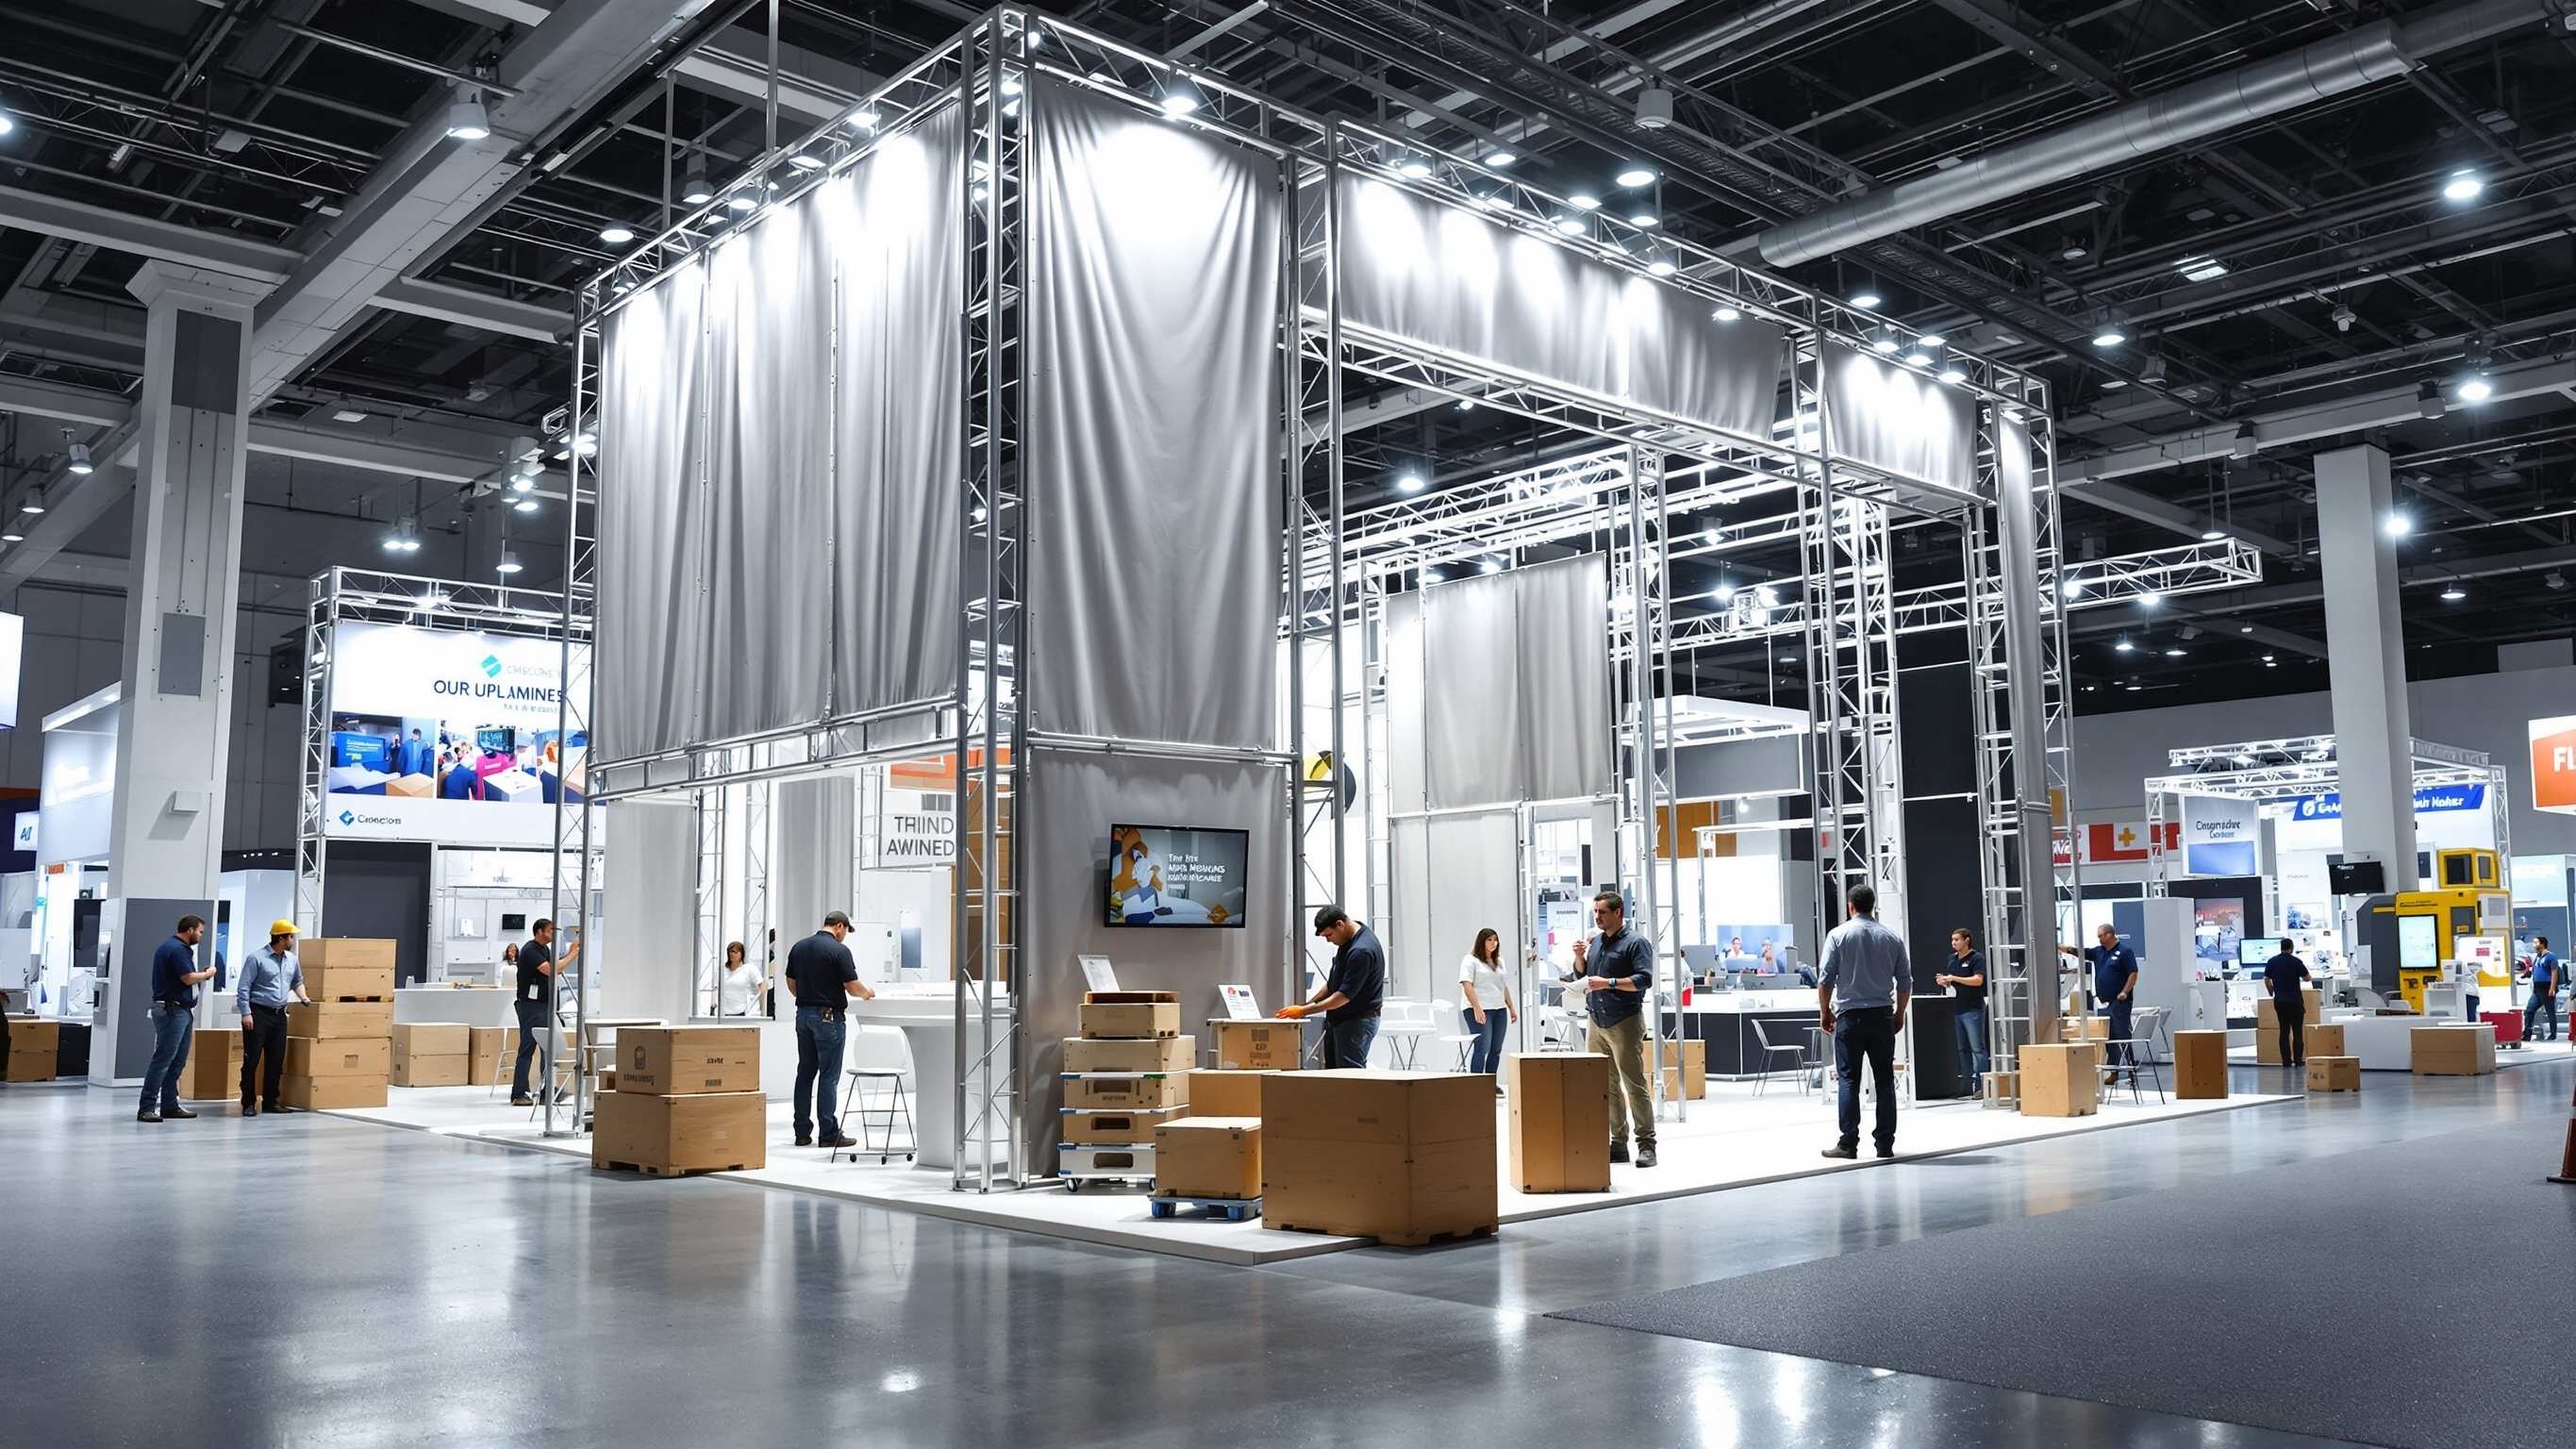
Technical Overview
Convert Show Requirements Into a Design
The process begins with the booth footprint, open sides, exhibitor rules, audience, products, demonstrations, graphics, storage, technology, staff needs, budget, and schedule. These requirements establish the display boundary before detailed shapes and finishes are developed.
Plans and renderings organize circulation, sightlines, dimensions, messages, and components. Reviews should confirm what visitors see from each aisle and how staff will use the booth, not only how the display appears from one ideal camera angle.
Resolve Structure and Connections
Frames, walls, counters, bases, dimensional pieces, shelves, and equipment supports must connect in a repeatable way. Weight, center of gravity, hanging loads, audience contact, venue requirements, and the qualifications of installers influence the structural approach.
Components also need to separate into practical shipping units. Joint locations, hardware, alignment features, cable routes, and access panels are coordinated before fabrication so the assembled display can present clean surfaces without hiding essential service points.
Select Materials for Appearance and Handling
Exhibit displays may combine aluminum framing, wood-based components, laminates, fabric graphics, printed panels, acrylic, foam, and other materials. Each selection affects finish, weight, edge details, packing, repair, and reuse.
Material documentation and finish samples should be reviewed where the show or venue requires them. Color and sheen should also be checked with the planned lighting because a surface can appear different under shop light and exhibition-hall fixtures.
Fabricate the Physical Components
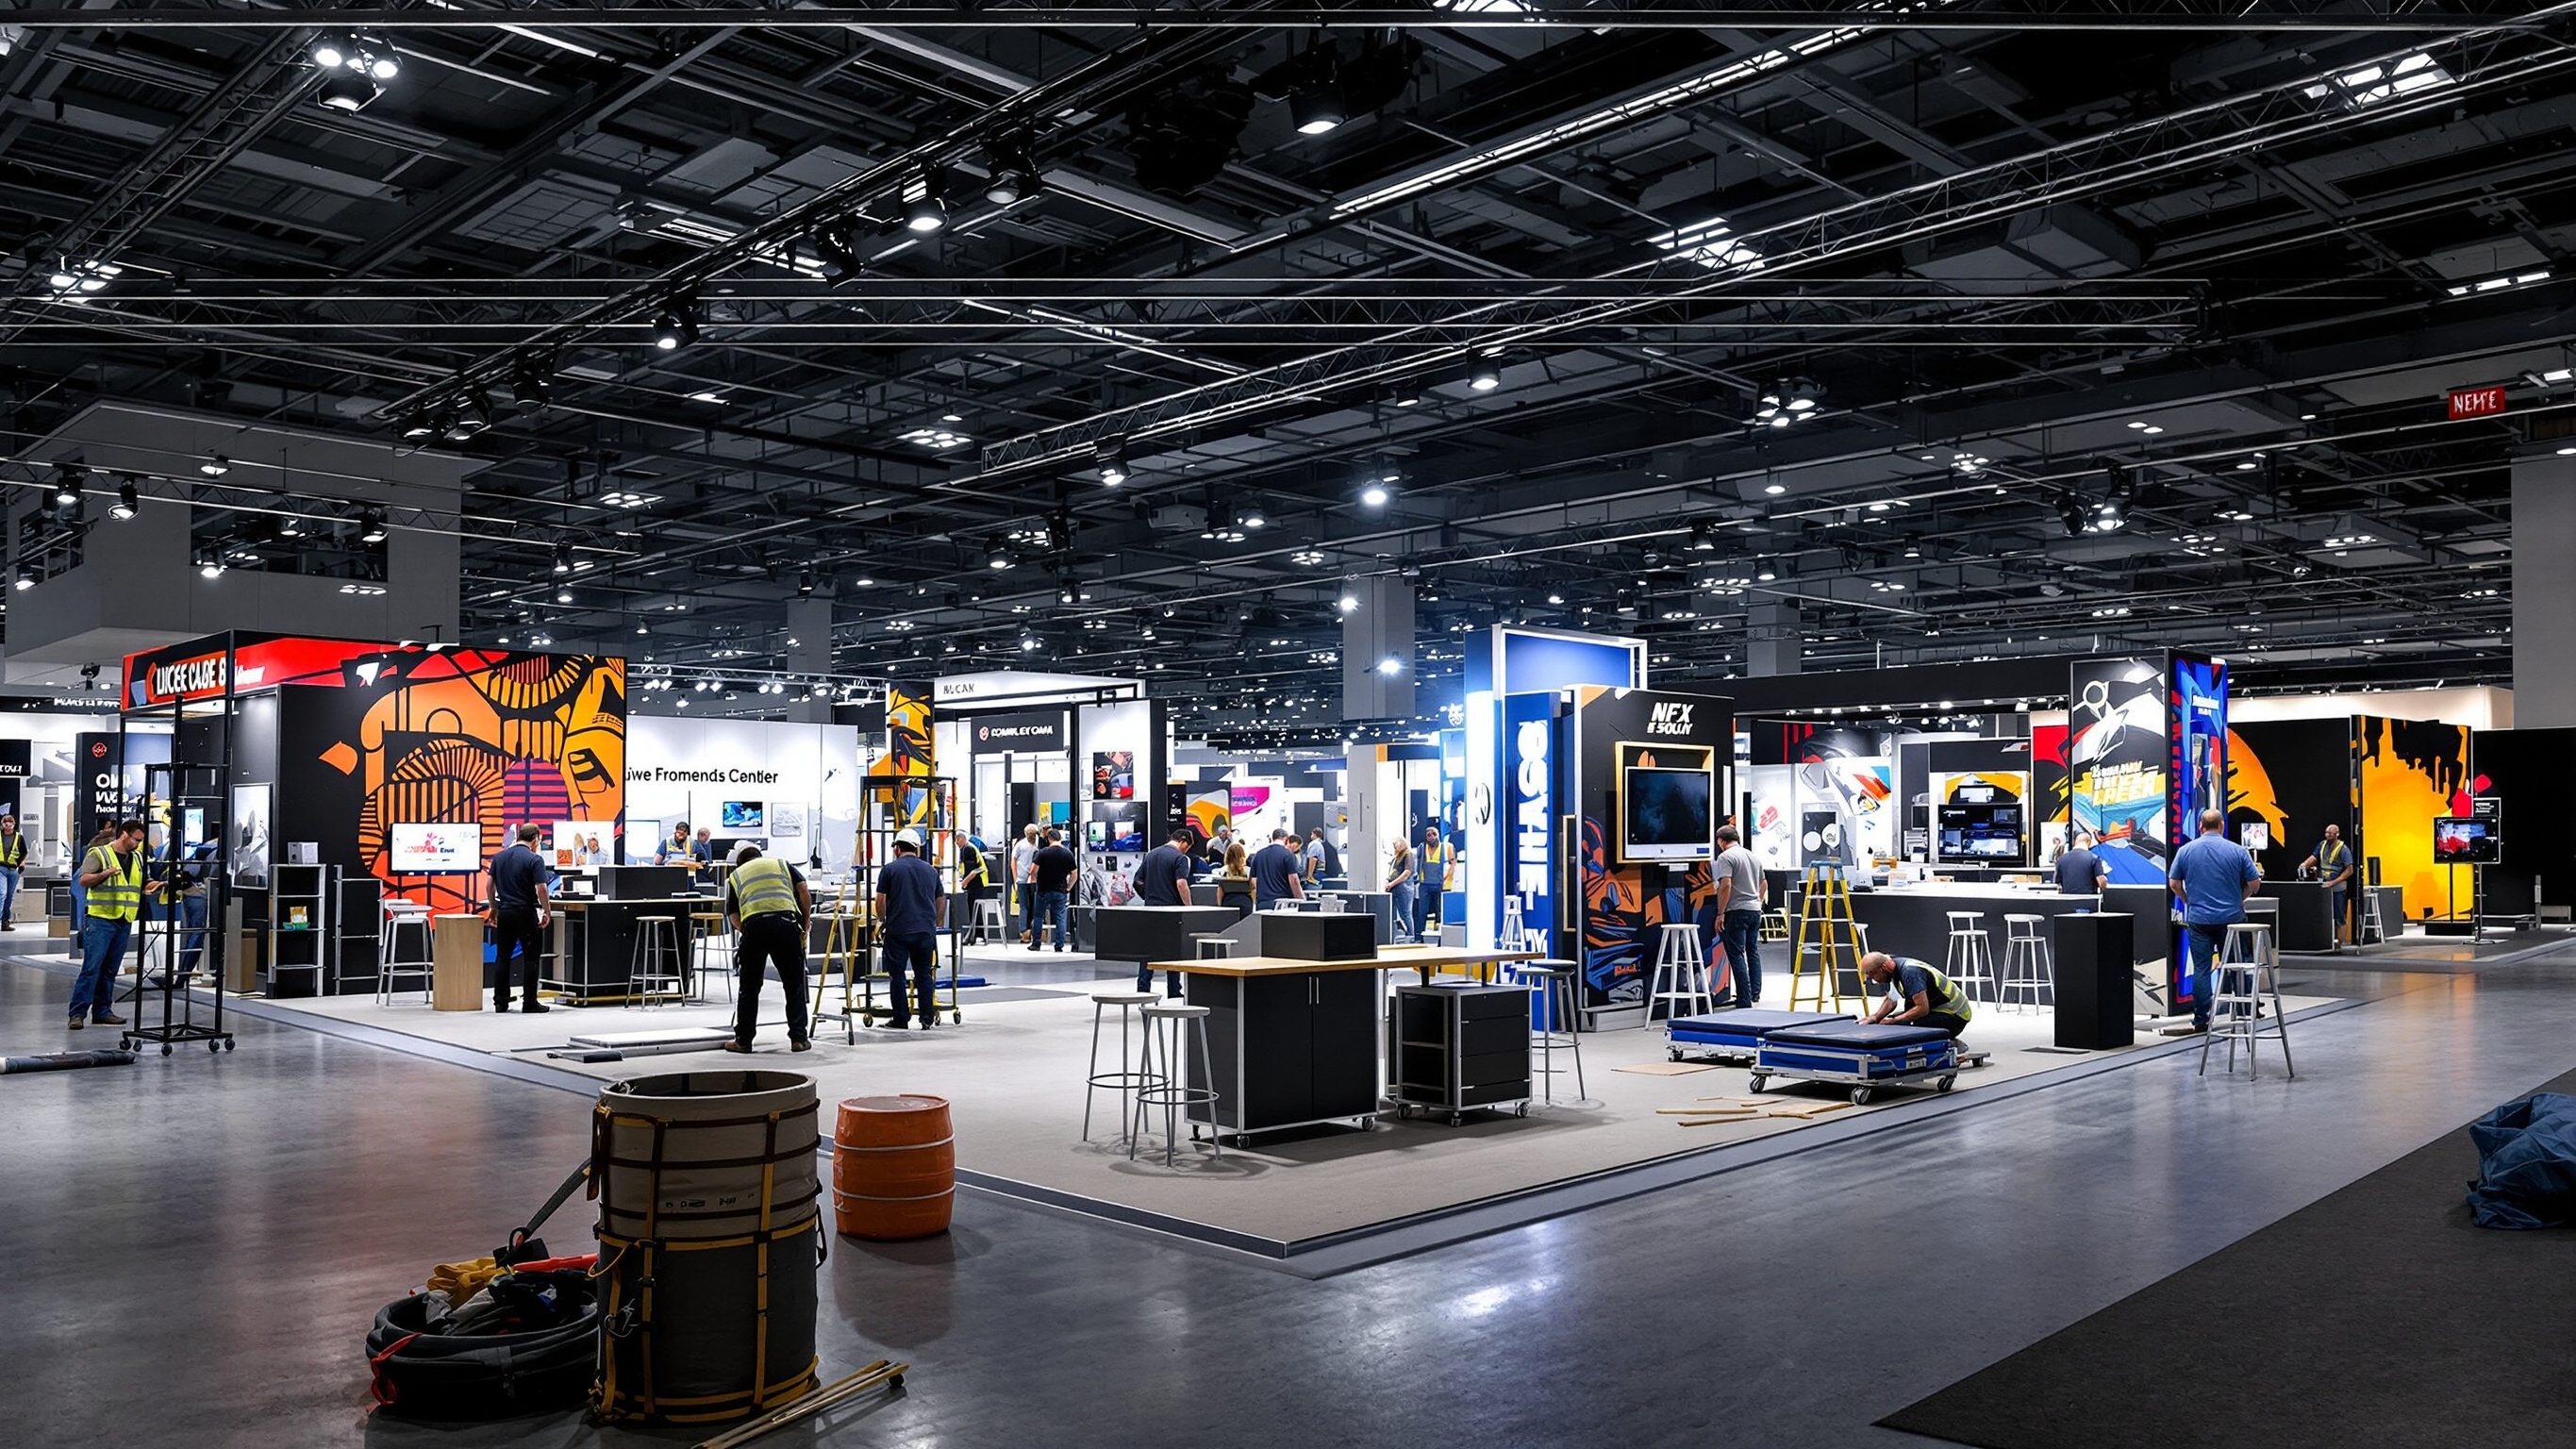
Approved drawings guide cutting, machining, joining, shaping, printing, painting, and assembly. Dimensional logos, props, product supports, and custom shapes are built alongside the walls and counters they must align with.
Graphics and lighting are coordinated to the finished dimensions rather than produced from early concept art. Openings, seams, fasteners, connectors, power supplies, and controls need known locations so graphics do not cover access and lighting does not conflict with structure.
Test the Complete Assembly
A test fit can confirm dimensions, graphic alignment, hardware, stability, lighting, cable routes, doors, shelves, and the setup sequence. It also lets the team compare the assembled booth with the approved drawings before the components are packed.
Corrections are documented in the parts and instructions so the show-site crew receives the resolved configuration. Labels and packing order can reduce the need to search for hardware or unpack later-stage components first.
Pack, Ship, Install, and Handoff
Crates or cases should support the actual component sizes and protect finished surfaces, graphics, corners, electronics, and hardware. Shipping, drayage, installation labor, utilities, and access times are coordinated with the event schedule.
After installation, the handoff can identify controls, storage, cleaning, dismantling order, and repacking. WhiteClouds can fabricate custom dimensional exhibit elements within this larger process when the display requirements and interfaces are clearly defined.
Plan fabrication for a trade show display
Review custom exhibit services and completed trade show and event display examples.
Tell us what your model needs to communicate
Share the intended audience, approximate size, level of detail, available source files, and project timeline.