
Planning a Custom 3D Map of Nashoba Valley
Nashoba Valley presents a compact, laterally dense map subject: 17 trails, several chair and surface-lift systems, and night operations occupy a relatively shallow vertical face. Graphic spacing may matter more here than dramatic relief.
Plan a Nashoba Valley Map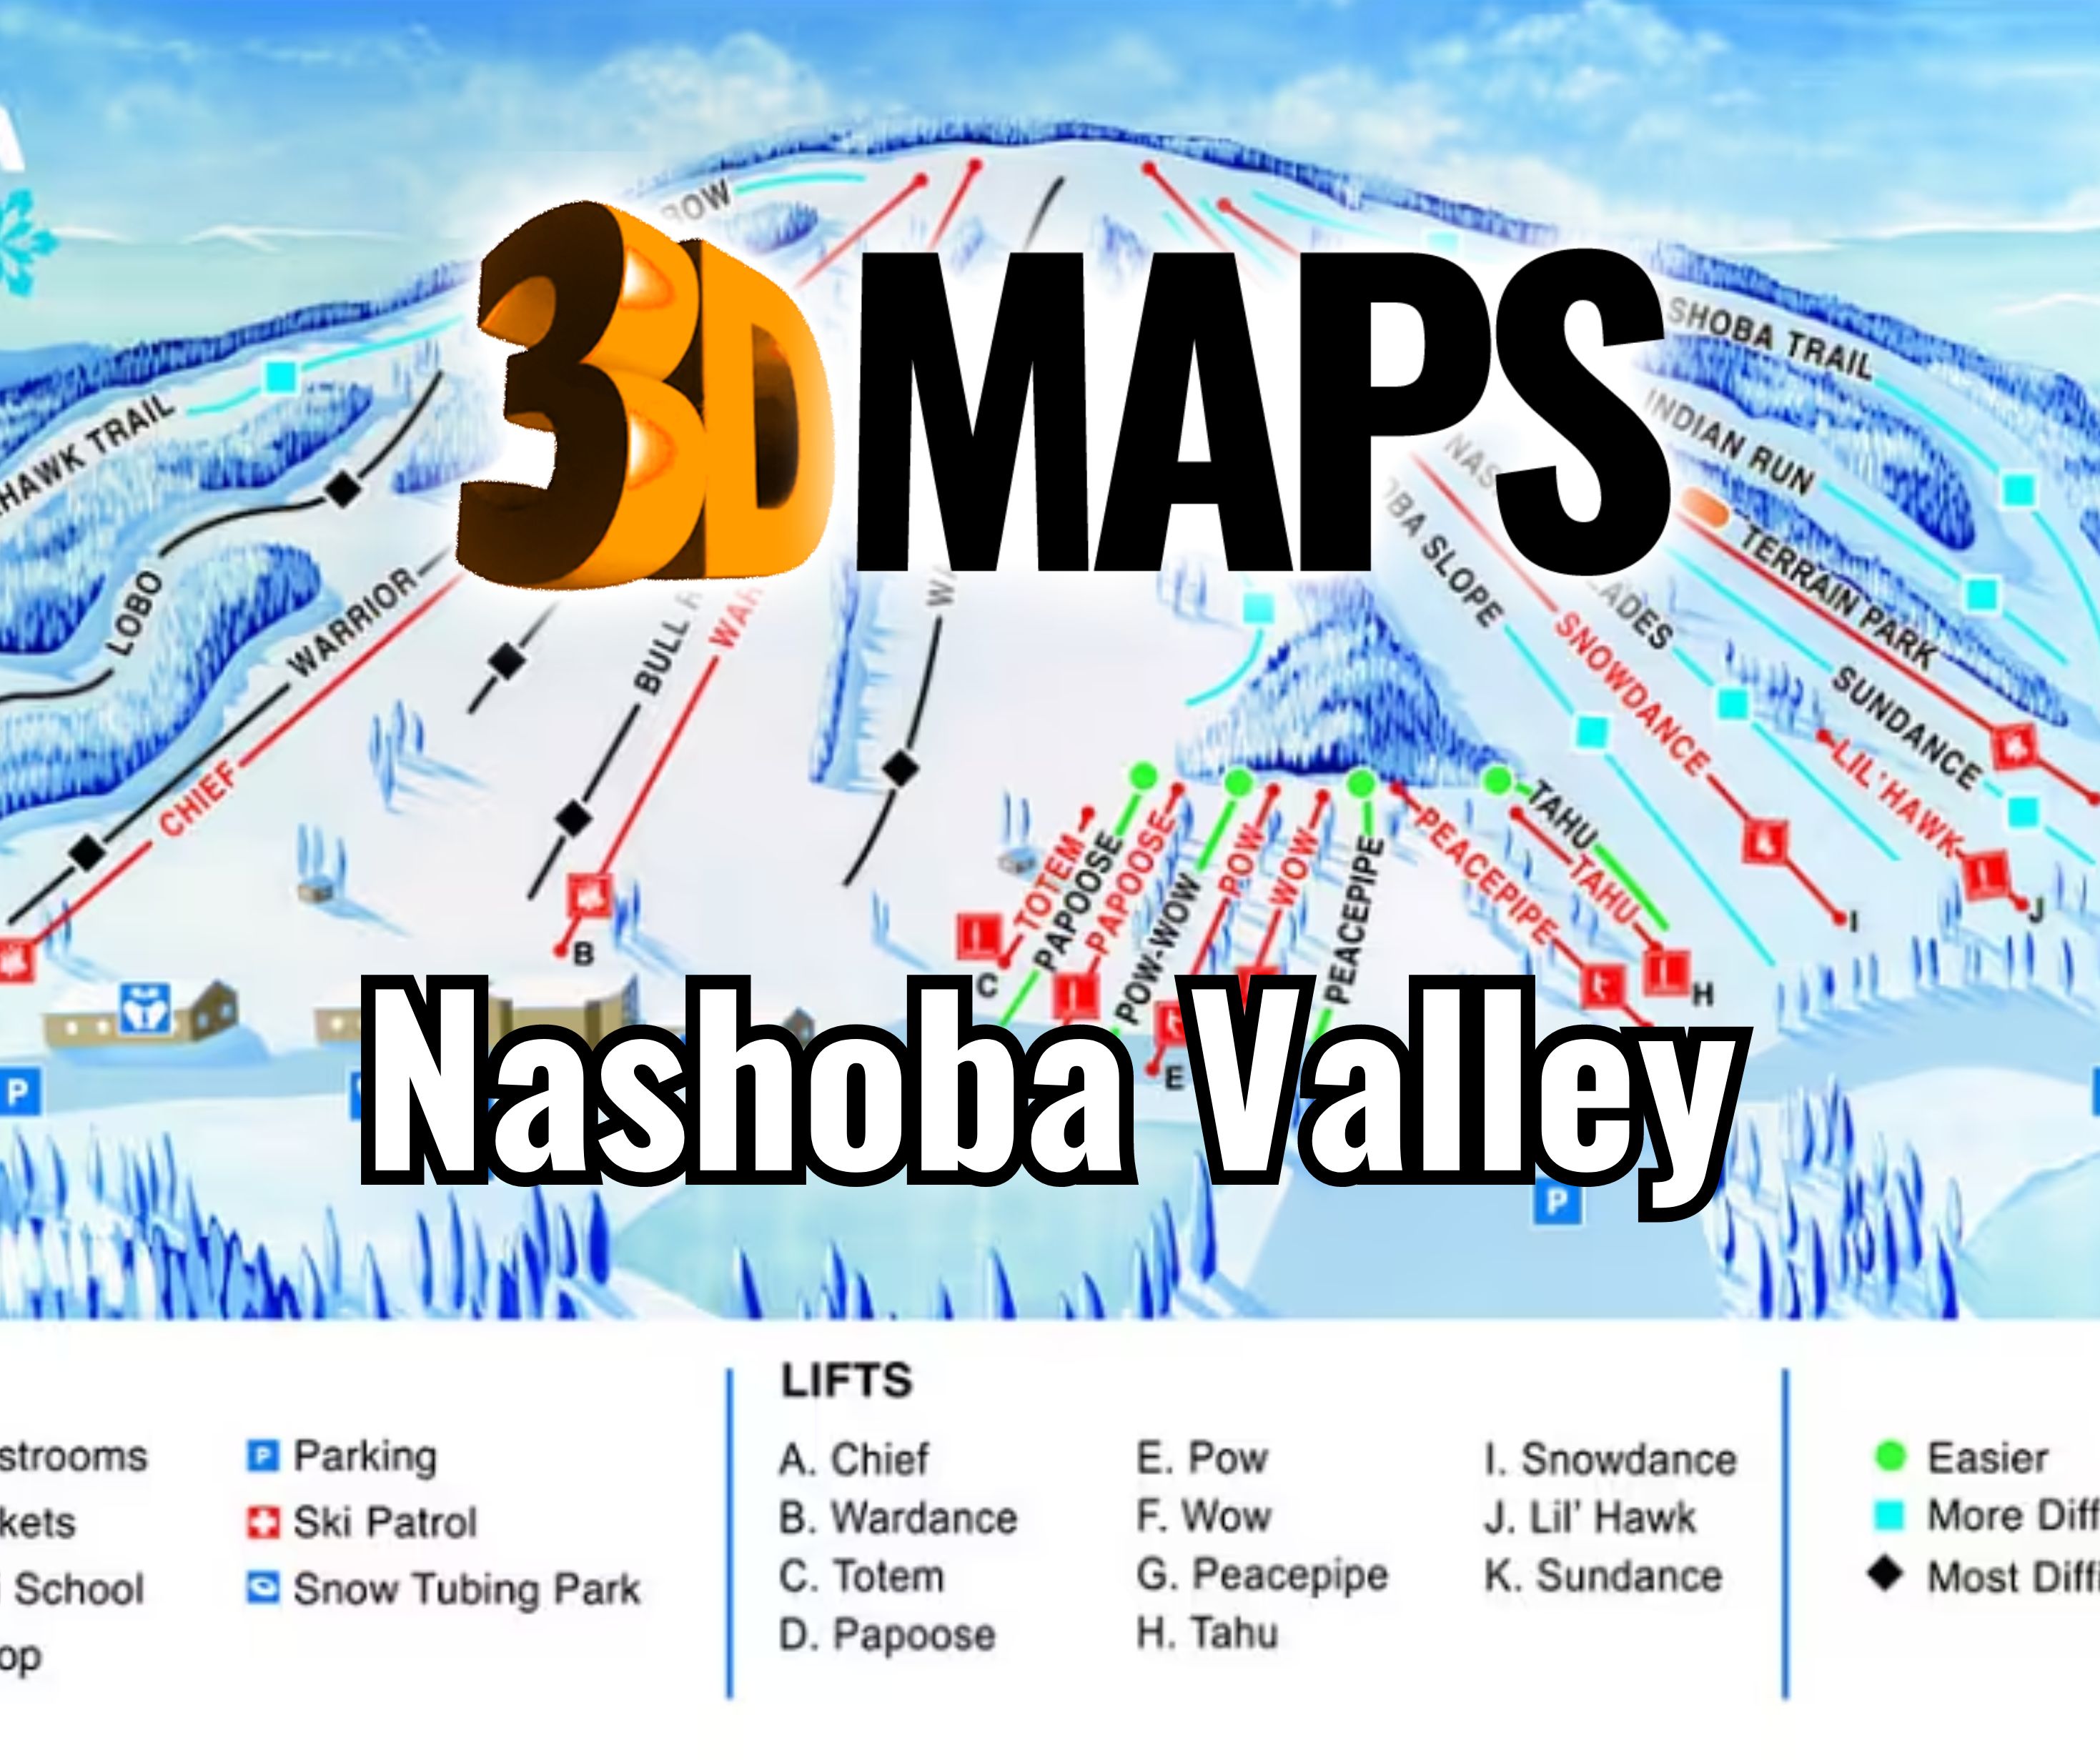
Plan Nashoba Valley around route separation
A compact mountain can still require a wide physical map. When 17 trails and several lift systems share a shallow face, narrow line spacing becomes the limiting factor. Choose width from the route and label proof first, then set relief depth that supports the landform without distorting it.
The boundary should include the ski face, learning areas, and base features needed for orientation. Nearby context belongs only when it helps a viewer locate the destination or supports a specific commemorative purpose.
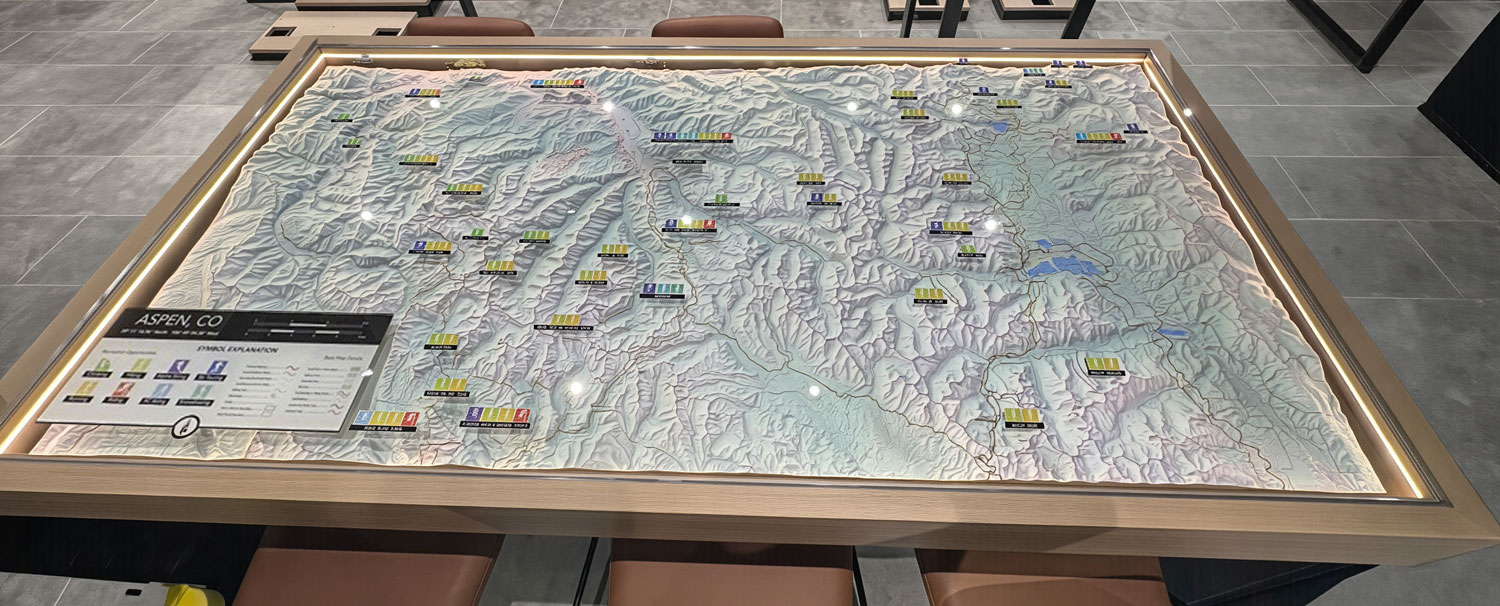
See an Aspen map integrated into a glass table
The supporting photograph shows a completed WhiteClouds Aspen topographical map installed in a glass tabletop at an Arc'teryx retail location. It offers a reference for a compact display format. It does not depict Nashoba Valley and contributes no Nashoba geographic data.
Make neighboring routes readable
The graphic layer carries more of the orientation work when elevation differences are modest.
Trail spacing
Use line weight, color, and selective labels to keep adjacent routes distinct.
Lift systems
Differentiate chair, surface, and conveyor routes without introducing a large legend.
Beginner zones
Protect open visual space near the base so beginner areas remain understandable.
Night use
Include night-operation information only when its permanence and update method are approved.
Set the minimum readable information layer
The current official or buyer-approved map should control routes and names.
- Exact ski-area boundary and orientation
- Current trails, lifts, conveyors, and learning-area data
- Night-use information and update strategy
- Minimum labels and legend requirements
- Display width, relief depth, and viewing distance
- Wall or tabletop installation details
- Destination, access, and schedule
Judge legibility at the intended approach
A monitor can hide route collisions that become obvious in a physical proof. Print or project the route layer at finished size and view it from the expected distance. This reveals whether minor labels should move to a legend or whether the display needs more width.
For a glass-covered tabletop, also test glare and viewing angle. For a wall display, test mounting height and nearby lighting so shallow relief remains visible without obscuring linework.
Pay particular attention to the lower edge where lifts, conveyors, learning areas, and base markers converge. Leaving intentional blank space there may communicate the map more effectively than filling every available area with labels.
Request pricing for a Nashoba Valley 3D map
Provide the approved boundary, current trail and lift files, minimum label set, night-information strategy, dimensions, orientation, display setting, destination, and schedule.