
Planning a Raised-Relief Map of Ski Butternut
Ski Butternut's official trail information describes a broad mountain face with cross-mountain connections, distinct lift-served sectors, and protected learning terrain. A useful physical map must explain those lateral relationships as clearly as the descent from summit to base.
Define a Butternut Map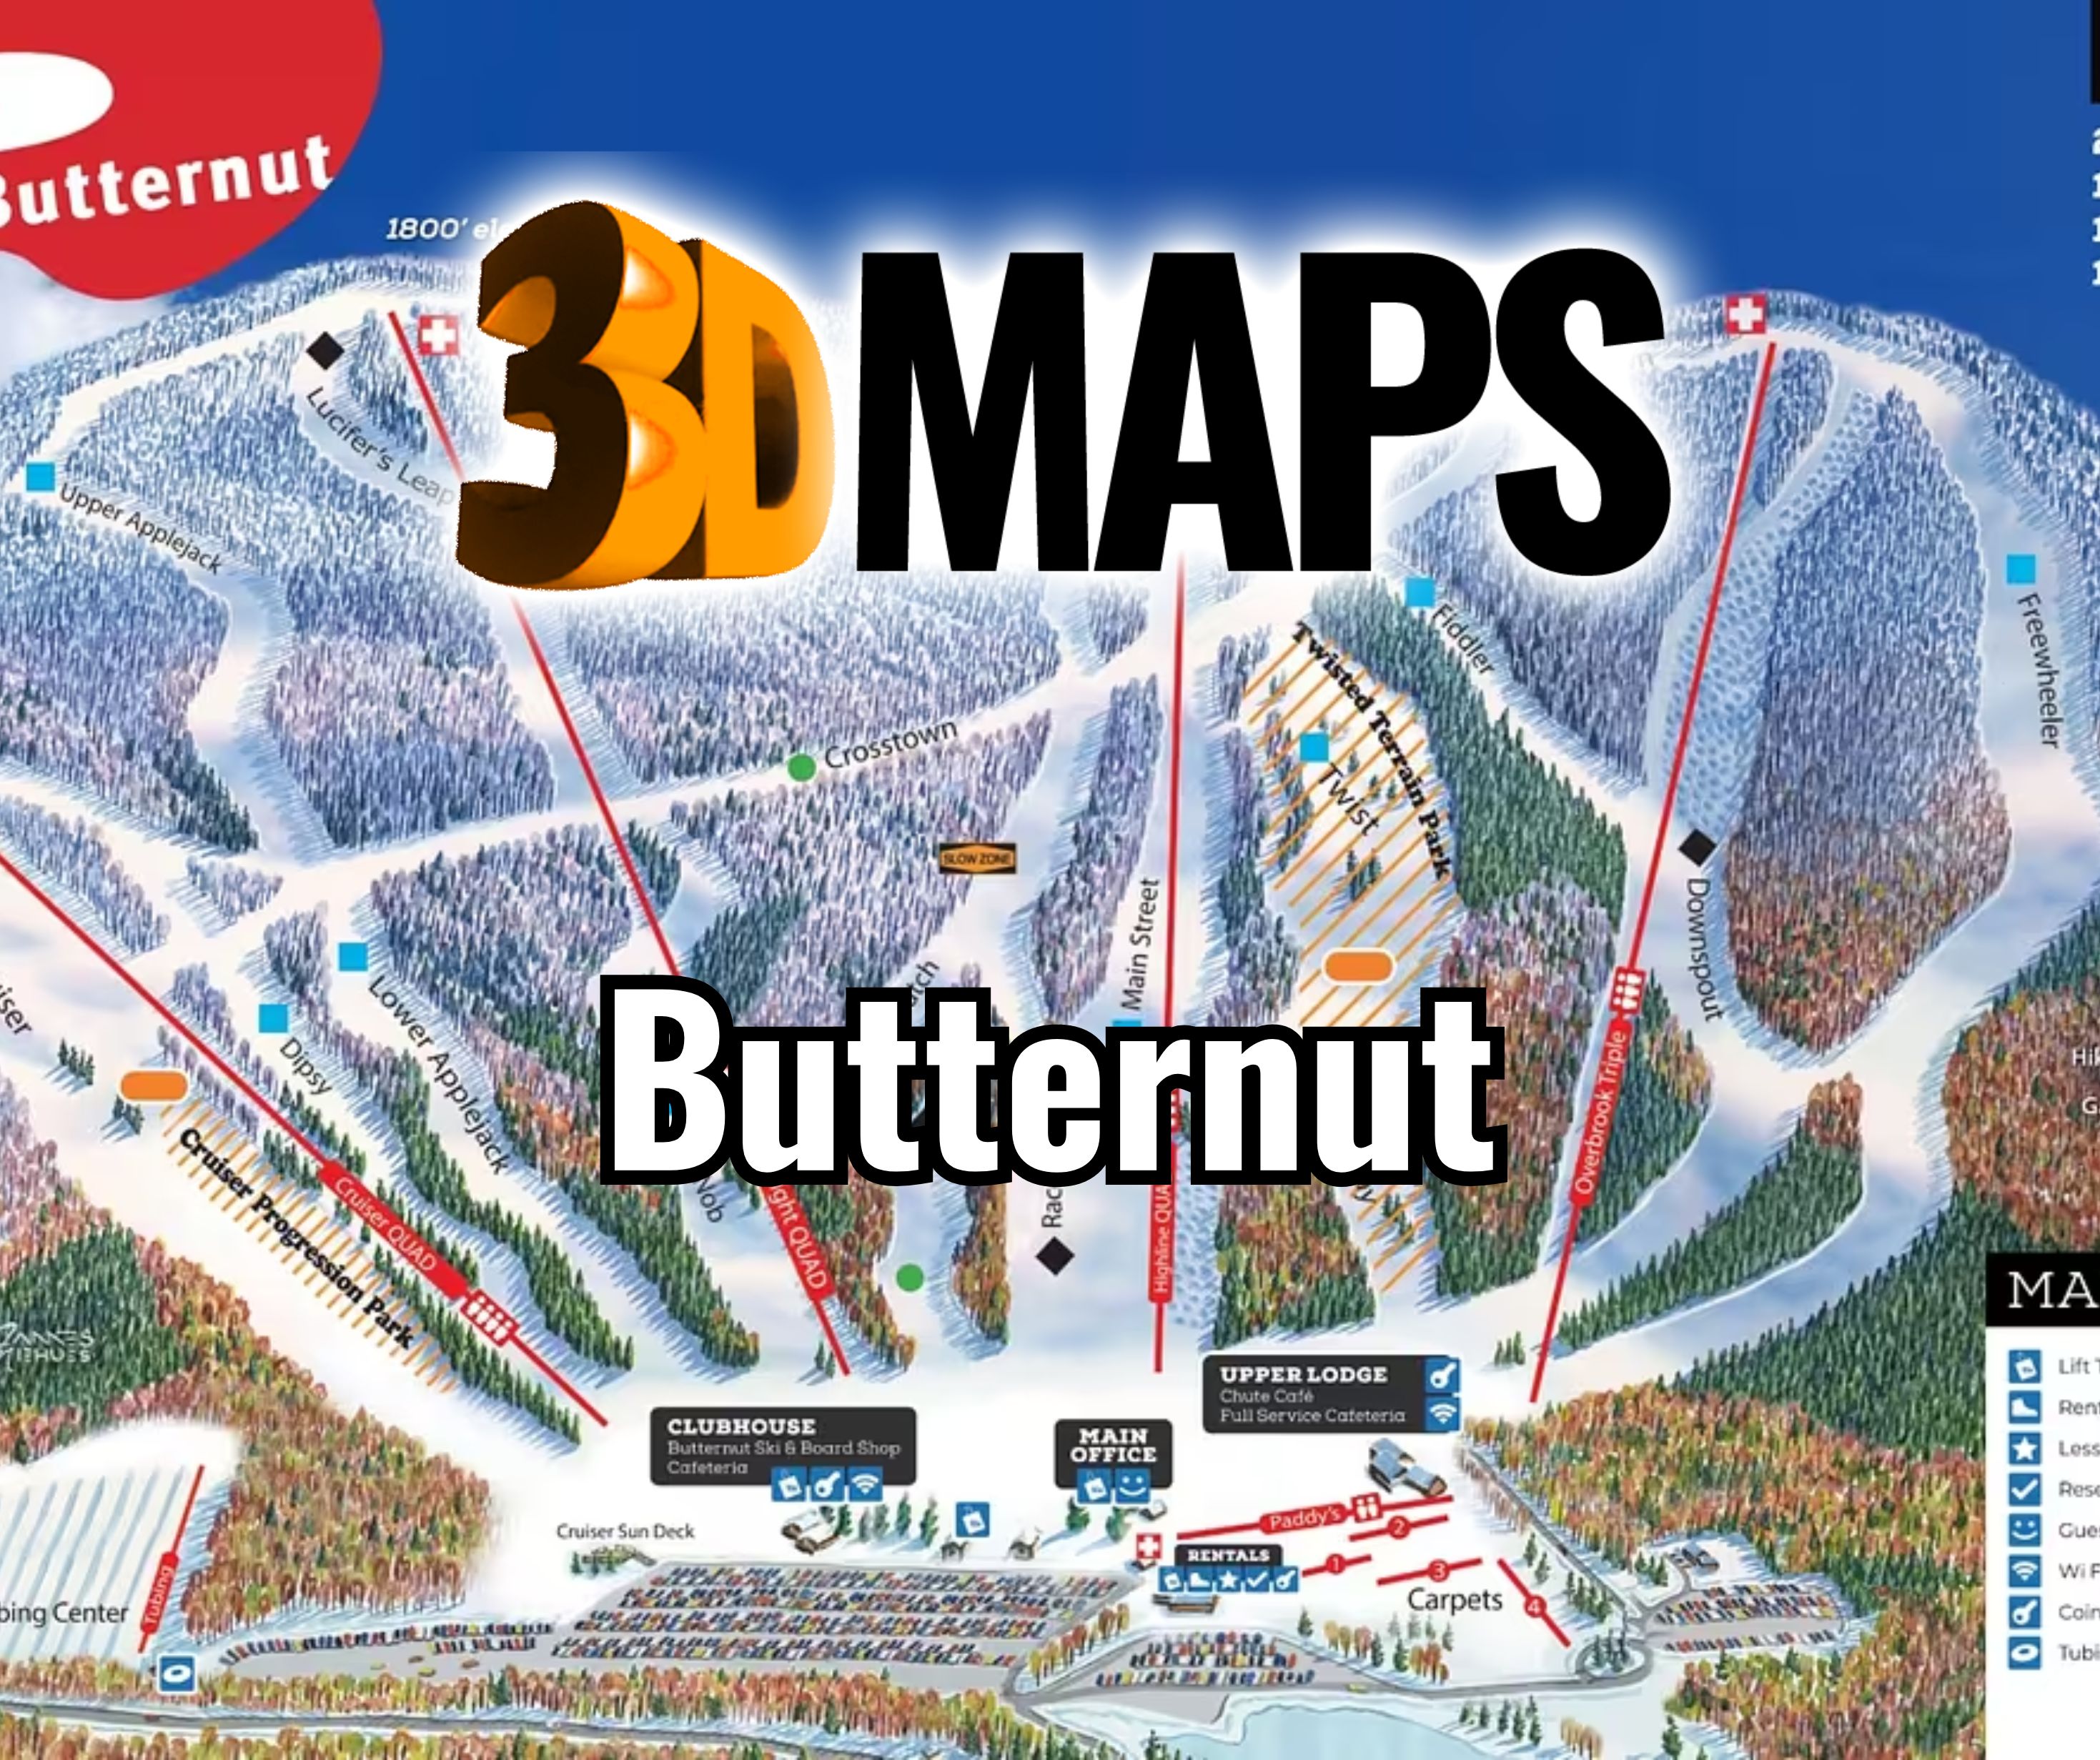
Translate Butternut's broad face into a legible physical map
The map should make movement across the mountain visible, not only movement downhill.
Cross-mountain path
Give the lateral connector enough contrast to remain continuous as it crosses several fall lines and trail intersections.
Lift-served sectors
Group related trails around their primary lifts so the physical model can be read in manageable zones.
Learning terrain
Keep protected beginner areas visually separate from through-routes and faster descent corridors.
Base relationship
Show where the sectors converge at the base without allowing facility icons to overpower the terrain.
Favor width when the connections carry the story
Ski Butternut's official information places the terrain across a 100-acre footprint with a 1,000-foot vertical. A tall, narrow model could make the relief dramatic while compressing the east-west relationships. A wider format gives connectors, lift alignments, and separated learning zones room to remain understandable.
Set the final proportion from the approved geographic crop, not from a standard frame size. If a fixed wall opening controls the display, test the smallest required labels inside that opening before committing to the terrain scale.
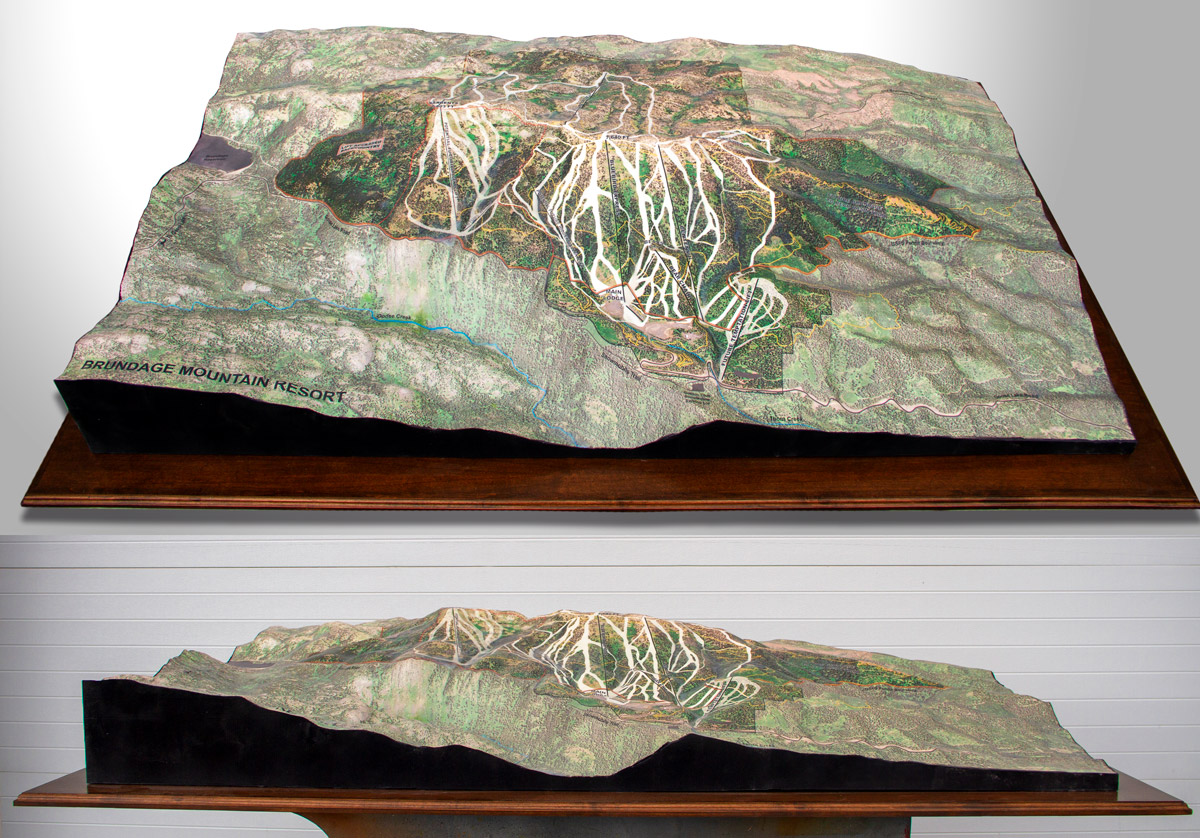
Compare a completed Brundage terrain display
The physical example is a WhiteClouds topographical model of Brundage Mountain Resort in Idaho. Its mountain identity, trail pattern, and surrounding landscape belong to Brundage. The example is useful for considering edge treatment and relief presentation, not as source data for Butternut.
Collect the files that explain movement across the mountain
The strongest input package distinguishes geographic data from the graphic trail layer.
- Terrain data covering the agreed ski-area boundary
- Current trail, connector, lift, and learning-area artwork
- Base facilities that must appear on the physical map
- Preferred guest-facing or north-up orientation
- Target width, height, and allowable projection from the wall
- Legend, color, and minimum type-size requirements
- Installation access and final viewing distance
Use hierarchy instead of shrinking every trail name
Not every line needs equal visual weight. Primary connectors can carry stronger color or a broader path, while secondary trails can use restrained lines and a keyed legend. If every name must be printed directly on the terrain, the model may need more width than an icon-led version.
Review the proof from the actual viewing distance and at an angle. Raised terrain can hide labels on the far side of a slope, so label placement should be judged on the physical orientation rather than on a flat plan alone.
Request pricing for a Ski Butternut 3D map
Provide the geographic crop, current trail and lift files, connector priorities, desired dimensions, orientation, display setting, viewing distance, destination, and schedule.