Custom additive manufacturing, assembly and finishing

Custom 3D Printing for Models, Props, Statues & Displays

WhiteClouds turns digital files, scans, drawings and reference material into finished physical projects using professional 3D printing, model making, assembly, reinforcement and finishing.

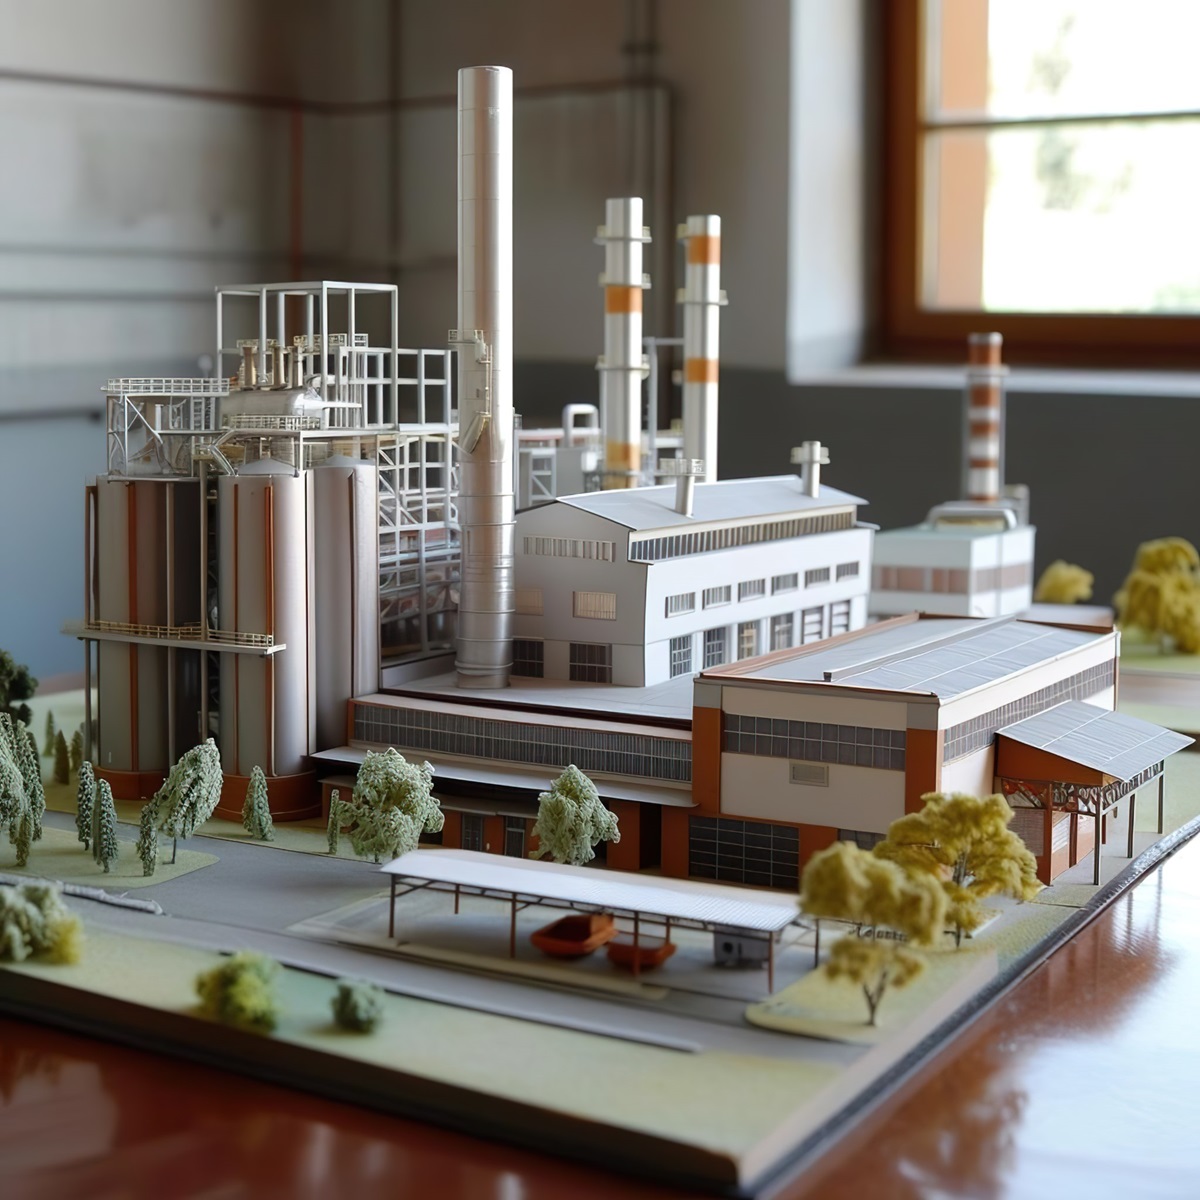
From architectural and topographical models to characters, product replicas, exhibits and large segmented builds, each project is planned around scale, detail, appearance, durability, transportation and real-world use.

Detailed custom geometry Large segmented builds Professional assembly and finishing Nationwide shipping support
Ideal for: Architects Agencies Museums Developers Trade shows Exhibits Entertainment venues Brands Industrial presentations Educational institutions
What professional 3D printing is

Layer-by-layer production is only one part of a finished project.

Professional 3D printing is a coordinated digital-fabrication process that turns three-dimensional geometry into physical components by building material in successive layers.

A project may begin with a finished CAD file, a sculpted digital model, a 3D scan, architectural drawings, reference photographs or a physical object. The digital geometry must then be checked, scaled, repaired, sectioned and prepared for the selected printing process.

The printer creates the physical parts, but the printed parts do not automatically become a finished architectural model, statue, prop, exhibit or display. Supports, seams, surface preparation, reinforcement, paint, graphics, lighting, bases, transportation and installation may all influence how the project is designed.

Large or detailed projects may combine more than one printing process or fabrication material. A finished build may include printed components, foam volume, metal structures, wood bases, acrylic, graphics, lighting, cabinetry and traditionally fabricated details.

The digital model defines the geometry. The production, assembly and finishing strategy determines how the completed project performs.

One complete project path

A start-to-finish custom 3D printing workflow

Most custom 3D printed projects move through the same general stages, although the technology, material, scale, level of assembly and finish vary by project. Digital planning establishes the geometry, printing creates the components, and professional fabrication turns those components into a completed physical presentation.

01
Educational image pending A professional workstation showing a detailed digital model of a custom display, with dimensions and section lines visible on screen.

Project Planning and Digital Inputs

Dimensions, intended use, viewing distance, environment, deadline and available reference material are reviewed before production begins. The starting information may include CAD files, sculpted models, 3D scans, drawings, photographs, maps, GIS data or a physical sample.

02
Educational image pending A close view of a complex digital sculpture or architectural model being prepared in professional 3D software.

3D Modeling and File Preparation

The digital model is created, revised or repaired so the geometry is complete and suitable for production. Scale, wall thickness, surface detail, openings, registration features and connection points are developed around the completed project rather than only the appearance of the digital file.

03
Educational image pending Several professionally printed sample pieces showing different surface qualities and material types beside a digital production plan.

Process and Material Strategy

The printing process and material are selected according to size, detail, surface quality, weight, durability, finish, schedule and cost. One project may use different materials or processes for different components when that provides a better balance of performance and appearance.

04
Educational image pending A large digital statue divided into color-coded printable sections with registration keys and support zones.

Sectioning, Slicing and Supports

Large models are divided into printable sections that fit available production systems, shipping dimensions and final assembly requirements. Each section is oriented and sliced into layers, and supports, hollow areas, infill, registration keys and seam locations are planned before printing.

05
Educational image pending A professional large-format material-extrusion printer producing a substantial model section, with realistic layer deposition and machine scale.

Printing and Quality Control

Components are printed according to the approved production strategy. Critical dimensions, layer adhesion, surface quality, supports, warping, incomplete features and other potential defects are reviewed throughout production so problems can be corrected before final assembly.

06
Educational image pending A fabricator removing supports and sanding a large 3D printed component on a professional workbench.

Support Removal and Surface Preparation

Supports, rafts and temporary production features are removed. Edges are trimmed, openings are cleaned and visible layer lines or surface irregularities are sanded, filled or otherwise prepared according to the required finish.

07
Educational image pending A large segmented 3D printed sculpture being assembled, seam-filled and primed in a professional fabrication shop.

Assembly, Reinforcement and Finishing

Printed sections are aligned and joined using compatible adhesives, mechanical connectors or internal structures. Seams are blended, surfaces are primed and the project may receive paint, graphics, hard coats, lighting, electronics, bases or other finishing components.

08
Educational image pending A finished custom 3D printed model or statue being professionally packed or installed at its final display location.

Packing, Delivery and Installation

The completed project is protected and packed according to its size, surface and transportation requirements. Modular assemblies are labeled, positioned and secured using the installation strategy established during digital planning.

Browse 3D printed projects by type

Explore finished projects across six gallery categories.

Each card links directly to the matching category in the WhiteClouds 3D Printed Projects Gallery. The examples show how 3D printing supports characters, replicas, architectural models, exhibits, industrial presentations and specialty displays.

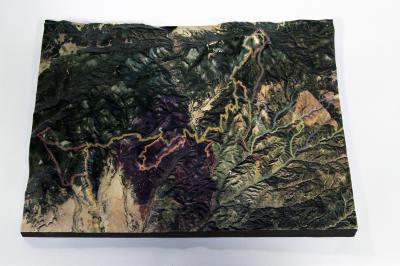
Custom raised-relief topographical model showing detailed terrain and surface graphics.
Dedicated topographical gallery

Topographical Models & Raised-Relief Maps

Topographical projects have their own extensive gallery, including terrain models, watershed displays, resort maps, visitor-center exhibits, property maps and interactive installations.

View Topographical Models →
Selected 3D printing project brands and organizations

Recognizable work represented in the project gallery

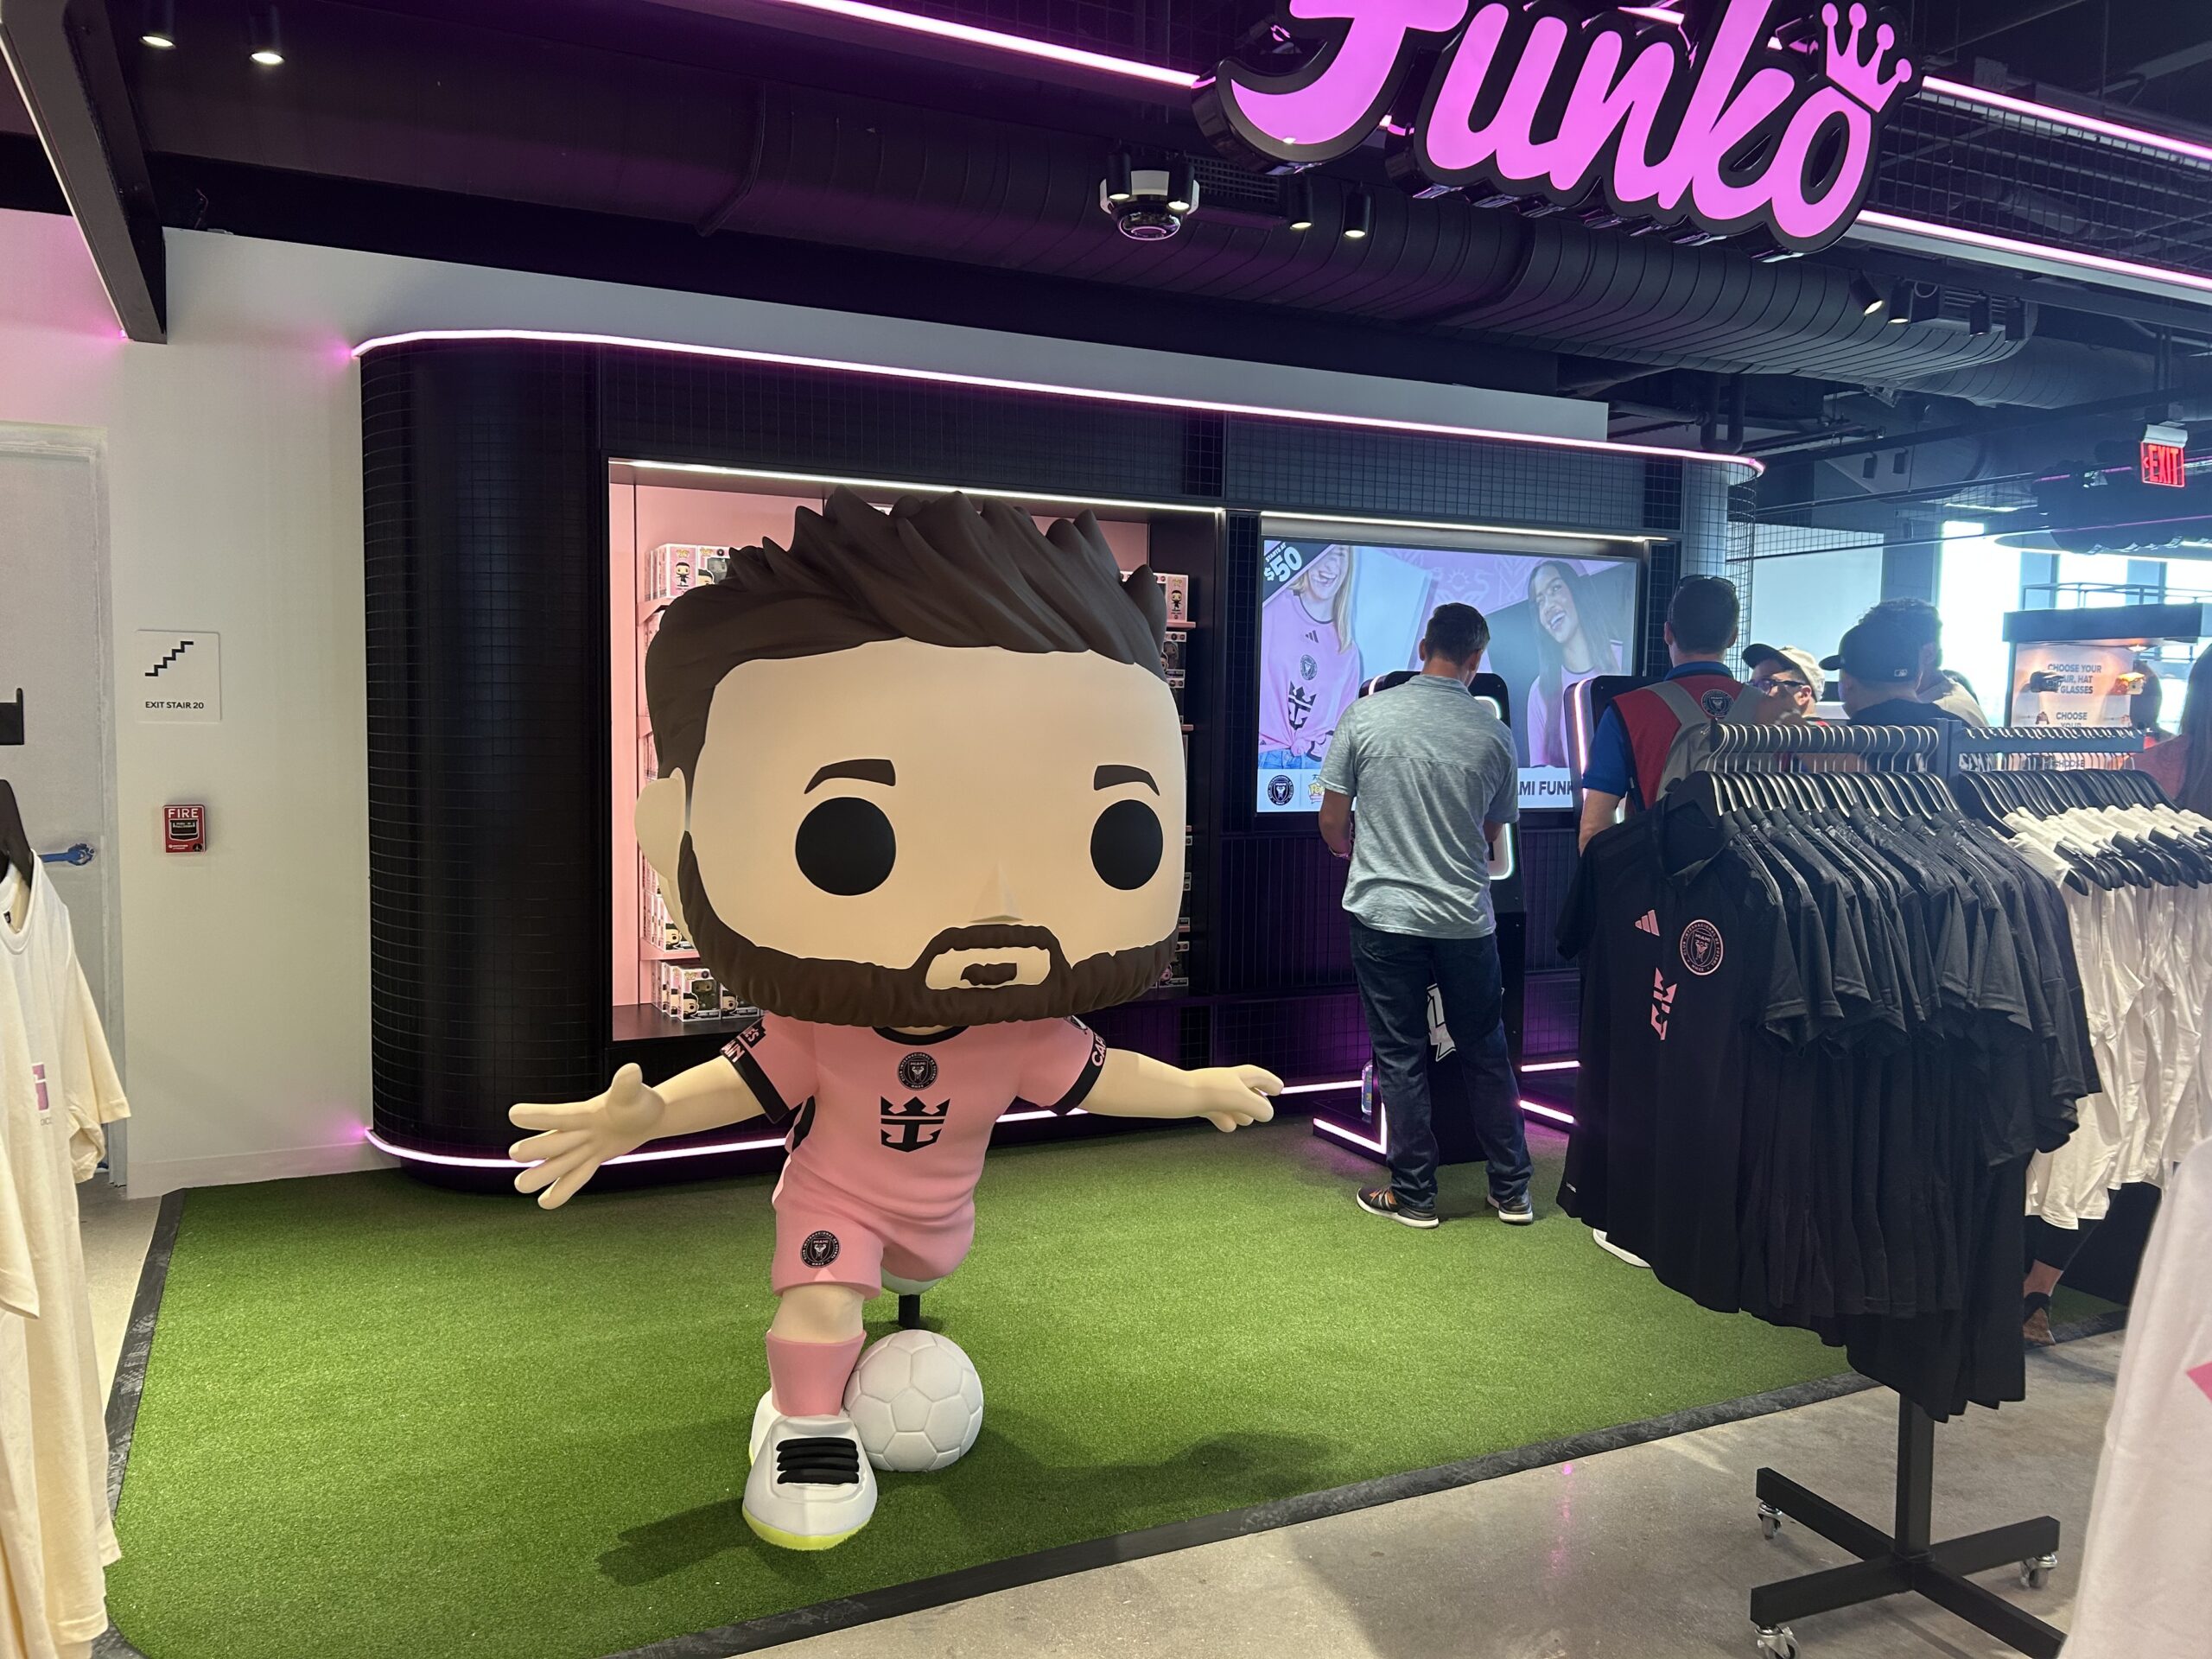
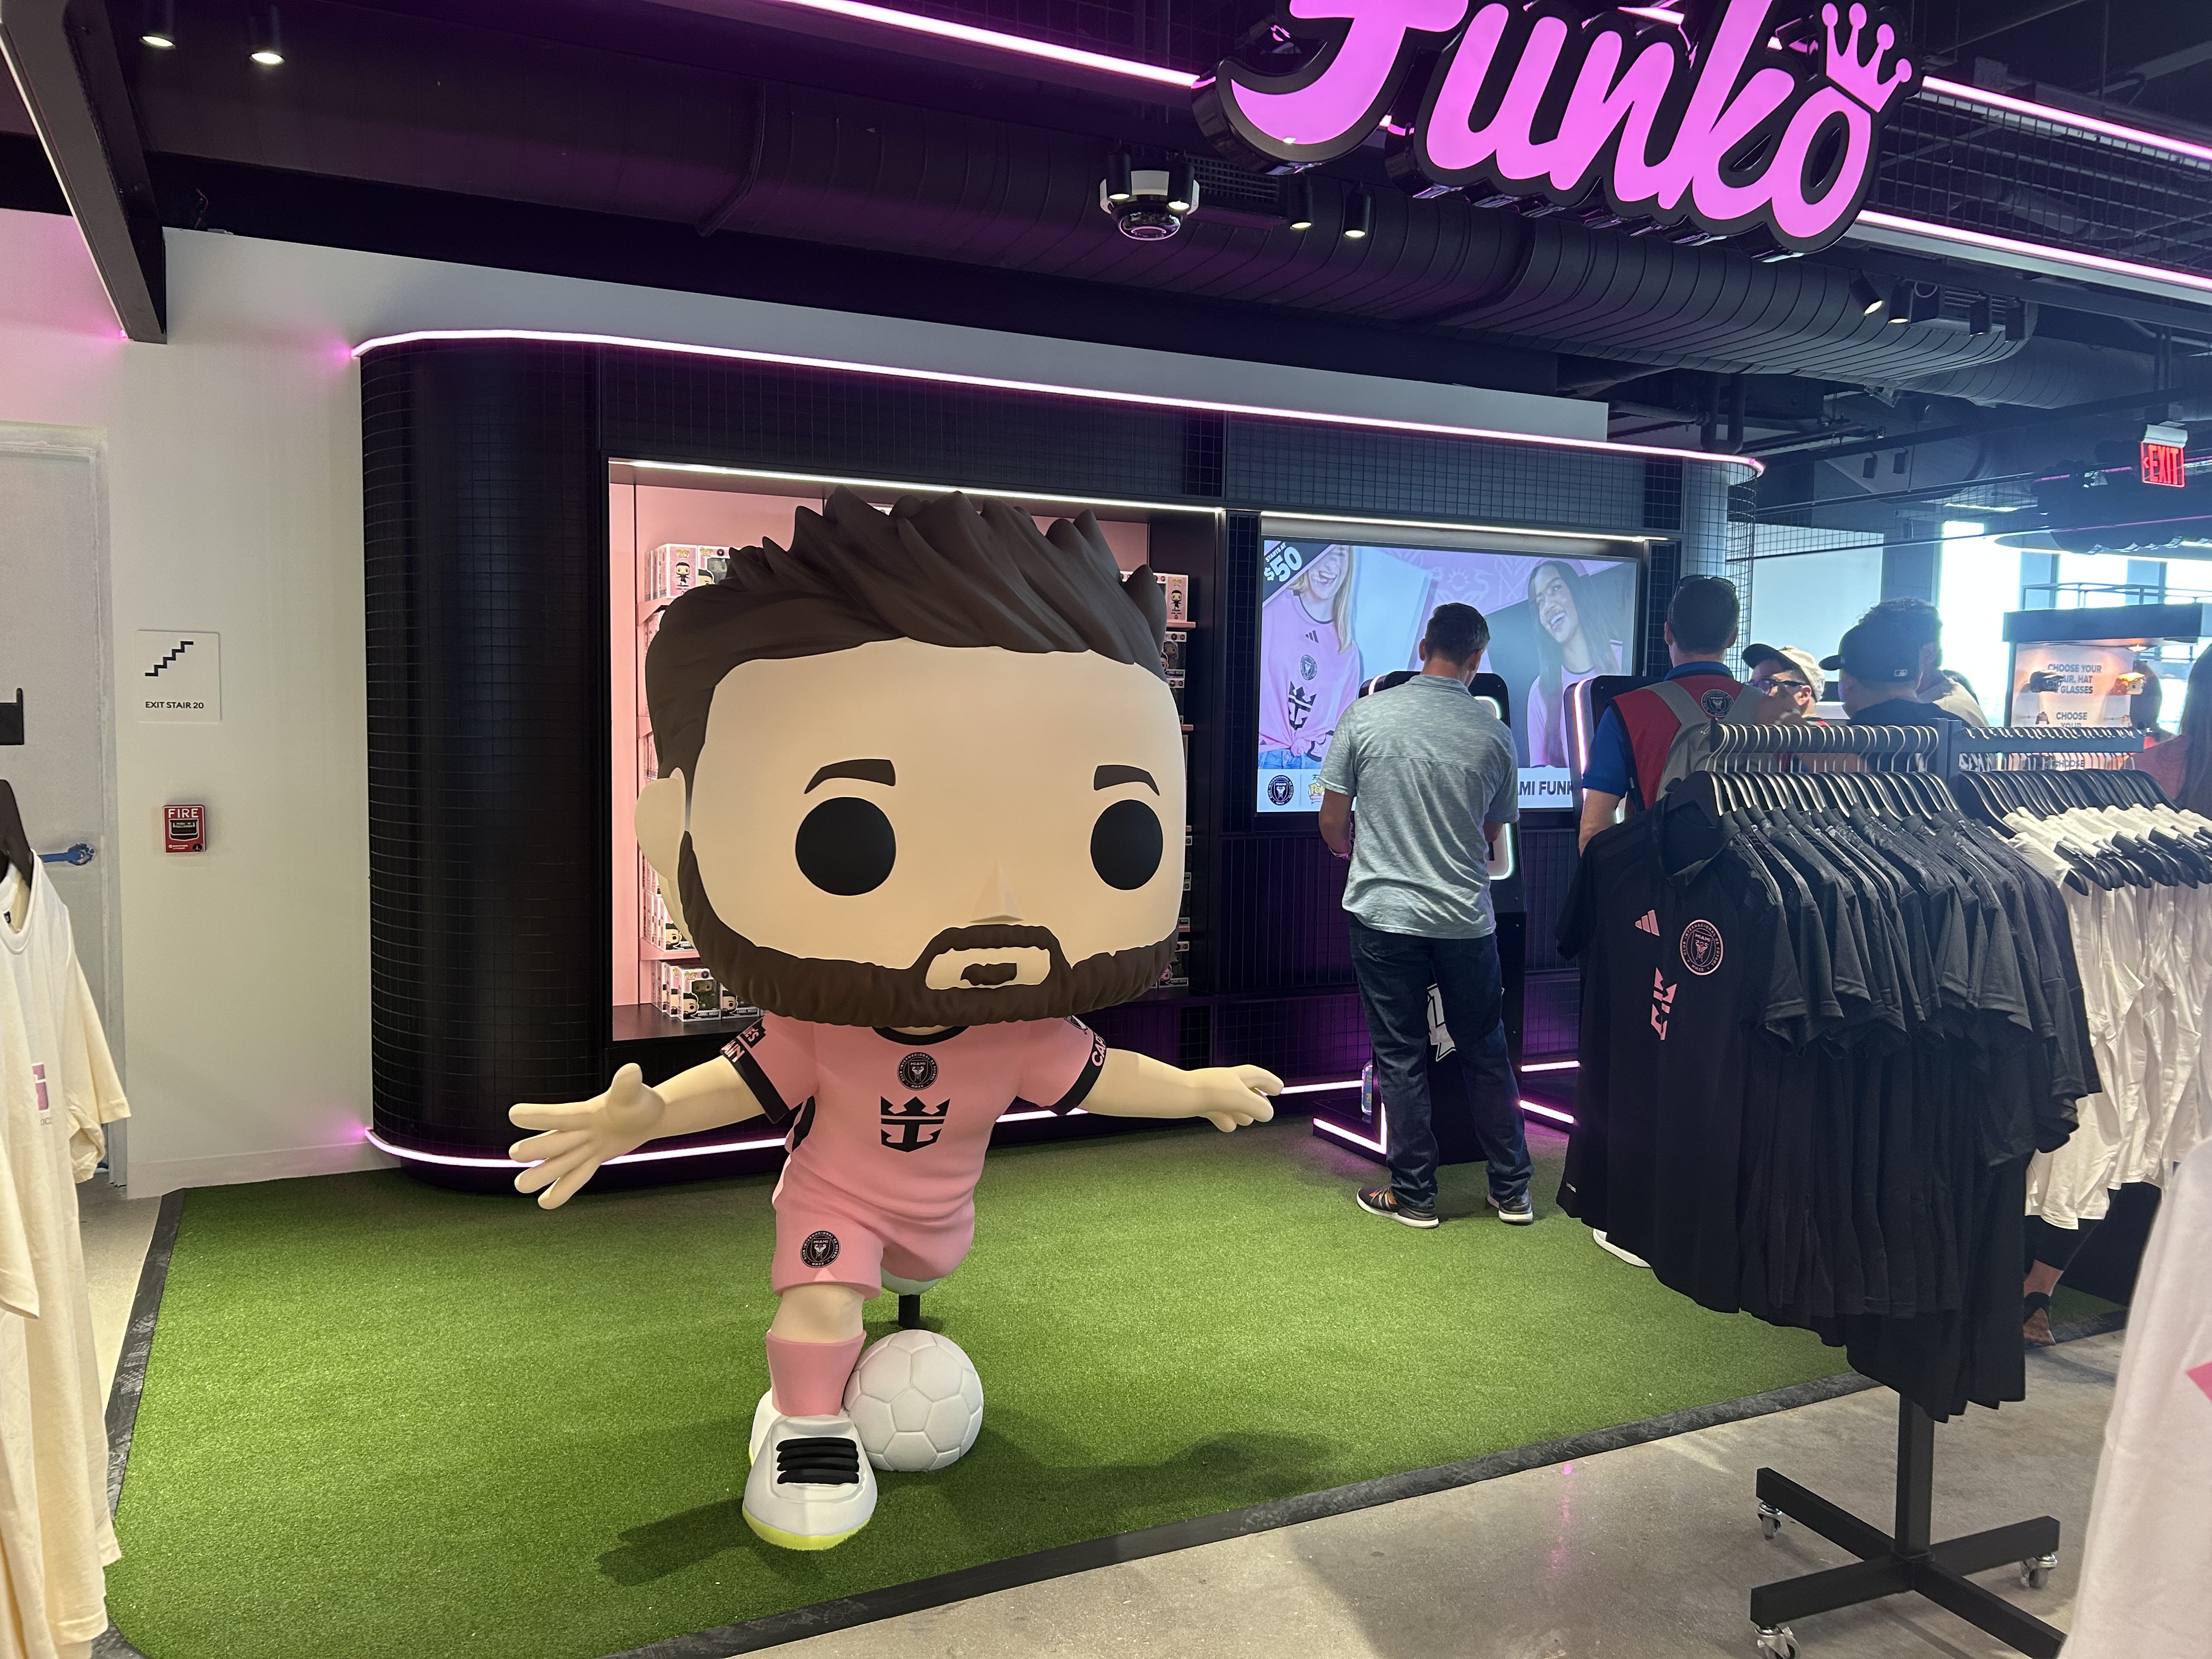
The 3D Printed Projects Gallery includes work created for or associated with entertainment properties, brands, sports organizations and commercial presentations such as:

Funko Marvel San Antonio Spurs Chef Boyardee MrBeast ArcelorMittal
Project fit

Custom project fabrication—not basic file-upload printing.

WhiteClouds specializes in finished custom projects that require more than sending a small file to a printer. Our work commonly includes digital preparation, production planning, large-part sectioning, assembly, reinforcement, surface refinement, painting and presentation features.

Projects that fit this service

This service is designed for custom physical projects where scale, appearance, storytelling, presentation or professional finishing are important.

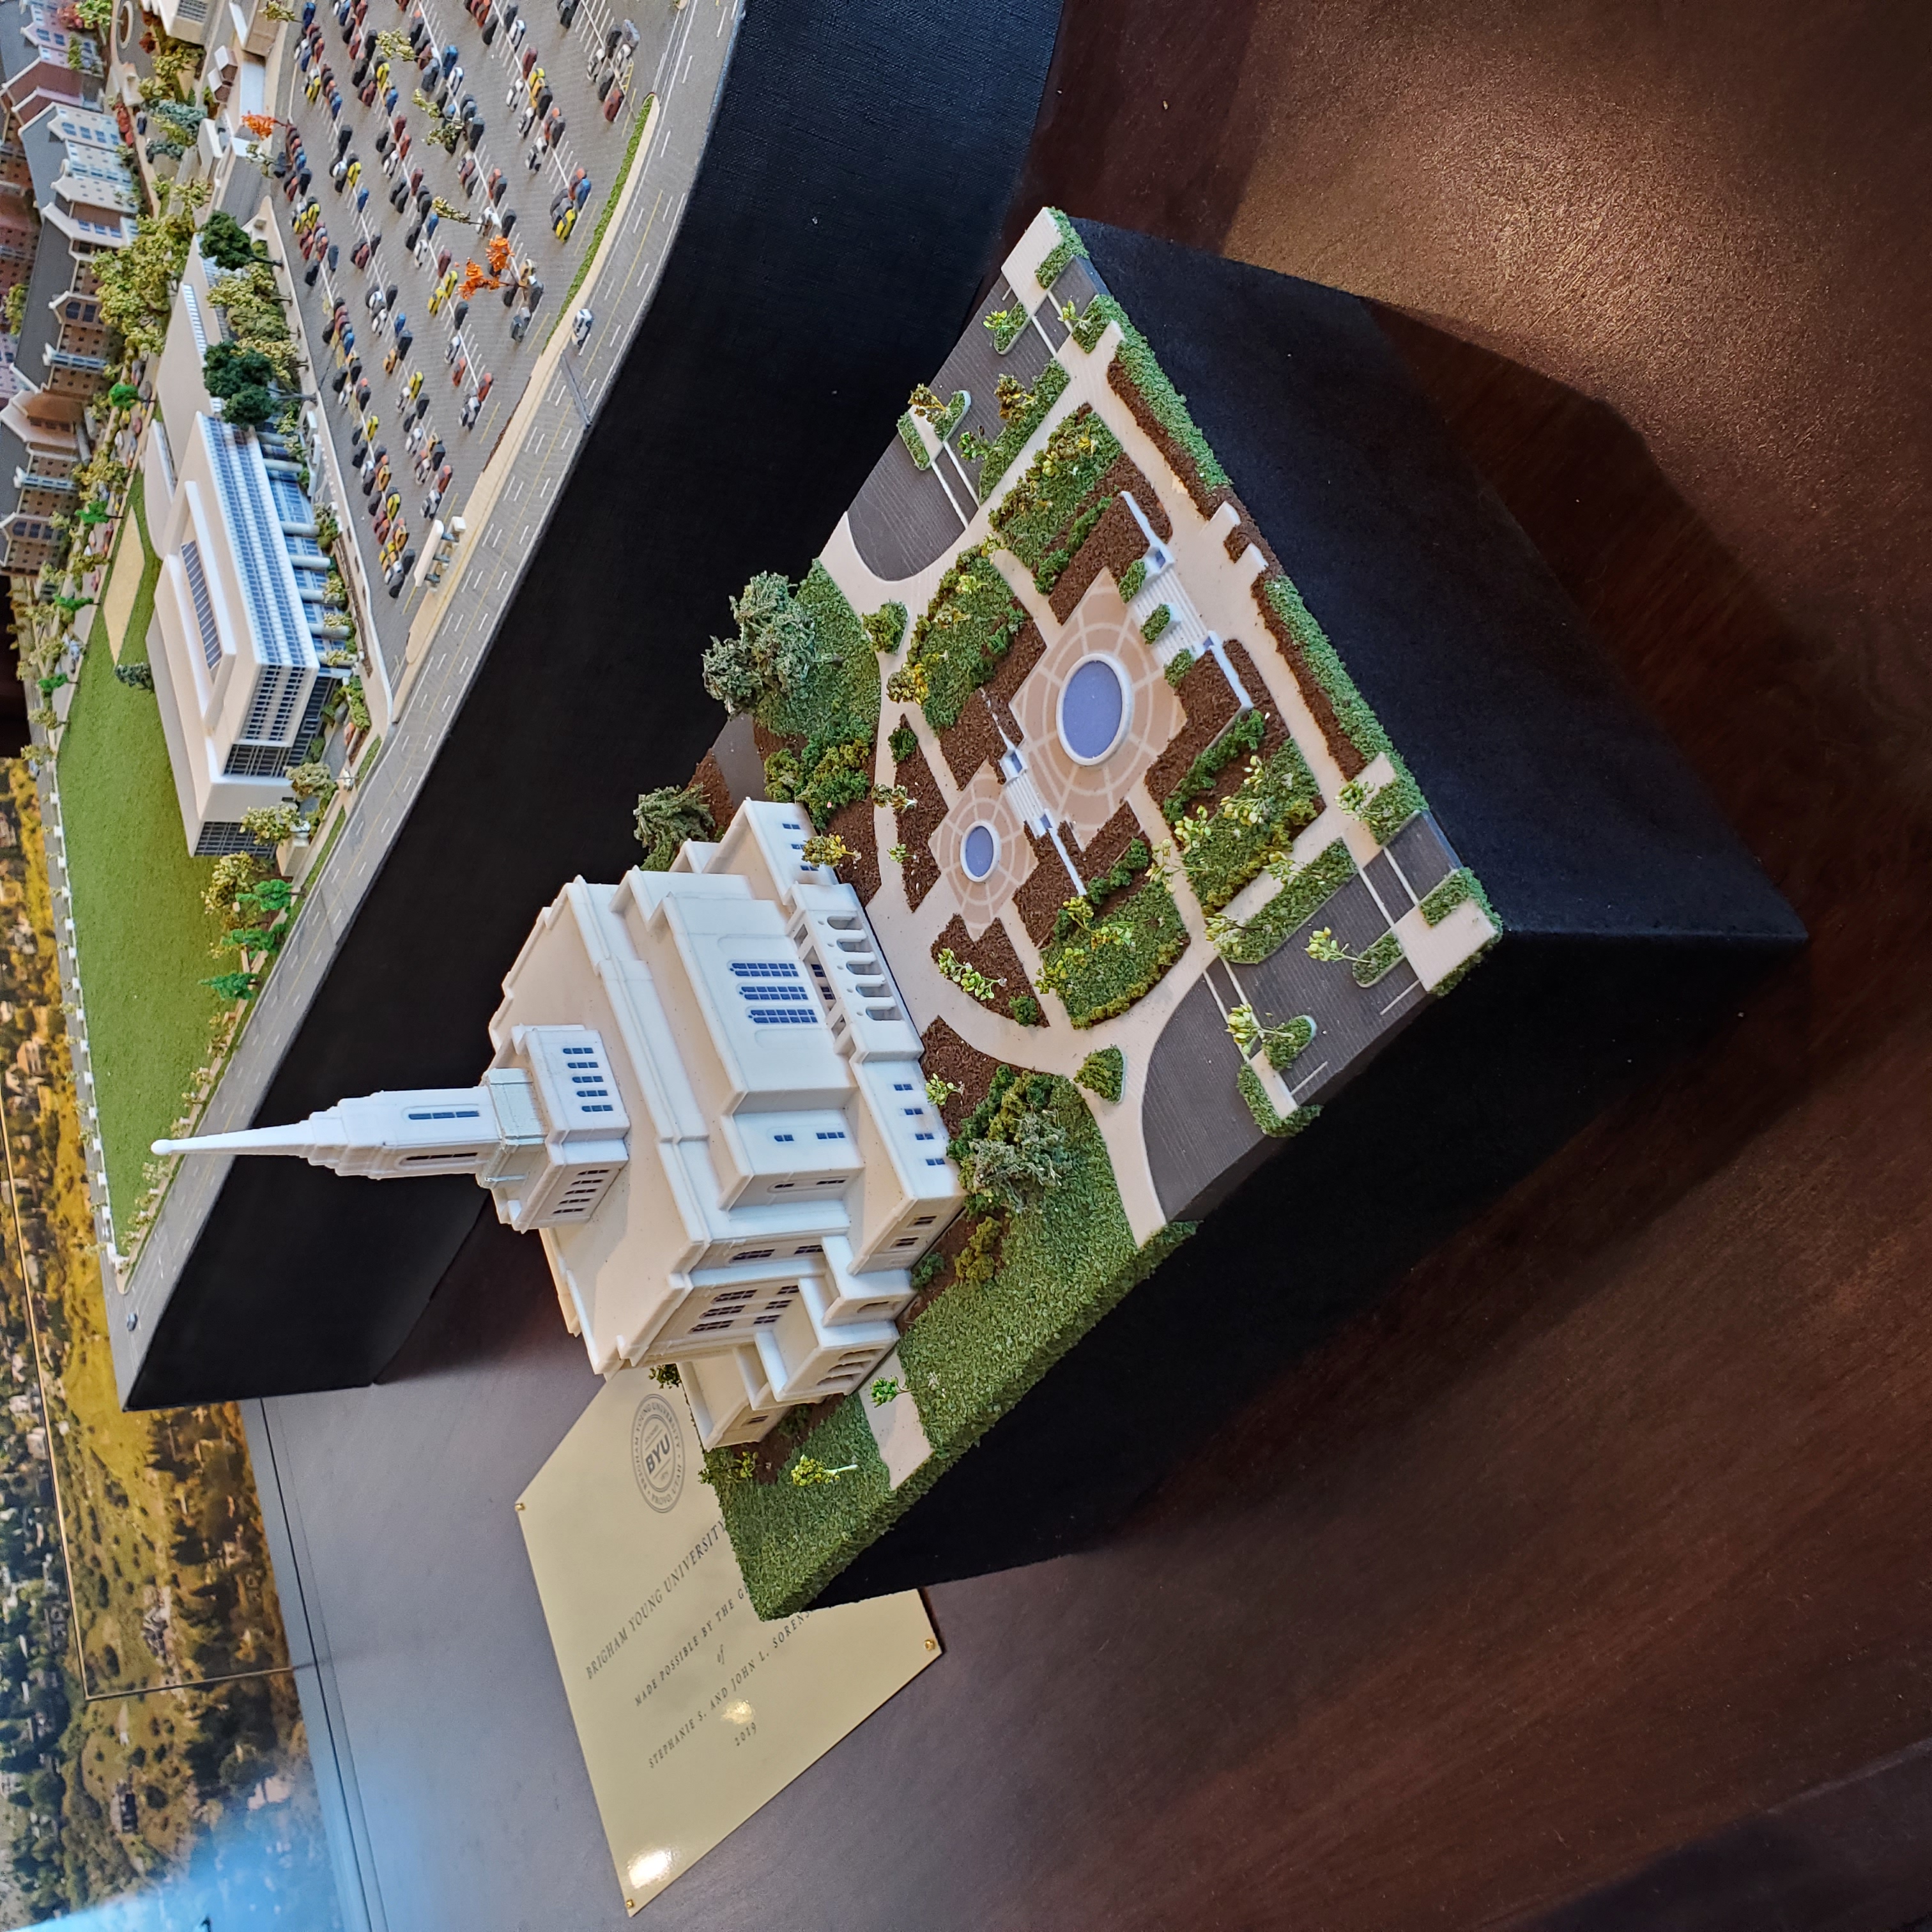
  • Architectural and presentation models
  • Topographical and raised-relief models
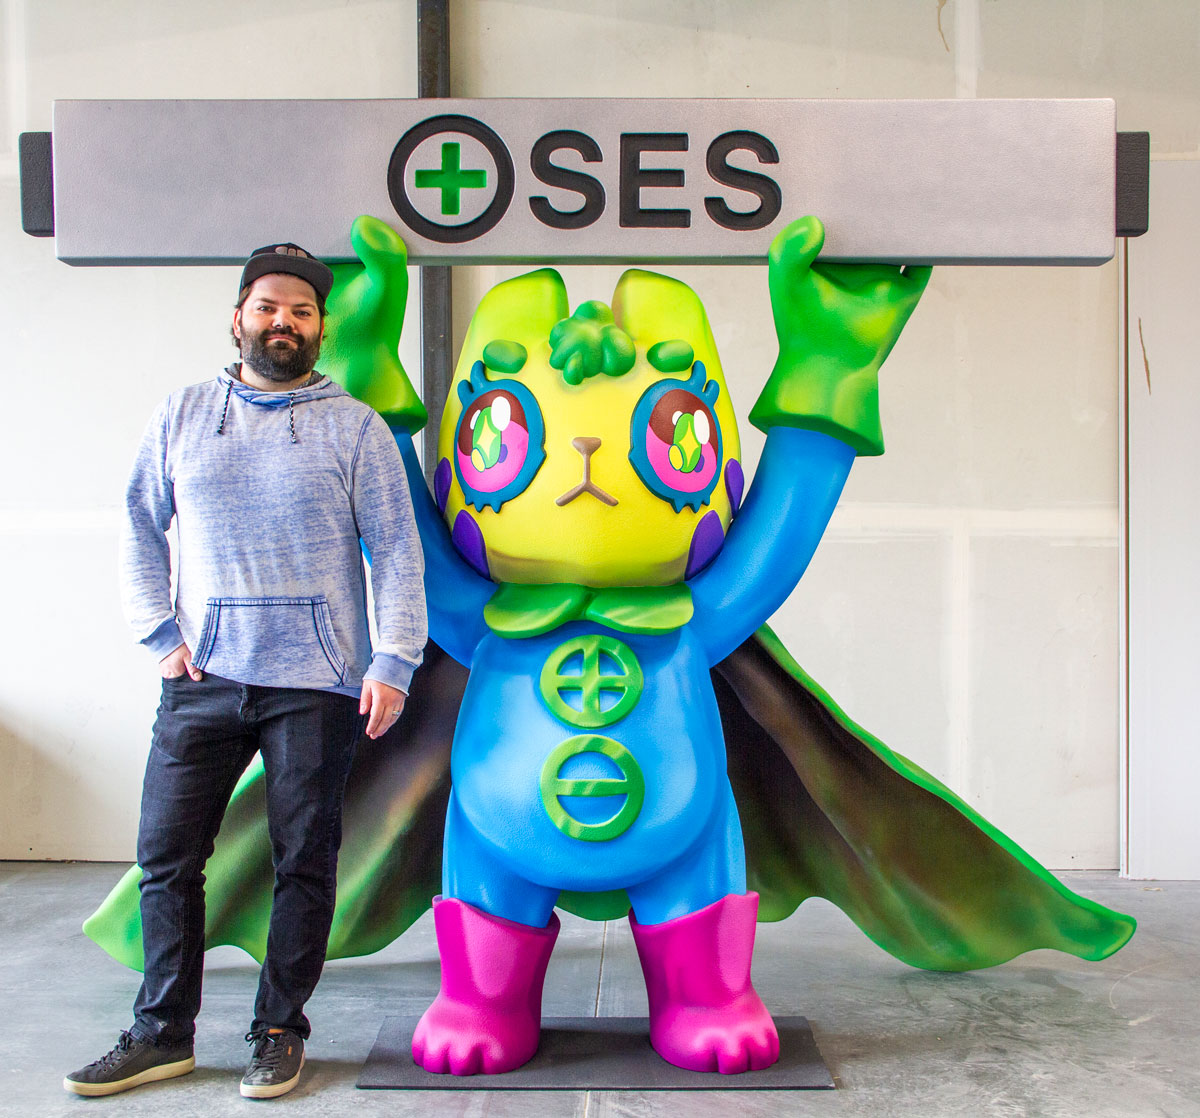
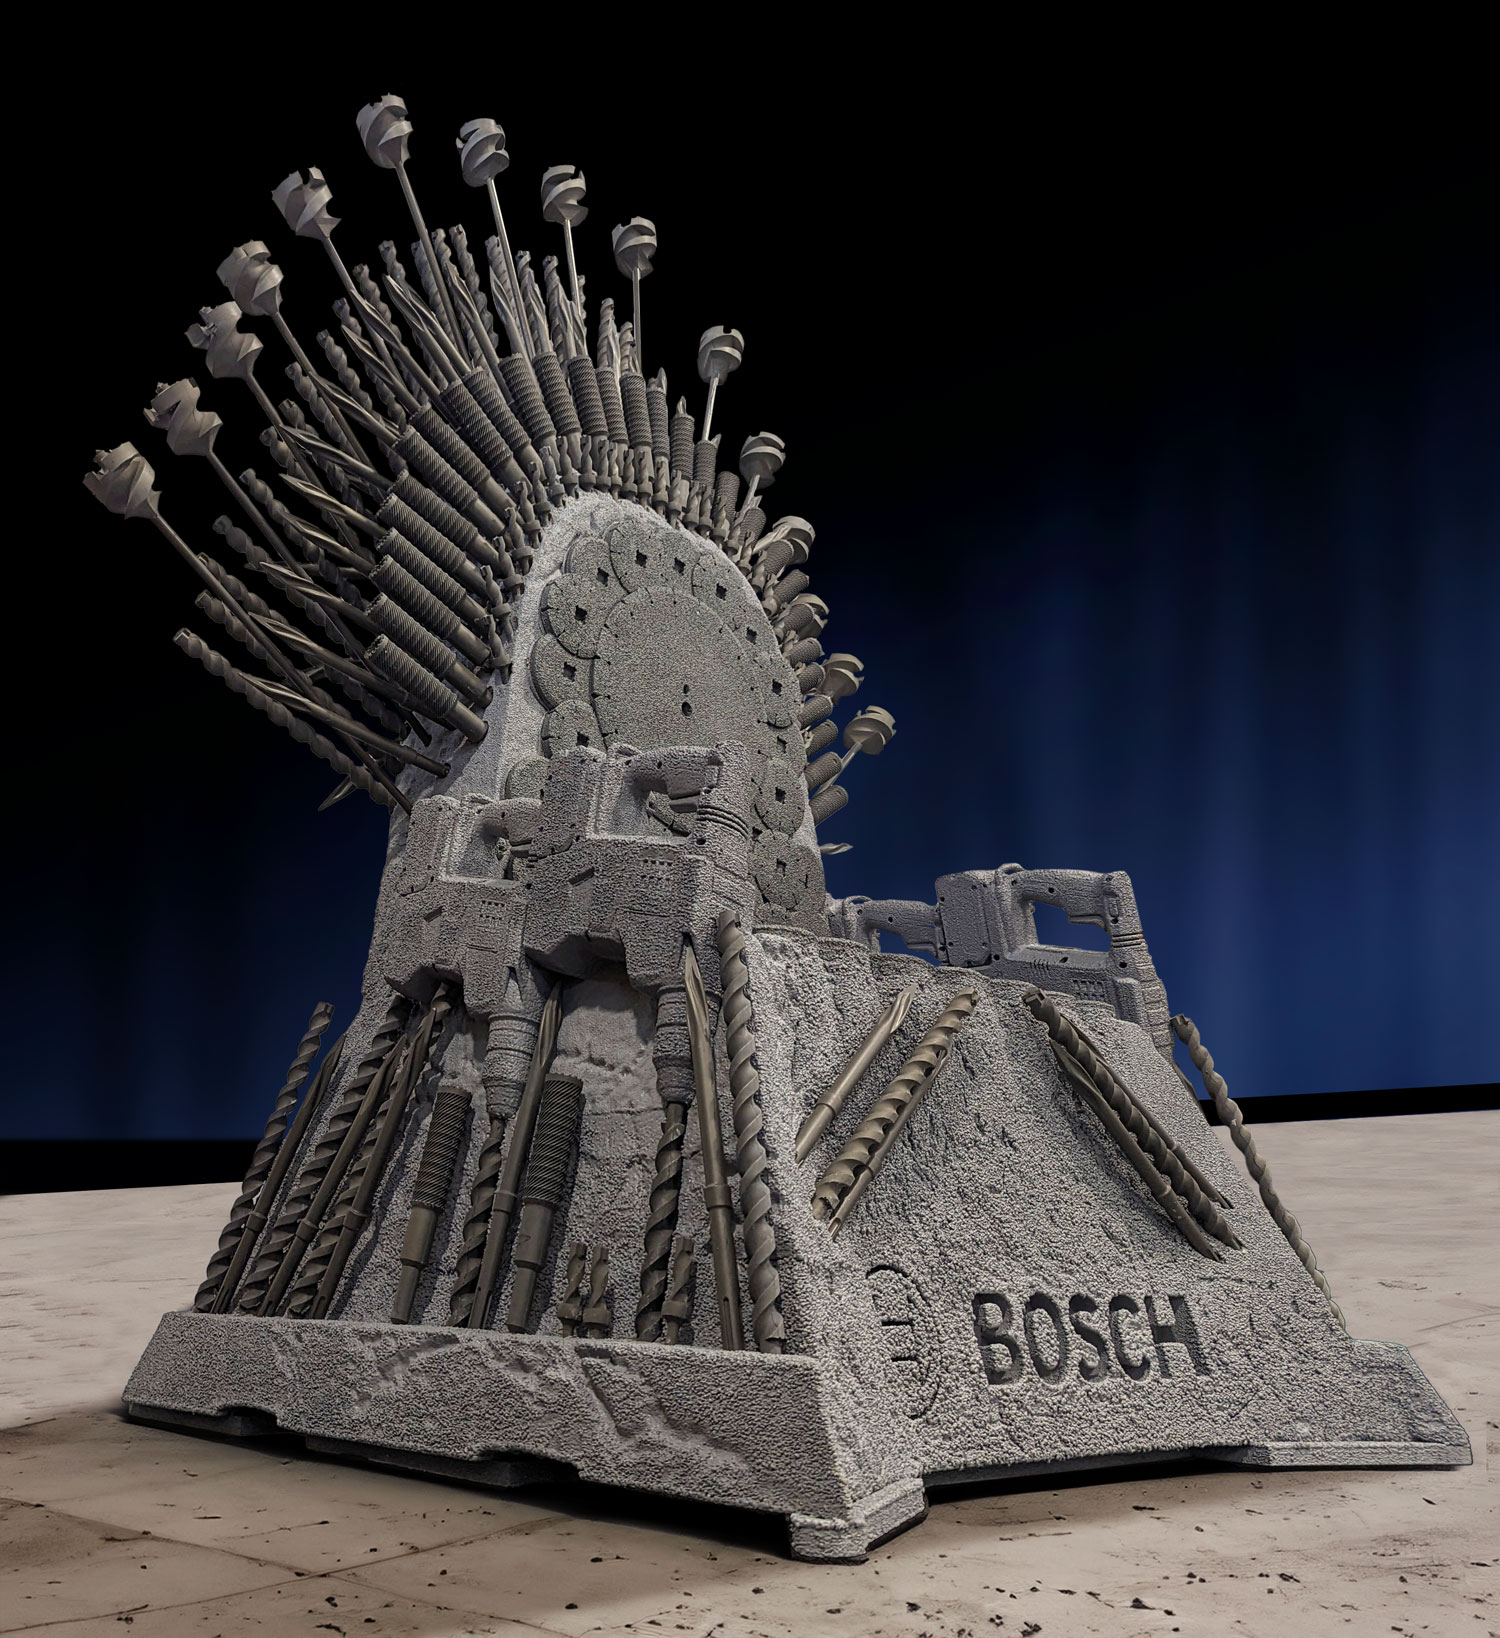
  • Characters, statues and mascots
  • Props and product replicas
  • Dioramas and museum exhibits
  • Industrial and concept models
  • Branded displays and specialty decor
  • Large segmented printed projects
  • Hybrid builds using several fabrication methods
  • Projects requiring assembly, paint, graphics, lighting or bases

Projects that are generally not a fit

WhiteClouds is not structured as an automated online print bureau or a commodity manufacturing service.

  • Very small hobby miniatures
  • Inexpensive one-off trinkets
  • Basic file-upload printing
  • Replacement machine parts
  • Certified production components
  • High-volume commodity manufacturing
  • Customers seeking only a price per gram
  • Routine parts requiring no design, assembly or finish work

A concept model, display prototype or presentation piece may still be a good fit when its purpose is visual communication rather than certified production performance.

We quote the completed custom project—not simply the printer time.

3D printing technologies

Different additive processes build parts in different ways.

3D printing is a broad term for processes that create physical objects from digital geometry by adding material in layers. The processes differ in how material is deposited, fused, cured or bonded.

No single process is best for every model, prop or display. The most appropriate choice depends on detail, size, material behavior, surface quality, strength, color, support requirements, post-processing, schedule and budget.

Educational image pending A professional material-extrusion printer producing a large architectural or sculptural section with realistic deposited layers.

Material Extrusion — FDM and FFF

Material extrusion feeds thermoplastic material through a heated nozzle and deposits it along programmed paths. Each layer bonds to the layer below until the component is complete.

This is one of the most versatile processes for custom models and displays because it can produce economical parts in many sizes and materials. It is useful for architectural components, terrain, characters, props, industrial models, internal structures and large segmented builds.

Visible layers are part of the process. Orientation, wall thickness, infill, nozzle size, temperature, speed and cooling affect surface quality and dimensional behavior. Overhangs may require supports, and large flat parts may be affected by warping.

Well suited for:

  • Large segmented projects
  • Architectural and presentation models
  • Props and replicas
  • Characters and statues
  • Terrain components
  • Internal forms and structural shells
  • Projects receiving sanding and paint
  • Repeatable digital components

Planning considerations:

  • Layer lines may remain visible
  • Supports may leave surface marks
  • Material behavior changes with temperature
  • Orientation affects strength and appearance
  • Warping may affect broad or thin components
  • Fine detail can increase production time
  • Large projects require planned seams and registration
Educational image pending A professional resin printer producing a detailed architectural or sculptural model, with the build plate and resin vat represented accurately.

Vat Photopolymerization — SLA and DLP

Vat photopolymerization uses light to selectively cure liquid photopolymer resin into solid layers. Depending on the system, a laser, projected image or related light source defines each layer.

The process is valued for fine detail, smooth surfaces and the ability to reproduce small features. It is useful for detailed architectural components, miniature objects, figures, masters, presentation models and parts that benefit from a refined initial surface.

Printed resin parts normally require washing, support removal and post-curing. Material properties vary widely, and some resins may be brittle or sensitive to prolonged heat, ultraviolet exposure or environmental conditions.

Well suited for:

  • Fine architectural details
  • Detailed figures and miniatures
  • Smooth presentation components
  • Masters and patterns
  • Small complex forms
  • Clear or specialty resin components
  • Close-view models

Planning considerations:

  • Supports require removal
  • Support contact points may need refinement
  • Hollow parts require drainage planning
  • Post-curing affects final properties
  • Some resins are relatively brittle
  • Large resin parts can add material cost
  • Long-term exposure must suit the selected resin
Educational image pending A technically plausible polymer powder-bed system with partially exposed model components surrounded by powder.

Polymer Powder Bed Fusion — SLS and MJF

Polymer powder-bed systems spread thin layers of powder across a build area and selectively fuse or process the material where each part is required. Unfused powder surrounds the parts during production.

Because the surrounding powder supports the geometry, complex forms can often be produced without the conventional support structures required by extrusion or resin printing. Nylon and related polymer materials are commonly associated with these processes.

Powder-bed parts can be useful when toughness, complex geometry, small features or nested production are important. The initial surface is typically more granular than a polished resin surface and may require cleaning, dyeing, sealing, sanding or coating.

Well suited for:

  • Complex self-supporting geometry
  • Durable model components
  • Interlocking or moving features
  • Thin walls and detailed assemblies
  • Small repeatable components
  • Industrial demonstration models
  • Parts where support removal would be difficult

Planning considerations:

  • Powder must be removed from enclosed areas
  • Surface texture may remain visible
  • Color options depend on the process and finish
  • Large solid forms may be inefficient
  • Fine powder requires controlled handling
  • Additional finishing may be needed for presentation surfaces
Educational image pending A professional material-jetting system producing a detailed multi-color presentation model without visible branding.

Material Jetting

Material jetting deposits very small droplets of build material in controlled patterns, similar in concept to inkjet printing. The deposited material is then cured to form each layer.

Some systems can combine colors or materials within a single build, making the process useful for highly detailed presentation models, anatomical or educational models, color studies, transparent details and components with several visual properties.

Material jetting can produce refined surfaces and small features, but materials and support systems must be selected around the intended use. Production and material costs can be higher than more basic extrusion processes.

Well suited for:

  • Detailed presentation models
  • Multi-color components
  • Transparent or translucent details
  • Fine textures
  • Anatomical and educational models
  • Small close-view objects
  • Complex visual prototypes

Planning considerations:

  • Support material requires removal
  • Photopolymer properties vary
  • Long-term heat and UV exposure must be considered
  • Large builds may be expensive
  • Multi-material interfaces require careful design
  • Fine detail can increase production time
Educational image pending A full-color powder printing process showing a detailed color model being carefully removed from a powder bed.

Binder Jetting and Full-Color Powder Printing

Binder jetting selectively deposits a liquid binder into layers of powder. The binder joins the particles in the shape of the digital model while surrounding powder supports the part.

Some binder-jetting systems can create full-color models directly from digital color data. This can be useful for architectural presentations, terrain, figures, exhibits, educational models and objects where printed color is more important than high impact resistance.

Parts may require depowdering, infiltration, sealing or additional finishing. Some full-color powder materials have a stone-like or sandstone-like surface and require careful handling.

Well suited for:

  • Full-color presentation models
  • Architectural models
  • Terrain and maps
  • Educational models
  • Figures and visual studies
  • Color-coded industrial models
  • Objects with complex printed graphics

Planning considerations:

  • Unsealed parts may be porous
  • Thin features can be fragile
  • Moisture exposure must be considered
  • Color and surface depend on the system
  • Infiltration may change appearance
  • It is not usually the best choice for high-impact displays
Educational image pending An educational overview image of a metal powder-bed additive process, shown as industrial technology rather than a WhiteClouds production claim.

Metal Additive Manufacturing

Metal additive manufacturing includes several industrial processes that build metal components from powder or wire using heat, lasers, electron beams, binders or directed energy.

These technologies are important for aerospace, medical, tooling, industrial and high-performance manufacturing applications. They can produce complex metal geometry that would be difficult to machine or assemble conventionally.

Metal printing is not the primary focus of WhiteClouds' custom display work. For models, props and exhibits, metal is more often used as an internal structure, mounting system, base, connector or traditionally fabricated component within a hybrid project.

Well suited for:

  • Specialized industrial components
  • High-value complex metal geometry
  • Tooling and manufacturing applications
  • Lightweight optimized structures
  • Components requiring metal properties

Planning considerations:

  • Equipment and materials are specialized
  • Safety and process control are substantial
  • Post-machining may be required
  • Qualification may be necessary for critical parts
  • Costs are generally high
  • Conventional metal fabrication may be more appropriate for display structures

The process should follow the project—not the other way around.

Printers and production systems

The machine matters, but the production strategy matters more.

Printer brands and individual machine models change over time. The more important questions are what process, build volume, material, resolution, support strategy and production capacity best serve the completed project.

Educational image pending A clean professional fabrication environment showing several different classes of 3D printing systems without visible brand names or an exaggerated printer-farm claim.

Desktop and Production Extrusion Systems

Material-extrusion printers range from compact systems for detailed components to production machines intended for continuous operation. They can produce many useful thermoplastic parts and work in parallel when a project contains multiple sections.

Large-Format Printing Systems

Large-format systems reduce the number of sections required for a substantial project, but build volume alone does not determine quality. Nozzle size, layer height, material control, cooling, machine rigidity and later finishing all affect the completed surface.

Resin Printing Systems

Resin systems are commonly selected where fine detail, small features or a smoother initial surface are important. Build orientation, supports, washing, curing and resin selection are part of the complete production plan.

Powder-Bed, Jetting and Full-Color Systems

These systems can provide complex unsupported geometry, durable nylon parts, detailed presentation components or directly printed color. Their specialized materials and post-processing requirements influence when they are appropriate.

Parallel and Distributed Production

Large projects do not always require one enormous printer. Digital sectioning allows components to be produced across multiple compatible systems, then registered, assembled and finished as one completed object.

WhiteClouds selects production resources around the project’s geometry, appearance, use, schedule and budget rather than limiting the solution to a permanent list of machines.

3D printing materials

Material choice affects detail, toughness, temperature response and finish.

3D printing materials differ in stiffness, toughness, flexibility, surface character, heat resistance, ultraviolet stability, moisture response, weight and cost.

The printed material is only one part of the completed system. Wall thickness, orientation, internal reinforcement, seams, coatings, paint, mounting and environmental exposure can be equally important.

PLA and Similar General-Purpose Thermoplastics

PLA is widely used in material-extrusion printing because it can produce crisp geometry with relatively predictable printing behavior. It is useful for architectural models, presentation models, indoor props, characters, display components and parts that will be sanded and painted.

PLA is relatively stiff but can soften or deform when exposed to excessive heat. It is generally better suited to controlled indoor conditions unless the full construction and environment are carefully planned.

PETG

PETG can provide a useful balance of toughness, layer adhesion and moisture resistance. It is often less brittle than basic PLA and can be appropriate for display components that require additional handling resistance.

Its surface behavior, flexibility and printing characteristics differ from PLA. Stringing, gloss and heat response may affect the production and finishing strategy.

ABS and ASA

ABS and ASA are thermoplastics commonly selected when greater temperature resistance or impact performance is needed than basic PLA may provide. ASA is also associated with improved resistance to prolonged ultraviolet exposure.

These materials can shrink or warp during printing and require controlled production conditions. Outdoor suitability still depends on the complete design, color, coating, mounting and exposure.

Nylon and Powder-Bed Polymers

Nylon materials can provide toughness, flexibility and useful resistance to repeated handling. They are available through filament and powder-bed processes and can support complex industrial, mechanical or presentation components.

Nylon may absorb moisture, and the initial surface can vary according to the process. Dyeing, sealing, sanding, priming or painting may be used when a refined presentation finish is required.

Flexible Materials

Flexible thermoplastic and resin materials can create soft, bendable or rubber-like components. They may be useful for pads, flexible details, grips, simulated soft components or specialty model features.

Flexible materials print and finish differently from rigid materials. Fine geometry, support removal, bonding and paint compatibility require project-specific planning.

Fiber-Filled and Composite Filaments

Some extrusion materials include short carbon, glass, wood or mineral fillers to change stiffness, appearance, dimensional behavior or surface character.

Filled materials may be abrasive to printing equipment and do not automatically provide continuous-fiber structural performance. Their usefulness depends on the component, finish and expected load.

Photopolymer Resins

Photopolymer resins are available in standard, tough, flexible, clear, castable and other formulations. They can reproduce small features and smooth surfaces that are valuable for detailed models and presentation components.

Resin properties vary significantly. Washing, post-curing, support removal, brittleness, ultraviolet exposure and heat response must be considered when selecting a resin.

Full-Color Mineral and Powder Composites

Some full-color systems build objects from mineral, gypsum-like or related powder materials bonded and colored during production. These materials can reproduce detailed color, labels and visual information without hand painting every feature.

The resulting surface may be porous or stone-like, and thin features can require careful handling. Infiltration and sealing can improve handling and color but do not turn every full-color material into a high-impact display material.

No single 3D printing material is best for every project.

Swipe horizontally to compare.

Comparison of materials used for custom 3D printed models and displays
Material family Common process Surface and detail Relative toughness Heat and UV considerations Finishing behavior Typical project fit
PLA and general-purpose thermoplastics Material extrusion Clean geometry with visible layers Moderate Can soften in excessive heat; UV performance depends on formulation Sands, fills, primes and paints well with the correct preparation Indoor models, props, architectural components and painted displays
PETG Material extrusion Smooth to glossy with visible layers Moderate to high Improved temperature and moisture performance over basic PLA, but still environment-dependent Can be sanded and painted with appropriate preparation Handled displays, props and durable presentation components
ABS and ASA Material extrusion Visible layers; can support refined finishes Moderate to high Better heat response than basic PLA; ASA generally offers better UV performance Can be sanded, filled, primed and painted Props, display shells and selected indoor or outdoor components
Nylon Material extrusion or powder bed fusion Process-dependent; powder surfaces are often slightly granular High Moisture absorption and temperature response must be considered Can be dyed, sealed, sanded or painted Durable details, industrial models and handled components
Flexible polymers Material extrusion or vat photopolymerization Soft or rubber-like Flexible rather than rigid Heat, UV and aging depend on formulation Bonding and coating options may be limited Flexible features, pads, grips and specialty details
Fiber-filled composites Material extrusion Matte or textured with visible layers Material-specific Heat and UV behavior depends on the base polymer Can create distinctive surfaces but may require additional preparation Rigid shells, specialty components and decorative finishes
Photopolymer resin Vat photopolymerization or material jetting High detail and relatively smooth surfaces Low to high depending on formulation Some resins are sensitive to heat, UV exposure or impact Excellent for fine sanding, priming and detailed paint Miniatures, architectural details, figures and presentation models
Full-color powder composite Binder jetting Detailed color with a stone-like surface Lower Moisture and impact exposure require careful planning Often infiltrated or sealed; may be displayed with minimal painting Full-color architectural, terrain, educational and presentation models
Designing for scale

A large 3D printed project is usually an assembly—not one print.

Build volume establishes the maximum size of one printed section, not the maximum size of the completed project. Large objects can be digitally divided into practical components, produced separately and assembled around a planned structure.

Sectioning and Build Envelopes

Section locations are planned around available production volume, surface contours, visible details, material behavior, freight dimensions and final access. A good section plan reduces difficult seams and makes assembly more predictable.

Hollow Shells, Walls and Infill

Large printed objects are often hollow rather than solid. Wall thickness, internal ribs, infill and localized reinforcement are selected according to scale, geometry, handling and expected loads.

Registration and Seam Placement

Pins, keys, flanges, indexed surfaces and reference marks help separate parts return to the correct position. Seams can be placed along natural contours or areas that are easier to fill, sand and conceal.

Internal Reinforcement and Hard Points

Metal, wood or printed structures can provide mounting points, lifting locations, connectors, bases and support for larger assemblies. Reinforcement must be designed before the exterior prevents access.

Interaction and Environment

Touching, repeated handling, seating, climbing, outdoor exposure, sunlight, heat, wind and moisture change the material, structure and coating requirements. A display must be designed around its actual use.

Transportation and Installation

Doorways, elevators, freight limits, crates, loading access, cranes, hanging points and on-site assembly can determine how a project is divided. Transportation is part of the design process rather than an afterthought.

Overall size Viewing distance Fine detail Interaction Environment Heat exposure Transportation Installation access Seam visibility Weight Mounting Deadline

A project can be much larger than the machine that prints its individual sections.

Large 3D printed Captain America and Iron Man components shown in separate sections before assembly.

Detailed prep work for Sen-ti-nel Captain America [Marvel] 3D Printed Statue
Assembly and finishing

A printed surface can remain visible—or be transformed into a finished display.

Some projects intentionally retain visible print layers as part of their appearance. Others require smooth automotive-style paint, realistic texture, detailed graphics or a surface that does not visually read as 3D printed.

The required finish should be established before printing because orientation, seam placement, wall thickness, material and detail affect the amount of post-processing required.

Support Removal and Initial Cleanup

Temporary supports, rafts, brims and other production features are removed after printing. Contact areas are trimmed and refined, and enclosed spaces are checked for trapped support material or powder.

Bonding and Mechanical Assembly

Printed sections may be joined with material-compatible adhesives, solvent welding, pins, screws, bolts, threaded inserts, plates or custom connectors. The assembly method depends on the material, wall thickness, access and expected handling.

Seam Filling and Surface Refinement

Visible joints, layer lines and surface irregularities can be filled, sanded and blended. The process may involve several cycles of filler, sanding and primer before the surface is ready for paint.

Priming and Painting

Primer helps unify different materials, reveal surface defects and prepare the project for color. Finishes may include hand painting, airbrushing, sprayed coatings, automotive-style paint, scenic texture, faux finishes, graphics and clear coats.

Hard Coats and Protective Surfaces

Some printed projects receive epoxy, polyurea, fiberglass or another protective surface system to improve impact resistance, unify seams or prepare the object for demanding display conditions.

A coating can improve performance, but it does not make every printed material suitable for unlimited heat, sunlight, moisture, wind, interaction or structural loading. The full system must be designed around the environment.

Graphics, Lighting, Bases and Electronics

Printed components can be integrated with vinyl graphics, labels, acrylic, LEDs, wiring, interactive controls, display bases, cabinetry, mounting hardware and traditionally fabricated elements.

Post-processing is not merely cosmetic; it is part of how a custom printed project is assembled, protected and presented.

Swipe horizontally to compare.

Comparison of finish levels for custom 3D printed projects
Finish level Surface character Typical work Best project fit Important considerations
As printed Visible layers and production texture Support removal and basic cleanup Internal components, prototypes and intentionally printed aesthetics Orientation and supports remain visible
Cleaned and assembled Visible print texture with joined sections Cleanup, bonding and basic seam treatment Budget-conscious displays and distant-view models Seams and layers may remain noticeable
Presentation finish Reduced layers and refined joints Filling, sanding, primer and controlled surface preparation Architectural, industrial and educational models Labor increases with surface area and detail
Painted display finish Unified color and professional appearance Full preparation, primer, paint, airbrushing or graphics Props, statues, replicas and public-facing displays Paint quality depends on preparation beneath it
Reinforced or hard-coated finish Protective shell or reinforced surface Structure, seam preparation and compatible coating Handled displays and selected demanding environments Weight, flexibility, repair and environmental limits must be planned
Advantages and limitations

Why use 3D printing—and when another method may be better.

3D printing can solve forms that are difficult to fabricate by hand, but it is not automatically the fastest or least expensive method for every object.

Advantages of 3D Printing

  • Direct production from digital geometry
  • Complex shapes and internal features
  • Easy scaling and customization
  • Repeatable components
  • Fine detail
  • Efficient one-of-a-kind production
  • Digital sectioning of large forms
  • Integration with scans, CAD and sculpted models
  • Ability to revise geometry before physical production
  • Compatibility with hybrid fabrication
  • Useful production of small detailed components
  • Parallel production of multiple sections

Common Limitations

  • Visible layer lines
  • Long production time for large solid volumes
  • Supports and support marks
  • Build-envelope limits
  • Warping, shrinkage or distortion
  • Material heat sensitivity
  • Brittleness in some materials
  • Seams in segmented builds
  • Significant post-processing for smooth finishes
  • Material-specific outdoor limitations
  • Cost inefficiency for simple oversized volume
  • Strength that varies with print orientation
  • Need for reinforcement in interactive projects

A large simple shape may be more efficiently created from foam. A flat panel may be better suited to CNC routing. Repeated finished objects may justify molding or casting. Thin shells may suit thermoforming. Complex projects frequently combine several methods.

The most efficient WhiteClouds projects often use 3D printing as one part of a broader fabrication strategy.

Choosing a fabrication method

The finished object determines the right production approach.

Customers do not need to choose the machinery before requesting a quote. The useful starting point is what the completed project must look like, how it will be used and where it must go.

Swipe horizontally to compare.

Comparison of custom model and display fabrication methods
Method Common strengths Common limitations Typical project fit
3D printing Complex digital geometry, repeatability, fine detail, customization and segmented assemblies Layer lines, print time, supports, seams, heat sensitivity and post-processing Architectural models, detailed props, statues, exhibits, replicas and complex components
Foam carving Fast lightweight volume, monumental scale, organic sculpture and scenic forms Surface requires coating or refinement; fine repeatable details may be less efficient Large props, statues, scenery, letters and oversized display volume
CNC machining Accurate cutting, relief, panels, molds, patterns and repeatable geometry Tool access, workholding, material waste and undercut limitations Panels, architectural components, reliefs, molds and detailed rigid parts
Resin casting Repeatable finished copies and consistent molded surfaces Requires a master and mold; setup may not suit one unique object Multiple replicas, detailed components and repeated decorative parts
Thermoforming Lightweight shells, smooth surfaces and efficient repeated forms Requires tooling and geometry that can release from the mold Panels, enclosures, product shells and repeated display components
Traditional model making Direct artistic control, mixed materials and detailed hand assembly Labor-intensive and dependent on specialist skills Architectural models, dioramas, exhibits and one-of-a-kind presentation pieces
Hybrid fabrication Allows each material and method to perform the task it handles best Requires careful coordination of structure, seams, coatings and finishes Complex models, props, exhibits and public-facing installations

Most complex custom projects use more than one fabrication method.

How modern 3D printing evolved

From desktop experimentation to intelligent production

Additive manufacturing began as an industrial prototyping technology in the 1980s, but the modern 3D-printing era took shape around 2010 as lower-cost machines, open-source designs and more accessible software brought the process into workshops, schools, studios and homes.

Since then, printers have become faster, larger and more reliable, while materials, software and finishing methods have expanded what can be produced as a completed commercial project.

  1. 2010–2012

    Desktop 3D Printing Becomes Accessible

    Open-source printer designs and lower-cost material-extrusion systems introduced additive manufacturing to a much larger audience. Early desktop machines required considerable adjustment and experimentation, but they allowed individuals and small organizations to turn digital models into physical objects without relying exclusively on expensive industrial equipment.

  2. 2013–2015

    From Hobbyist Prints to Commercial Projects

    As printers, modeling software and materials improved, commercial studios began using 3D printing for architectural models, displays, figures, props and presentation pieces. WhiteClouds began in 2013 during this transition from isolated printed parts to complete projects involving assembly, structural fabrication, sanding, painting and professional finishing.

  3. 2016–2019

    Larger Builds, Better Materials and More Processes

    Professional systems expanded in scale, speed and process variety. Large-format extrusion, more capable resin systems, polymer powder-bed production, full-color printing and a broader range of thermoplastics and composites made additive manufacturing useful for more than small prototypes.

  4. 2020–2022

    More Reliable and Connected Production

    The focus shifted from simply producing a shape to producing it more consistently. Better slicing, machine calibration, process monitoring and parallel production supported larger segmented projects and reduced avoidable failures. Hybrid fabrication also became increasingly important, combining printed geometry with foam, metal, wood, coatings and traditional model making.

  5. 2023–Today

    Automation, Monitoring and Adaptive Printing

    Current development is centered on faster and more predictable production. Sensors, cameras, machine learning, digital production records and in-process measurements are increasingly used to identify problems, predict quality and improve printing parameters. Professional workflows also continue to advance in large-format production, multi-machine coordination and automated post-processing.

  6. The Future

    Multi-Material, Self-Correcting Fabrication

    Research is moving beyond printing one material in conventional layers. Emerging systems are exploring continuous multi-material construction, rigid and flexible regions in one build, conductive or thermally functional materials, faster light-based production, reduced support requirements and materials designed for easier recycling.

    The long-term goal is a coordinated production system that can create complete objects with multiple colors, material properties and embedded functions while detecting errors, correcting the process and reducing seams, waste and post-processing. Many of these capabilities remain research-stage developments rather than routine commercial options.

The future of 3D printing is not simply bigger or faster machines. It is reducing the compromises between geometry, material, color, durability, production reliability and finish.

Budget and quote factors

Custom 3D printing is priced around the complete project.

The printed volume is only one part of a custom project's cost. Digital design, production time, material, section count, assembly, reinforcement, surface preparation, finishing, packing and installation may all contribute to the final bid.

Digital design: Creating, repairing or revising the production-ready geometry. Overall size: Affects sectioning, material, production time, structure and freight. Detail: Fine features may require smaller layers, slower printing or a different process. Material: Materials differ in cost, printing behavior, durability and finishing requirements. Printed volume: Hollow shells, walls, infill and solid areas affect material and time. Supports: Complex orientation and overhangs may add material and cleanup labor. Section count: More sections can improve production flexibility but add alignment and seam work. Assembly: Adhesives, connectors, fasteners, internal frames and access affect fabrication. Surface finish: Visible layers, presentation finishes and automotive-style surfaces require different levels of labor. Paint and graphics: Color complexity, airbrushing, logos, vinyl and faux finishes affect the scope. Lighting and electronics: LEDs, wiring, controls, access panels and power requirements add design and integration. Base or cabinetry: Pedestals, display cases, mounts and support structures are separate fabrication elements. Environment: Heat, UV, moisture, wind, touching and interaction affect the complete system. Packing and freight: Crates, protection, modular sections, destination and access influence delivery cost. Installation: On-site assembly, mounting, hanging, equipment and travel are project-specific. Schedule: Compressed deadlines may require additional machines, labor or shipping options.

What to provide for a quote

The most useful starting information is the finished project's intended size, use, deadline and appearance. Reference photographs, drawings, digital models, scans, CAD files, color information and installation details can improve the accuracy of the initial review.

  • Overall dimensions
  • Intended use
  • Indoor or outdoor location
  • Viewing distance
  • Touching or interaction
  • Reference images
  • Available digital files
  • Desired surface finish
  • Quantity
  • Lighting or electronics
  • Shipping destination
  • Installation requirements
  • Required completion date

The fastest way to price accurately is to define the finished object—not only the printer time.

Frequently asked questions

Custom 3D printing questions

What types of projects does WhiteClouds 3D print?

WhiteClouds uses 3D printing to create custom architectural models, topographical models, statues, characters, props, product replicas, dioramas, exhibits, industrial models, art and specialty displays. Many projects also include assembly, reinforcement, paint, graphics, lighting, bases or other fabrication methods.

Do I need a finished 3D file?

No. A project can begin with a production-ready 3D file, but WhiteClouds can also work from drawings, CAD data, scans, maps, photographs, measurements or physical references. The amount of digital design required is included in the project scope.

What 3D file formats can you use?

Usable formats depend on the type of project and the information the file contains. Common starting formats may include STL, OBJ, STEP, IGES, FBX and native CAD or modeling files. The file must still be reviewed for scale, completeness, wall thickness and production suitability.

How large can a 3D printed project be?

The completed project can be much larger than one printer's build area. Large models, props and statues can be digitally divided into sections, printed separately and assembled around registration features, connectors or an internal structure.

Can large projects be printed in sections?

Yes. Sectioning is a normal part of large-format project planning. Section locations are chosen according to geometry, visible details, available production volume, freight dimensions, installation access and the amount of seam finishing required.

What 3D printing materials are available?

Available material families include thermoplastics such as PLA, PETG, ABS, ASA and nylon; flexible materials; photopolymer resins; powder-bed polymers; full-color composites and specialty materials. The best choice depends on detail, size, finish, handling, temperature and environment.

Will layer lines be visible?

Layer lines are a natural result of many 3D printing processes. They may remain visible as part of the intended appearance or be reduced through orientation, finer production settings, sanding, filling, primer and professional finishing.

Can 3D printed projects be sanded and painted?

Yes. Printed parts can be cleaned, filled, sanded, primed and painted. The preparation process depends on the printing material, surface detail, desired gloss and how closely the completed project will be viewed.

Can 3D printed displays be used outdoors?

Some printed projects can be designed for outdoor display, but material, heat, sunlight, moisture, wind, structure, coatings and mounting must all be considered. A protective coating can improve performance, but it does not make every printed material appropriate for every outdoor condition.

Can a 3D printed object include a metal or wood structure?

Yes. Metal, wood or mixed-material structures can provide bases, hard points, connectors, mounting locations and support for large assemblies. Structural planning should occur before the printed exterior is fully assembled.

Can lighting or electronics be added?

Yes. Printed models and displays can incorporate LEDs, wiring, controls, sensors, access panels and other electronics. Space for these components, ventilation, maintenance and power access should be included in the digital design.

Is 3D printing always the best fabrication method?

No. Foam carving may be more efficient for very large simple volume, CNC machining may suit panels or relief, and molding may be better for many repeated copies. WhiteClouds can recommend 3D printing, another method or a hybrid construction based on the completed project.

Do you print replacement parts or production components?

WhiteClouds primarily creates custom visual models, props, statues, exhibits and presentation projects. The service is generally not intended for routine replacement parts, certified functional components or high-volume commodity manufacturing.

Do you accept small hobby printing projects?

WhiteClouds is not an automated file-upload service for inexpensive miniatures or small one-off prints. Projects are evaluated as complete custom fabrication scopes that may include design, assembly, finishing and presentation requirements.

What information should I provide for a quote?

Provide the intended size, use, location, deadline and desired finish. Include reference images, drawings, measurements, digital files, quantity, interaction requirements, lighting needs, shipping destination and installation details when available.

Start a Custom Project

Have a custom 3D printed model, prop, statue or display in mind?

Share the project's intended size, use, deadline, reference images and any available digital files. WhiteClouds can help determine whether 3D printing, another fabrication method or a hybrid approach is the best fit.

Sales: 385-206-8700
Email: [email protected]

Get a Free Quote