
Planning a Coordinated Giant Snack-Prop Display
A coordinated snack-prop display uses several oversized products as one visual system. Package replicas, loose snacks, and product groupings need a clear hierarchy so the booth reads from the aisle and still leaves room for staff, visitors, photography, and product presentation.
Plan an Expo Prop Set
Assign one hero product and supporting pieces
Begin by ranking the product list. The hero may be a new package, a signature candy, or a loose snack enlarged beyond the rest. Supporting props should strengthen that product rather than compete with it. A scaled front elevation can test height differences, overlaps, brand visibility, and the amount of open space between objects.
Use the aisle approach as the first camera. A tall package at the rear can remain visible over visitors, while lower loose snacks can create foreground depth. Avoid placing every item on one straight line or making every piece the same height unless that repetition is a deliberate part of the campaign.
Build the set from complementary physical forms
Different object types can share graphics and scale cues without becoming interchangeable.
Package anchor
A large bag, box, pouch, or container carries the strongest graphic face and can establish the color system for the set.
Loose product
A candy, chip, puff, or cracker brings recognizable shape and texture into the foreground where visitors can compare its scale.
Coordinated varieties
Matched package forms can distinguish varieties through approved art while keeping dimensions and base treatment consistent.
Photo grouping
A planned opening between products gives visitors a clear place to stand without covering the hero art or blocking booth circulation.
Reserve operating space before enlarging the products
Mark the exhibit boundary, aisle edges, counters, storage doors, screens, demo tables, staff positions, and fire or accessibility clearances. Then place the props inside the remaining usable area. The desired visual size may need to come from height and vertical stacking rather than from a deeper footprint.
If the props travel to several shows, provide the smallest booth and the most restrictive access route. Identify whether each object stays assembled, divides into components, or changes graphics between events. The setup sequence should allow staff to position the largest piece without trapping smaller items behind it.
Compare a matched package pair with a package-and-product scene
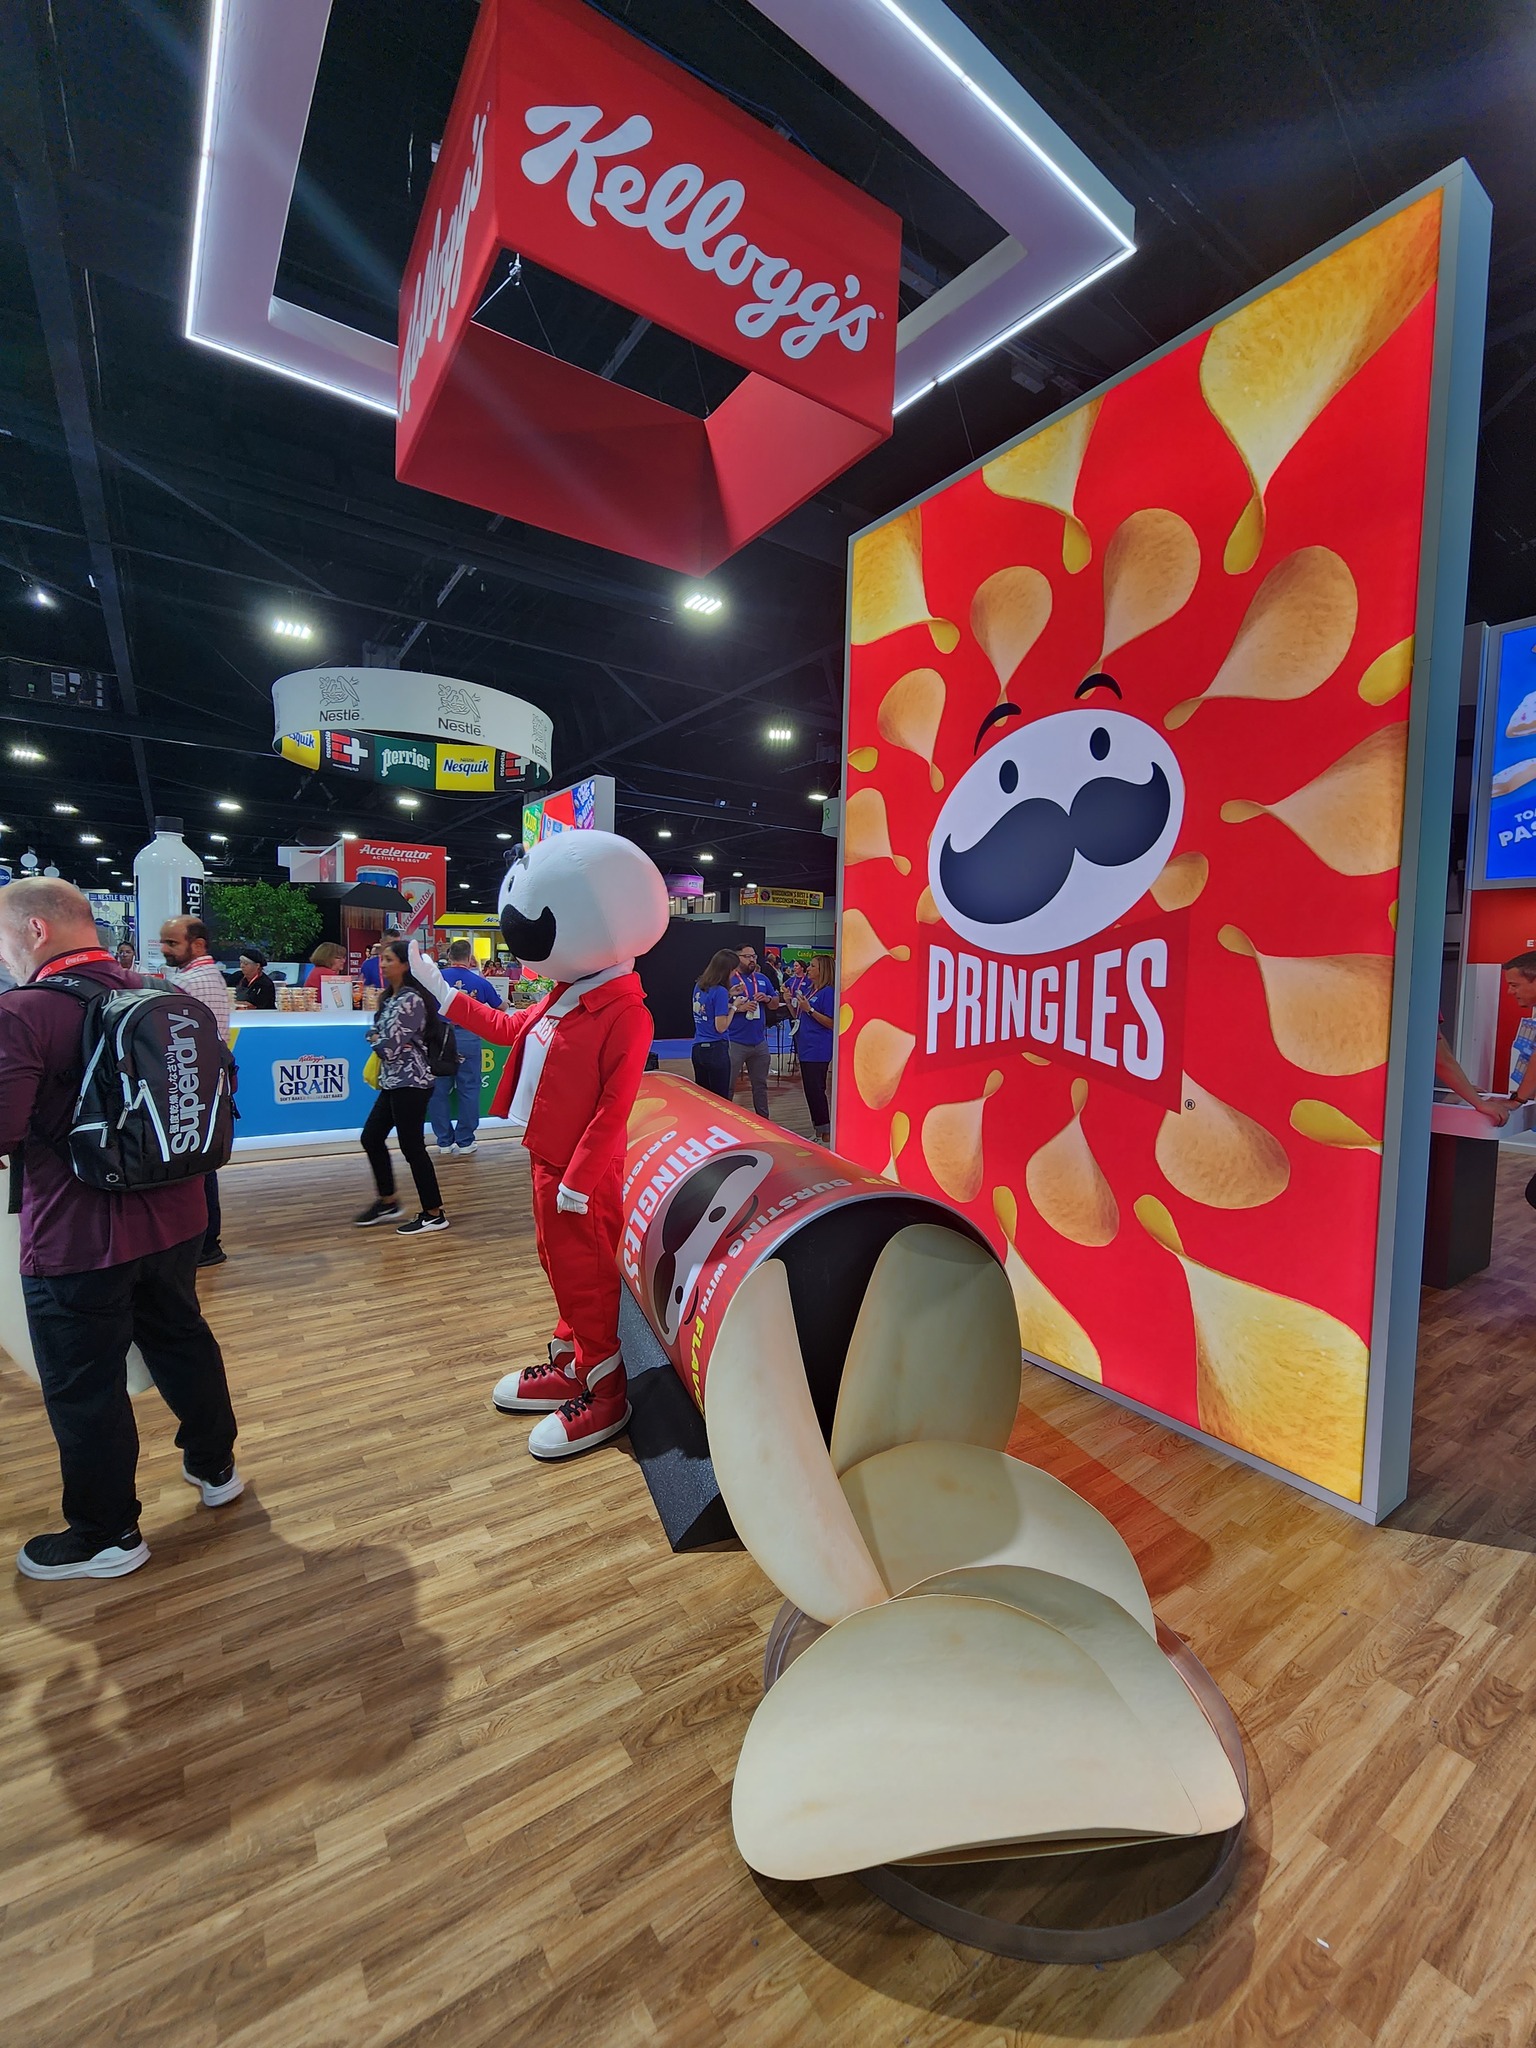
WhiteClouds fabricated the SmartSweets package pair and the giant Pringles package-and-chip display shown here. One uses repeated upright packages as a clean graphic set; the other combines a package face with loose snack forms and a stronger foreground-to-background arrangement.

What the fabricator needs from the booth team
Treat the prop list and booth drawing as one package.
- Ranked list of products and flavor versions
- Approved art for every visible package panel
- Target height or relative scale for each piece
- Booth plan with aisles, counters, screens, and storage
- Visitor, presenter, and camera positions
- Front-only or multi-aisle visibility
- Crate, dock, doorway, and setup limits
- Show location, move-in date, and reuse schedule
Request pricing for a coordinated snack-prop display
Send the ranked product list, approved package files, booth plan, target scales, camera and visitor zones, display conditions, access route, destination, move-in date, and reuse schedule.