
Planning a Giant Prosthetic Display Prop
A giant prosthetic display prop should begin with the exact device category, recognizable components, pose, and display purpose. Treating it as a clearly nonfunctional representation keeps the planning centered on visual form and presentation rather than clinical use, performance, or broad medical-prop selection.
Plan a Prosthetic Display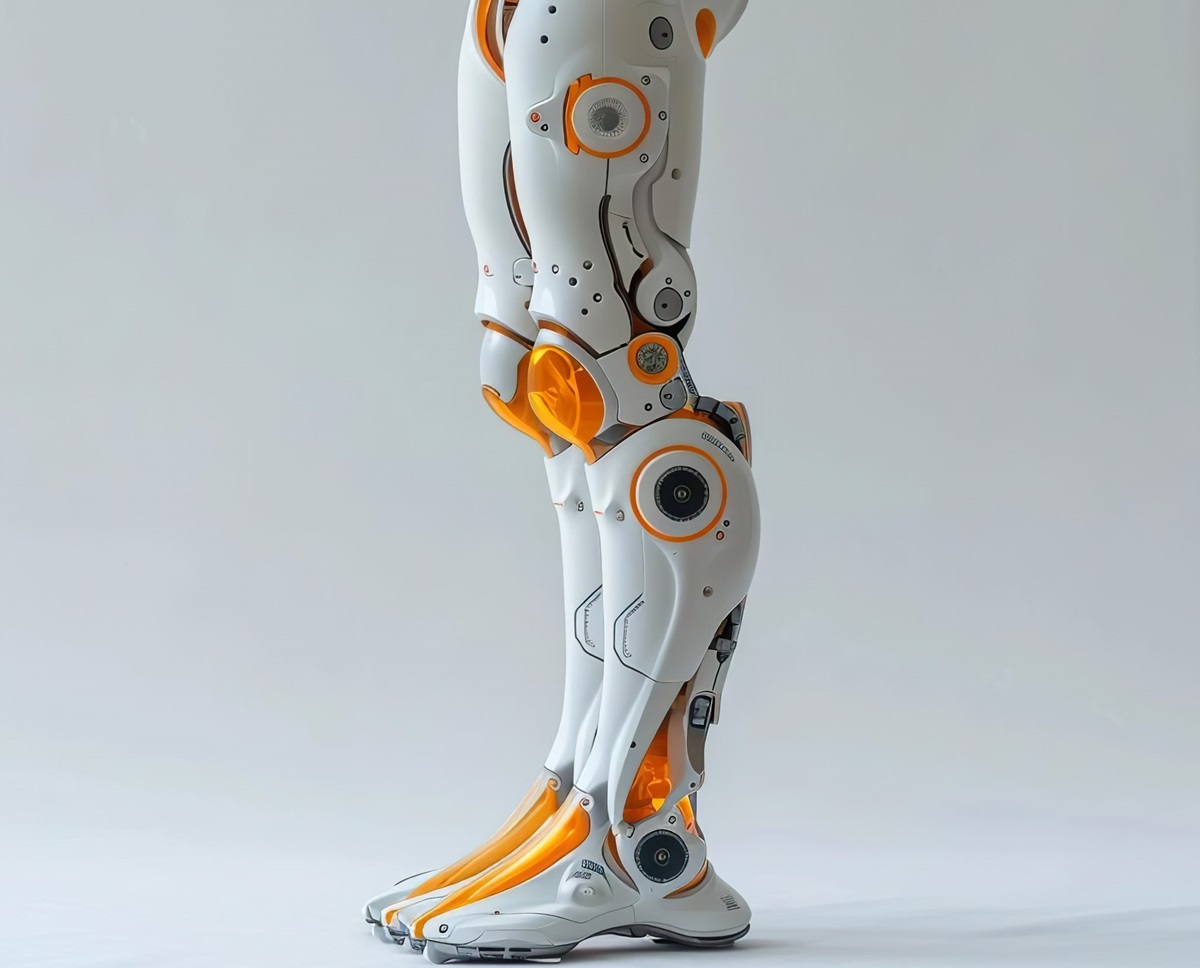
Start with one approved upper- or lower-limb reference
Choose whether the display represents an arm, hand, leg, foot, or another clearly defined device configuration. Supply coordinated views of the exact reference or original concept. A mixed collection of unrelated devices will not establish the component order or visual language of one prop.
Identify the socket, joints, connectors, covers, hand or foot, fastener cues, and any graphic panels that make the reference recognizable. The display can simplify hidden or minor parts, but those choices should be marked on the drawings rather than inferred.
Keep the enlarged assembly visually connected
Every transition should support the intended reading of the device.
Socket and upper form
Define the opening, rim, taper, attachment transition, and whether the inside is visible from the audience position.
Joint regions
Show the fixed angle, gap, pivot-like detail, covers, and surrounding clear space without implying working articulation.
Connectors and panels
Dimension narrow pylons, rods, housings, surface breaks, and graphic fields so they do not disappear between larger components.
Hand or foot
Set the terminal shape, finger pose, sole profile, or stylized ending as part of the full silhouette.
Present a device form without suggesting function
A vertical leg-like display may stand beside graphics or a product presentation, but its support should be designed as a display condition rather than represented as functional weight-bearing. An arm-like form can mount vertically, extend from a supplied background, or rest in a horizontal arrangement.
Draw the entire pose with the base, wall, mannequin-like support, casework, monitor, labels, and closest audience line. If any joint should move for demonstration, state the exact range and operating requirement for separate evaluation; do not assume motion from mechanical-looking detail.
Compare lower- and upper-limb display compositions
The two concept images explore different nonfunctional display forms. The leg study combines a curved socket, joint-like regions, and a streamlined lower section. The arm study uses an upper socket, segmented structure, and an open hand pose.
They do not document fabricated projects or real device performance. A new prop should follow approved artwork, component relationships, labels, dimensions, pose, and presentation conditions.

Specify the reference and presentation limits
The request should clearly distinguish a visual display prop from a functional assistive device.
- Approved upper-limb or lower-limb reference
- Socket, joint, connector, cover, hand, or foot details
- Fixed pose and any explicitly required non-load-bearing movement
- Overall height, width, depth, and component proportions
- Surface colors, graphics, labels, and approved marks
- Freestanding, wall, casework, mannequin-like, or horizontal support
- Public faces, nearest approach, and any controlled demonstration action
- Door and dock limits, delivery location, show schedule, and completion deadline
Request pricing for a giant prosthetic display prop
Send the approved device reference, component details, dimensions, graphics and labels, fixed pose, support arrangement, viewing sides, interaction limits, access information, destination, and schedule.