
Composing a Giant Hand Prop
A giant hand prop is defined by gesture, finger spacing, palm direction, wrist transition, and the way the form enters its scene. Those choices create a specific scenic object rather than a portrait statue or a general collection of body-part props.
Plan a Hand Prop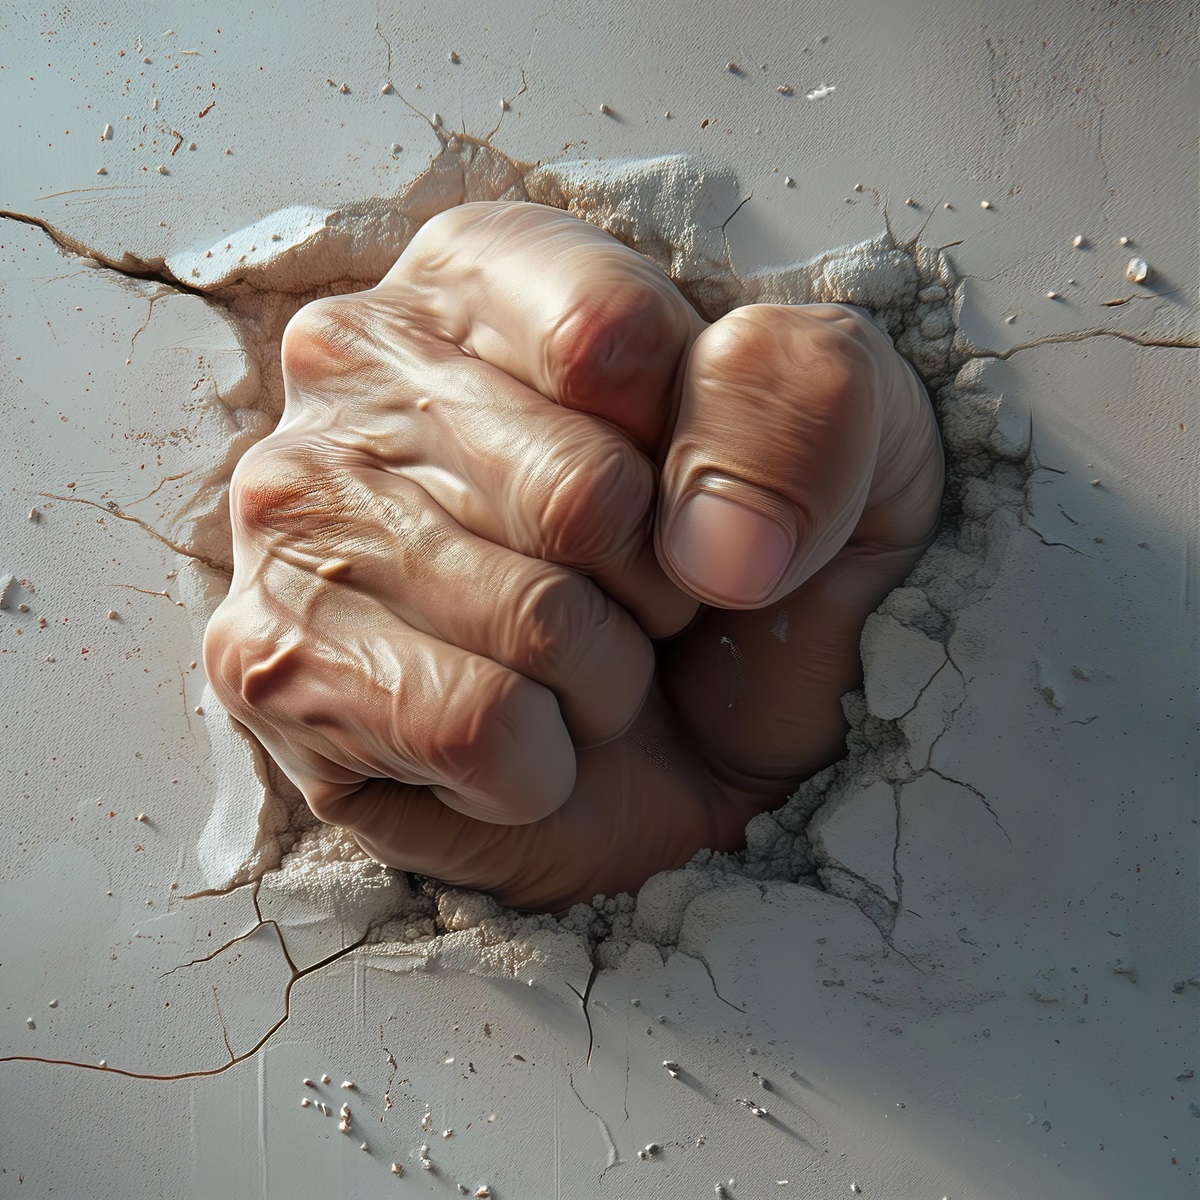
Choose the message carried by the fingers
An open palm, pointing finger, gripping hand, fist, reaching gesture, or character-specific pose has a different silhouette. Supply front and side views of the exact gesture, including the thumb. A single flat reference can hide how far the fingers move toward or away from the audience.
Mark which finger positions are essential and which may be adjusted for spacing or sightlines. Negative space matters: gaps between fingers help the gesture read, but they also change the width, depth, and relationship to surrounding scenery.
Coordinate the palm, fingers, and wrist
The form should be developed as one continuous pose.
Palm plane
Set the tilt of the palm and whether viewers see the palm, back of hand, edge, or a changing view as they move.
Finger rhythm
Dimension finger length, bend, spread, and fingertip direction rather than enlarging a hand outline uniformly.
Thumb relationship
Show whether the thumb opens, crosses, grips, or anchors the gesture, since it often distinguishes the pose.
Wrist transition
Define the visible wrist or forearm and its meeting point with a wall, sleeve, base, object, or supplied scenic surface.
Use the wall opening to define depth and entry
The concept image shows a hand projecting through a broken wall with spread fingers and the palm angled toward the viewer. The opening hides part of the wrist while the fingers establish reach across the scene.
It is an illustration rather than a completed project. A new hand can use another gesture, style, wall treatment, pose, or setting, all of which should be shown in the actual project drawings.
Plan anything the hand holds or frames
A hand holding a product, sign, tool, or original character accessory needs a defined contact arrangement. Include the held object's dimensions, orientation, supplied artwork, and whether it is fabricated with the hand or installed separately. Do not assume a grip requirement from appearance alone.
For a photo position, mark where people stand and which fingers or palm areas frame the image. For view-only scenery, establish the closest audience line and principal camera view so fingertips and the wrist transition are not hidden.
Capture the gesture and every scenic contact
The initial drawing should communicate the complete pose from more than one direction.
- Approved hand, character, or gesture references
- Palm direction and main audience view
- Finger lengths, bends, spread, and fingertip positions
- Visible wrist or forearm and scenic transition
- Held object, wall, sleeve, base, or other contact element
- Overall width, depth, height, and reach
- View-only, photo-framing, or separately defined interaction
- Site plan, access route, destination, and required date
Request pricing for a custom giant hand prop
Share the gesture references, palm direction, finger and wrist dimensions, scenic entry, held object, viewing positions, interaction limits, site access, destination, and schedule.