
Planning a Giant Box Cutter Replica
A giant box cutter replica is a long, low product form whose identity depends on the handle profile, slider, blade position, color blocking, and small branded details. Scale should be chosen with the final sightline and support method in mind, not by enlarging a single product photo without a side view.
Discuss a Product Replica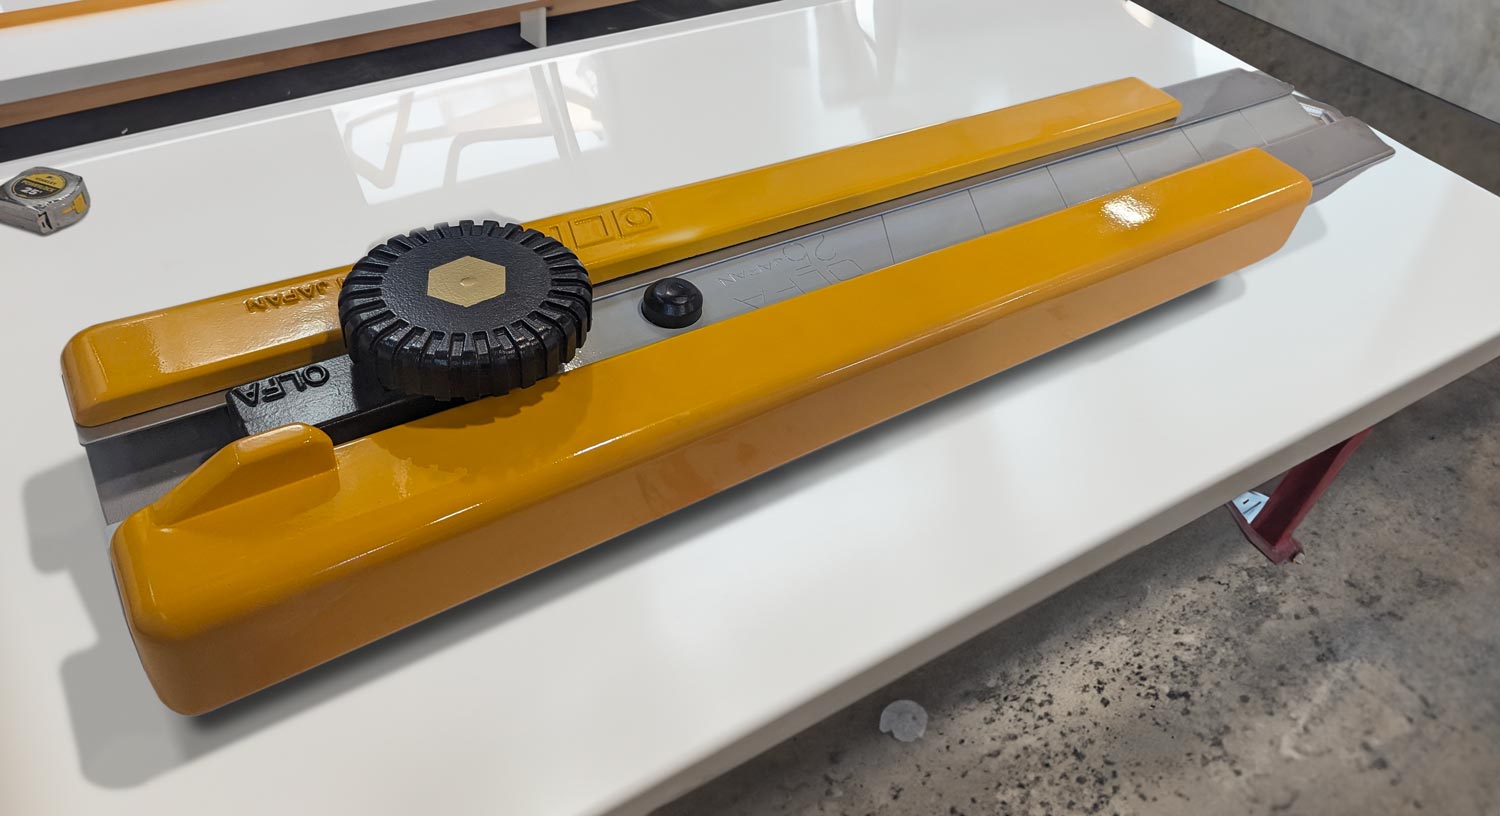
Work from the handle, blade, and slider as one assembly
A top photograph can hide the thickness and taper that make the tool recognizable. Provide a physical sample, CAD file, or coordinated front, back, side, and end views. Mark the handle length, grip contour, blade track, slider position, exposed blade length, and any recesses that should remain visible at the enlarged scale.
Choose the target length in relation to the display, not as an isolated number. A replica carried for a photograph has different depth and balance requirements than one mounted above a booth or placed on a low base. State the orientation and viewing distance before deciding how much small surface detail to reproduce.
Make the cutting end readable as a display element
The blade position changes both the silhouette and the total footprint.
Extended
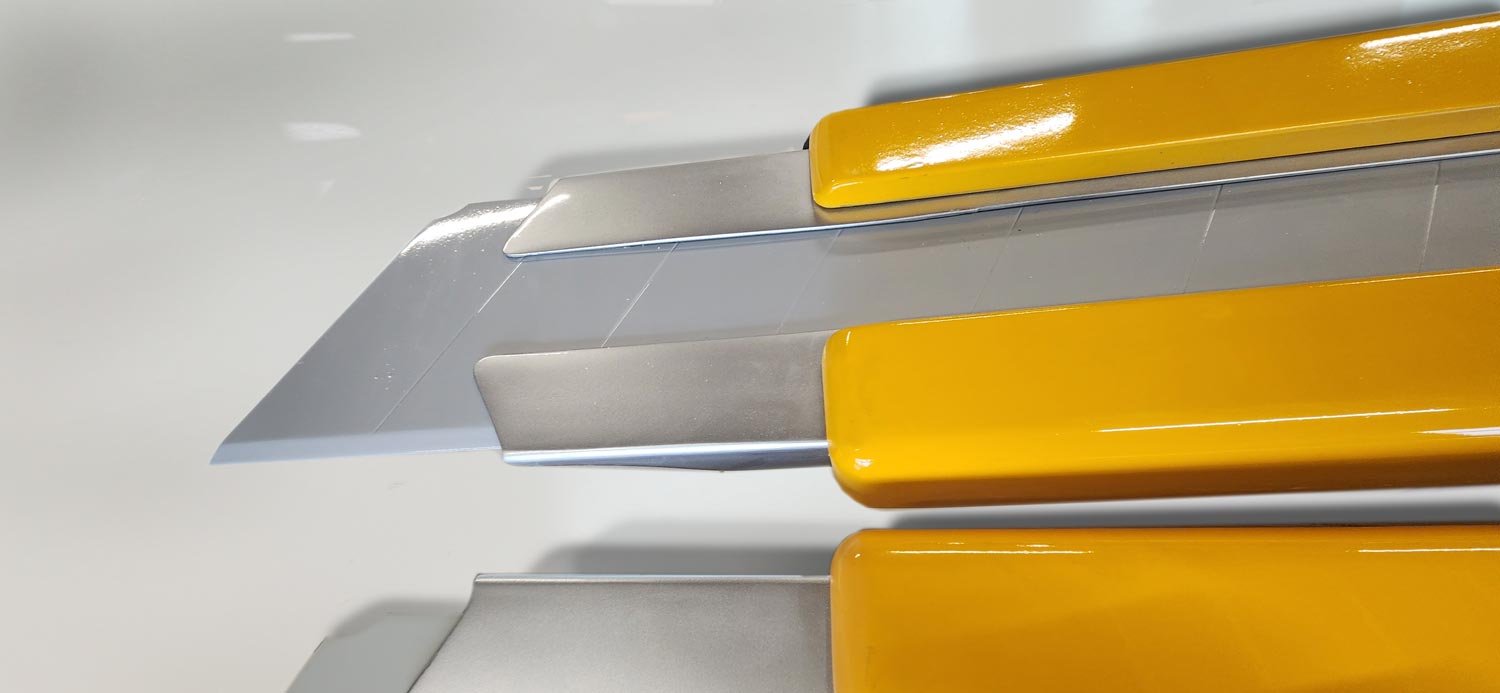
An extended display blade creates the clearest profile. It should be treated as a non-cutting prop feature, with its projection included in access and audience-clearance plans.
Retracted
A closed configuration shortens the envelope and shifts more visual importance to the nose, slider, and handle graphics.
Removable
A separate display component can support alternate views or easier packing, but its attachment and final seam position must be defined.
Graphic blade
A printed or stylized face may carry product markings without attempting functional movement. Supply artwork at the exact final shape.
Review the full form, person scale, and close details
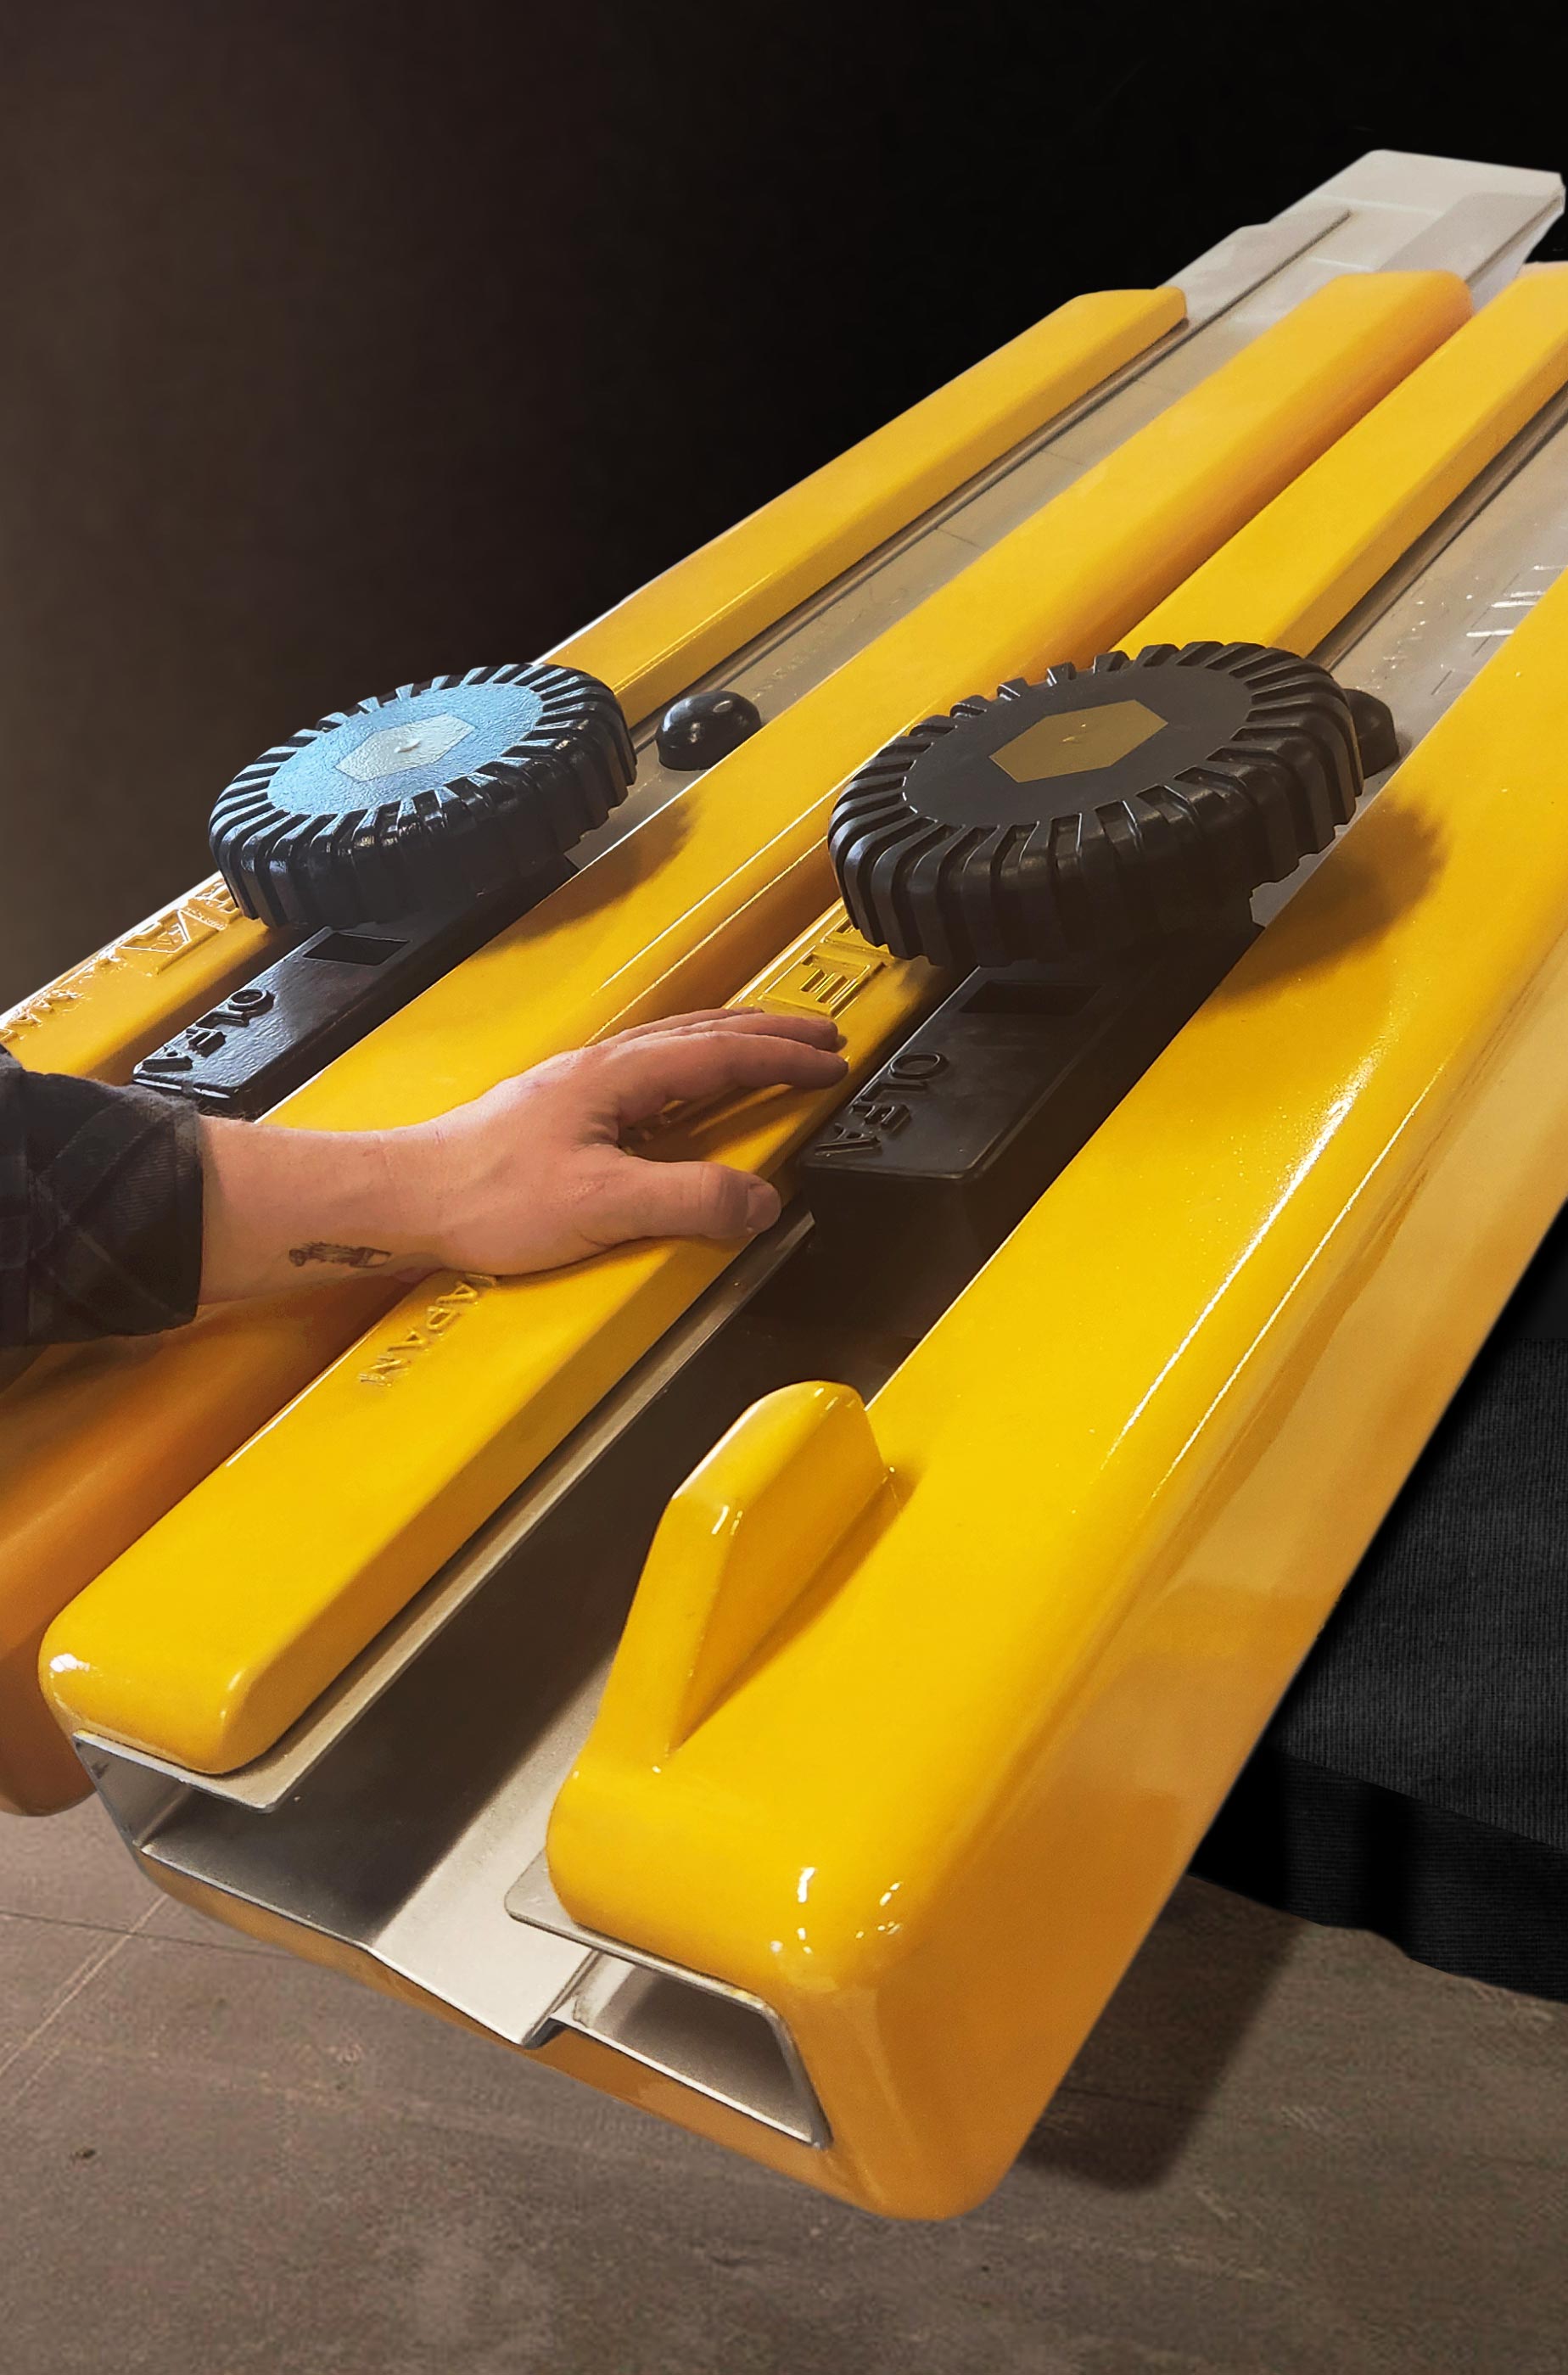
The completed WhiteClouds box cutter is shown from three useful distances. The overall view establishes the product silhouette, the person-scale view communicates size, and the close view isolates the blade, slider, and handle contours.
Keep small markings legible on a long display
Logos, model names, safety symbols, fasteners, and slider details should be ranked by importance. Enlarging every mark equally can make the replica feel busier than the actual product. Provide clean artwork and a dimensioned placement guide, including the side that faces the primary audience.
A horizontal floor display may rest on concealed or visible supports; a wall or overhead presentation needs site-specific attachment information. Include the allowed base footprint, wall construction or rigging point, visitor distance, and whether the piece travels. Do not assume the display will be handled like the working tool it represents.
What to provide for an accurate box cutter estimate
Product geometry and display orientation are the most useful starting points.
- Physical sample, CAD, or matched orthographic views
- Target overall length, width, and thickness
- Extended, retracted, or removable blade direction
- Approved logos, labels, and color references
- Floor, wall, overhead, or handheld orientation
- Base, attachment, and audience-clearance limits
- Largest door and shipping component size
- Destination and required date
Request pricing for a giant box cutter prop
Send the sample or design files, target length, blade position, approved graphics, display orientation, support constraints, access dimensions, destination, and deadline. Describe any removable or changeable component in the initial request.